
Showing posts with label Decorating. Show all posts
Showing posts with label Decorating. Show all posts
Monday, November 26, 2012
Peace Out Fall
Christmas is in full swing around these parts, so I'll get all the photos of the decor taken real soon! But I realized I never shared the living room fall decor. So one last piece before we say an official peace out to fall.


Sunday, November 25, 2012
DIY Christmas Sign
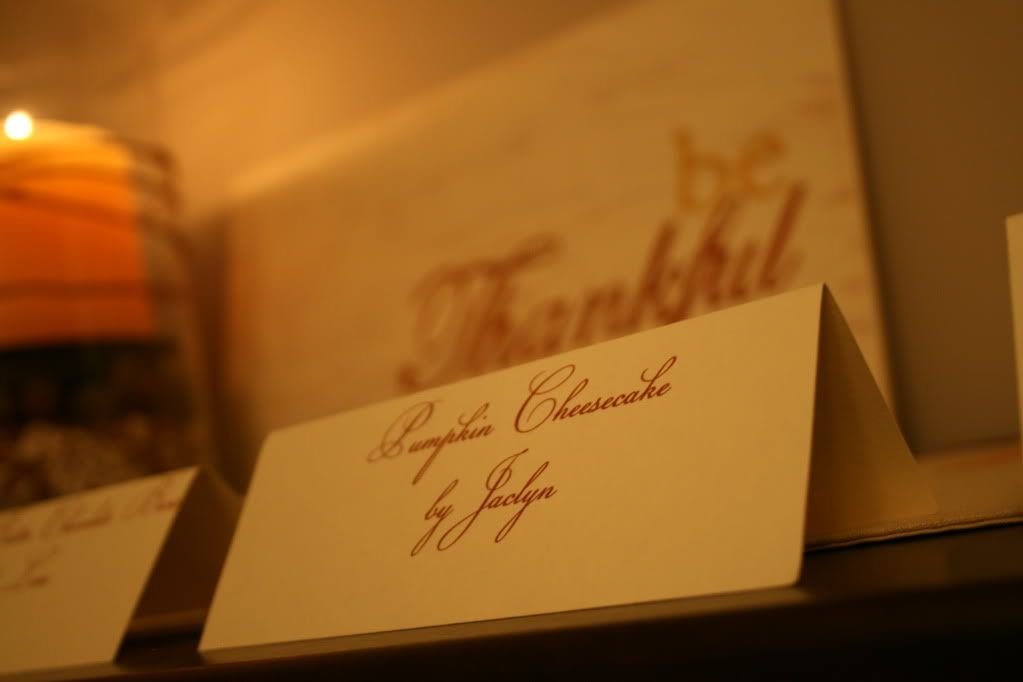
Last year, I made this adorable "be thankful" sign to add to my fall decor.

For about $17, I made what others are selling for upwards of $70. For no additional money, I flipped the sign and made a Christmas version this year.

What you need:
1. Give the plywood a light sanding, wipe off dust
2. Using the foam brush, paint the wood with the Metallic White paint. Use long strokes and if you want the rustic look, don't worry about complete coverage. Allow that to dry for one hour.
3. Decide on a saying, font, size and placement of your saying. You can easily download different fonts at websites like www.dafont.com.
4. Print the saying out, and cut it down to the word. It doesn't have to be perfect, just cut off the major excess.
5. Tape the saying on your board as you want it, (I just did one word at a time) and place the carbon paper, carbon facing down, under your piece of paper. Trace the outline of your word.
6. Remove the carbon paper, and paint your traced word.
7. Repeat steps 4-6 until your words are complete.
8. Give your words at least 2 coats of paint to really have full coverage. Allowing the paint to dry completely between coats helps to cover the carbon outline faster.
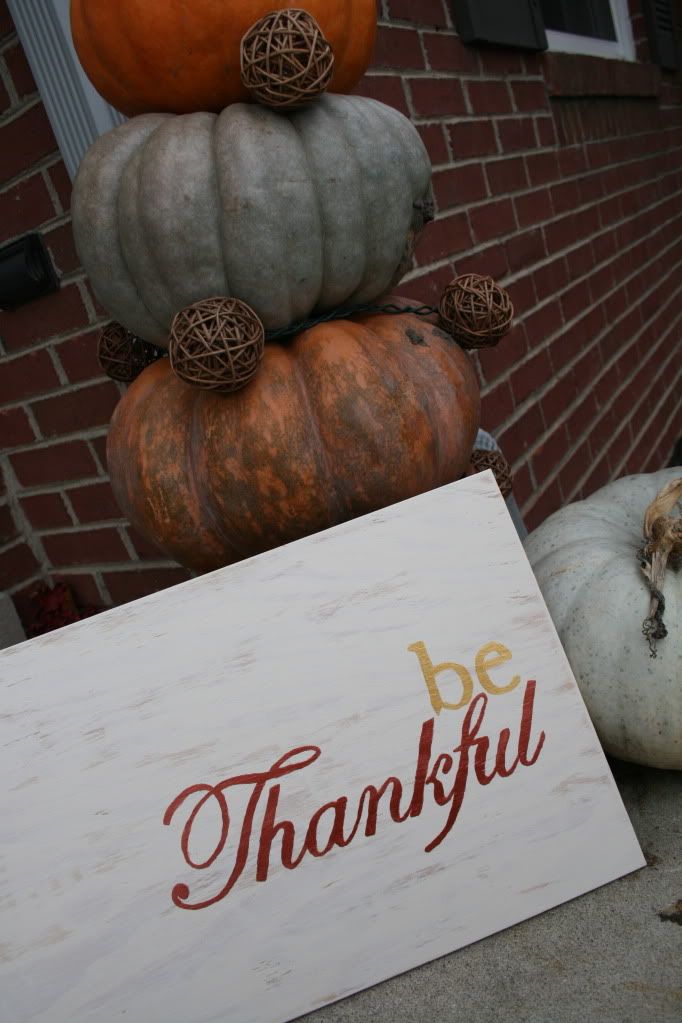
For about $17, I made what others are selling for upwards of $70. For no additional money, I flipped the sign and made a Christmas version this year.
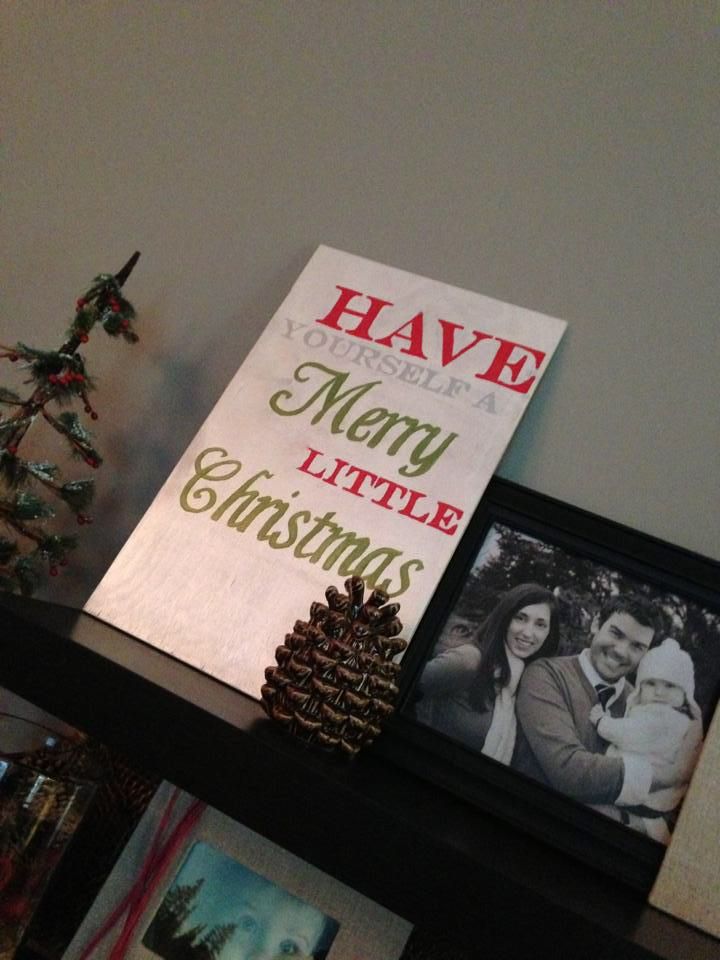
What you need:
- A piece of plywood, cut to 18in x 11 1/4in
- White Metallic Paint
- Colored paints of your choice (For this I used a metallic green, red and silver)
- A foam brush
- Small paint brushes
- Carbon Paper
1. Give the plywood a light sanding, wipe off dust
2. Using the foam brush, paint the wood with the Metallic White paint. Use long strokes and if you want the rustic look, don't worry about complete coverage. Allow that to dry for one hour.
3. Decide on a saying, font, size and placement of your saying. You can easily download different fonts at websites like www.dafont.com.
4. Print the saying out, and cut it down to the word. It doesn't have to be perfect, just cut off the major excess.
5. Tape the saying on your board as you want it, (I just did one word at a time) and place the carbon paper, carbon facing down, under your piece of paper. Trace the outline of your word.
6. Remove the carbon paper, and paint your traced word.
7. Repeat steps 4-6 until your words are complete.
8. Give your words at least 2 coats of paint to really have full coverage. Allowing the paint to dry completely between coats helps to cover the carbon outline faster.
Tuesday, September 25, 2012
Family Room Fall
My oh my has my blogging life changed. Coming to you using the Mega Blocks table as a desk in the play room. :) Apparently 6 months of life is a lot to sum up, and the basement is just as large of a project for a post. So while I work on those, you get to enjoy my weekend project. The start of fall decor around these parts!!
The mantle is pretty similar to last year's version. I just loved it so much, I knew it wouldn't change a whole lot. It's just a mix of fall products like indian corn and gourds plus some ribbon to dress up plain candles. I put my "be thankful" sign up there this year. We sit in this room most often, so I thought it'd be the best place for that daily reminder as we head into the holiday season.


The mantle is pretty similar to last year's version. I just loved it so much, I knew it wouldn't change a whole lot. It's just a mix of fall products like indian corn and gourds plus some ribbon to dress up plain candles. I put my "be thankful" sign up there this year. We sit in this room most often, so I thought it'd be the best place for that daily reminder as we head into the holiday season.


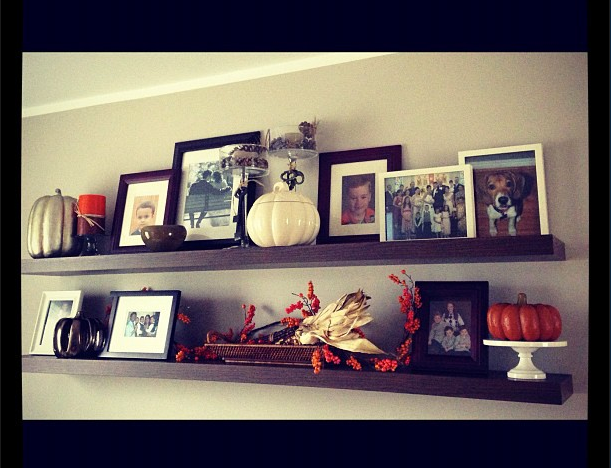
The floating shelves in the family room are also similar, but still different. I wasn't 100% pleased with last year's outcome, so I definitely wanted to change them up a bit.


That sums up the family room. I have to work on the rest of the house this week. Have you started yours now that it is officially fall? It's pretty much a guarantee to make your house feel cozy and warm!
Saturday, December 24, 2011
On the 12th Day of Christmas....
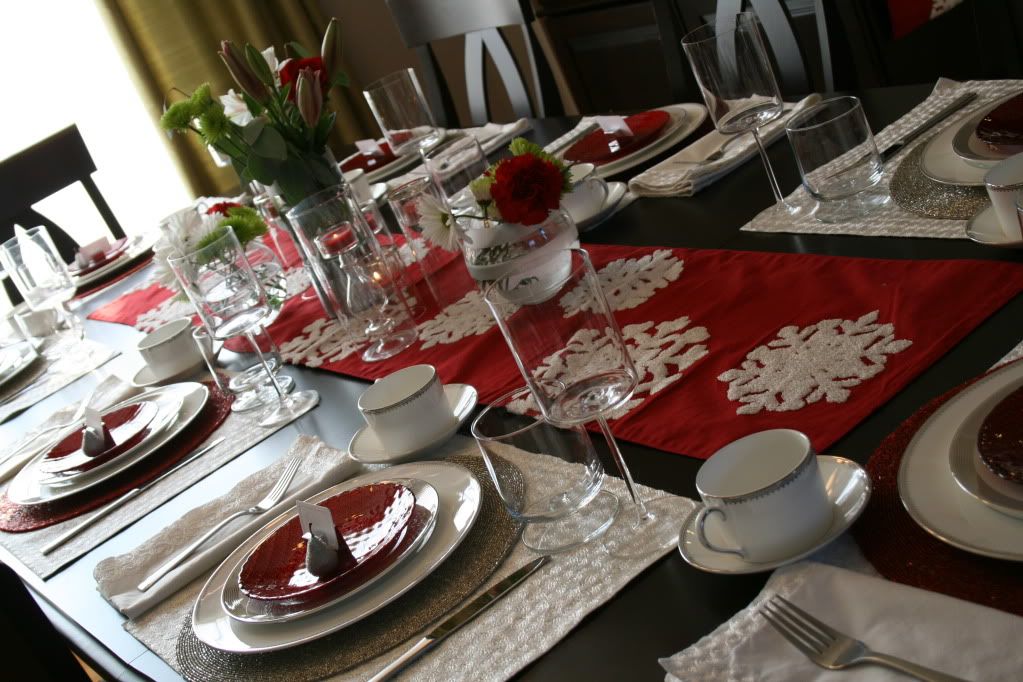
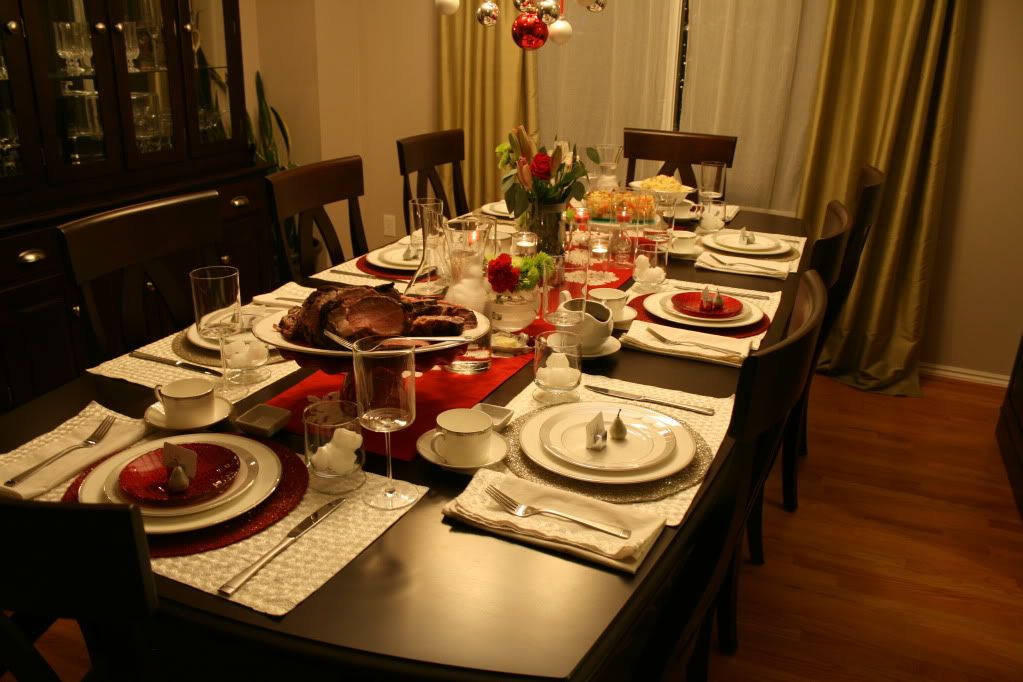
...the Happy House gives to YOOOOOOOUUUUUU!!!! A Christmas Eve table :)


I used cake stands to indicate where dishes would go. Elevating them off the table gave a little more space as well.


All ready for dinner:

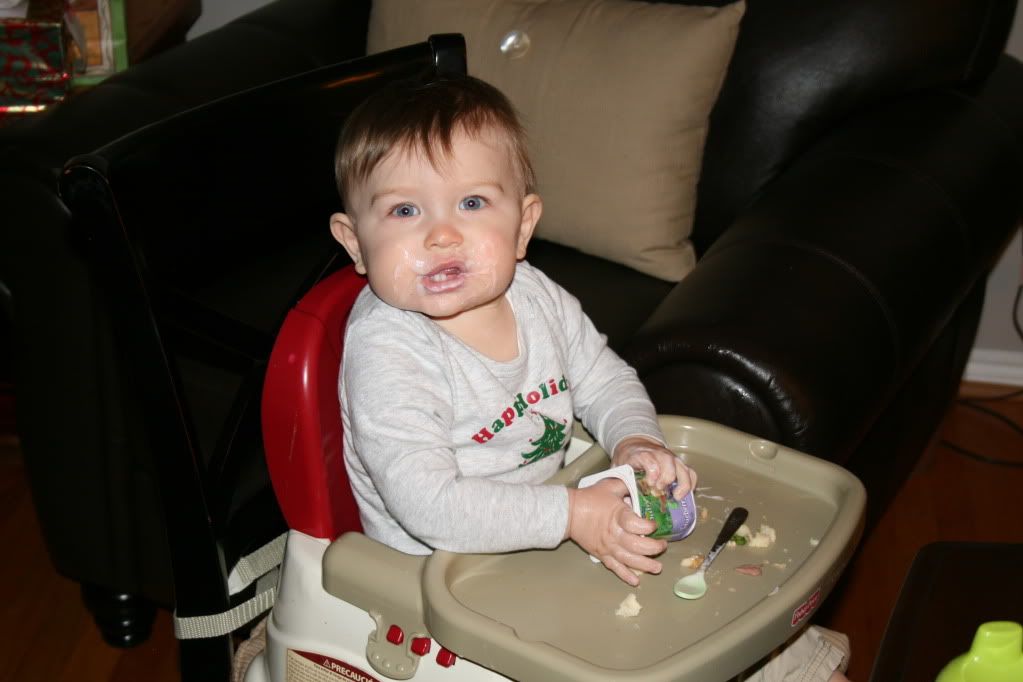
And Cam says Prime Rib is nicely followed up by YoBaby.

Merry Christmas Eve Everyone! We can't wait to tear into these bad boys tomorrow!

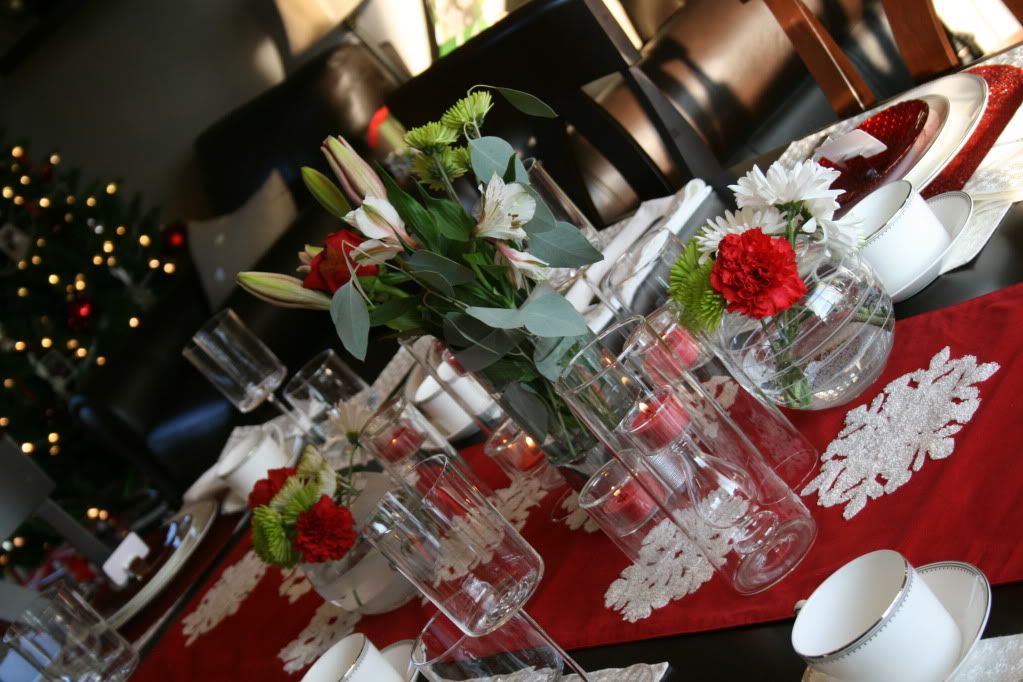
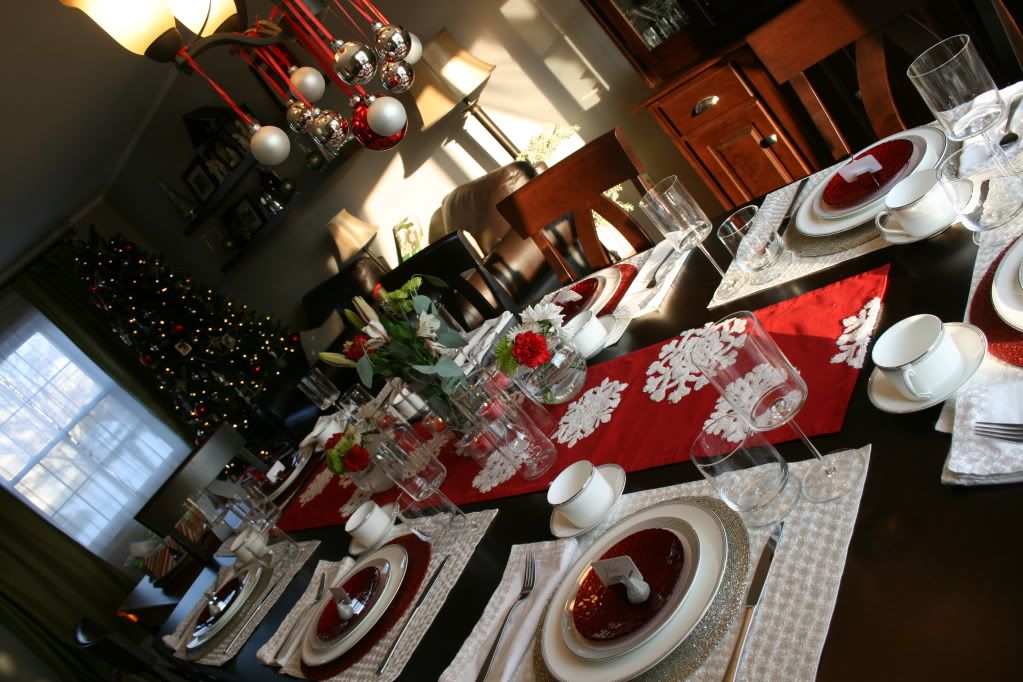
I used cake stands to indicate where dishes would go. Elevating them off the table gave a little more space as well.
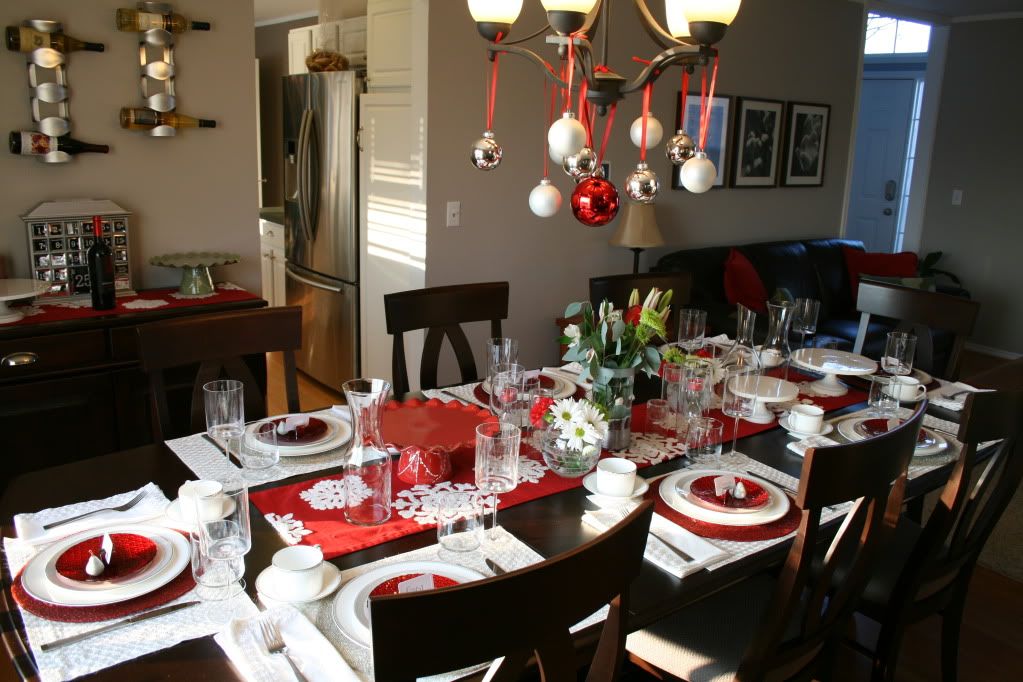
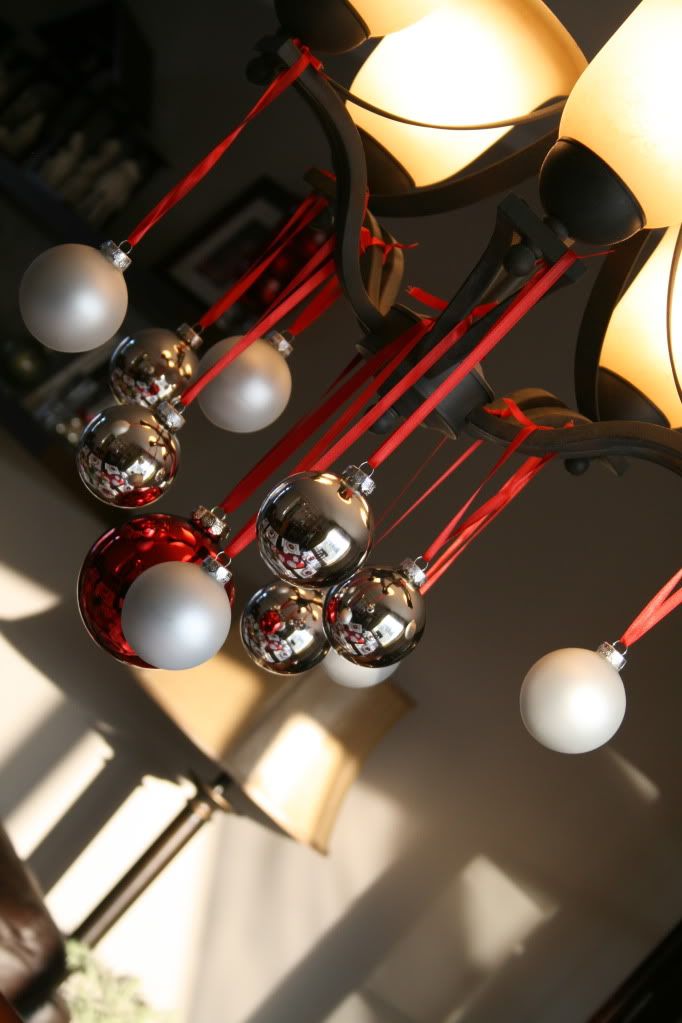
All ready for dinner:
And Cam says Prime Rib is nicely followed up by YoBaby.
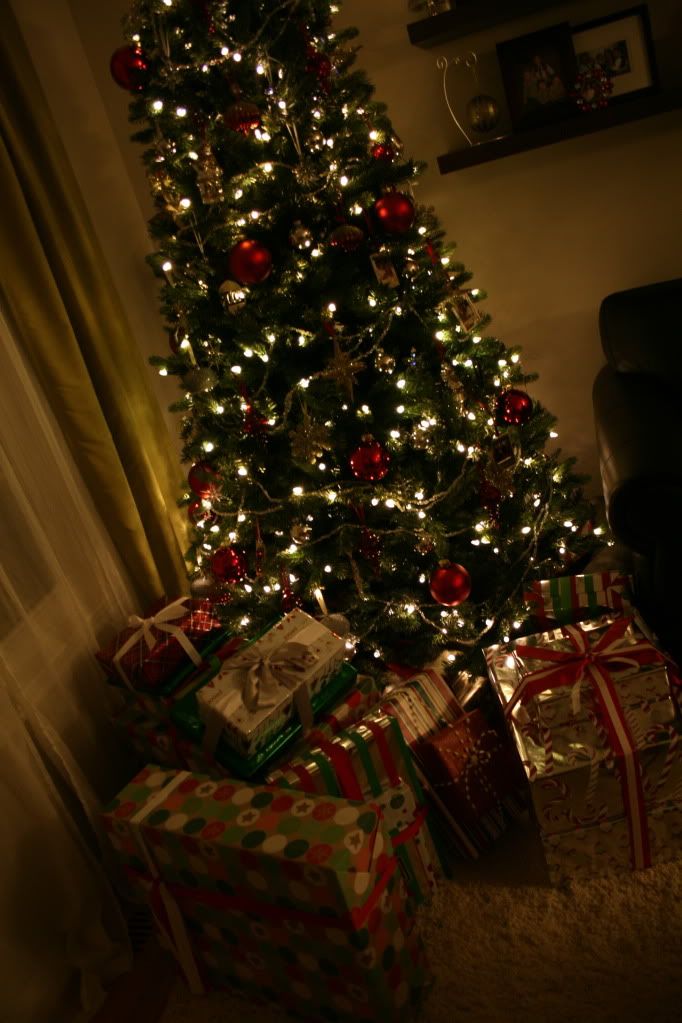
Merry Christmas Eve Everyone! We can't wait to tear into these bad boys tomorrow!
Sunday, December 18, 2011
On the 5th and 6th Days of Christmas...
...the Happy House gives to you... (I'm playing a touch of catch up!)


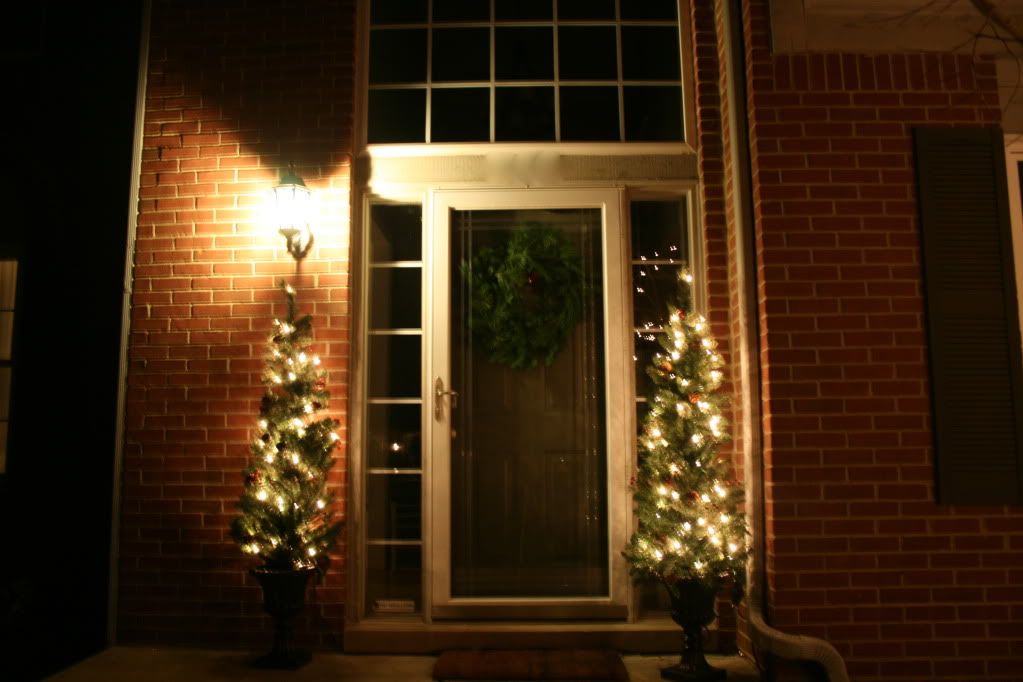
Doesn't it make your heart feel holidayish?? :) I still owe you one day, but I'll make up for it tomorrow! The weekend was a little crazy ;)

The Front of the Happy House:
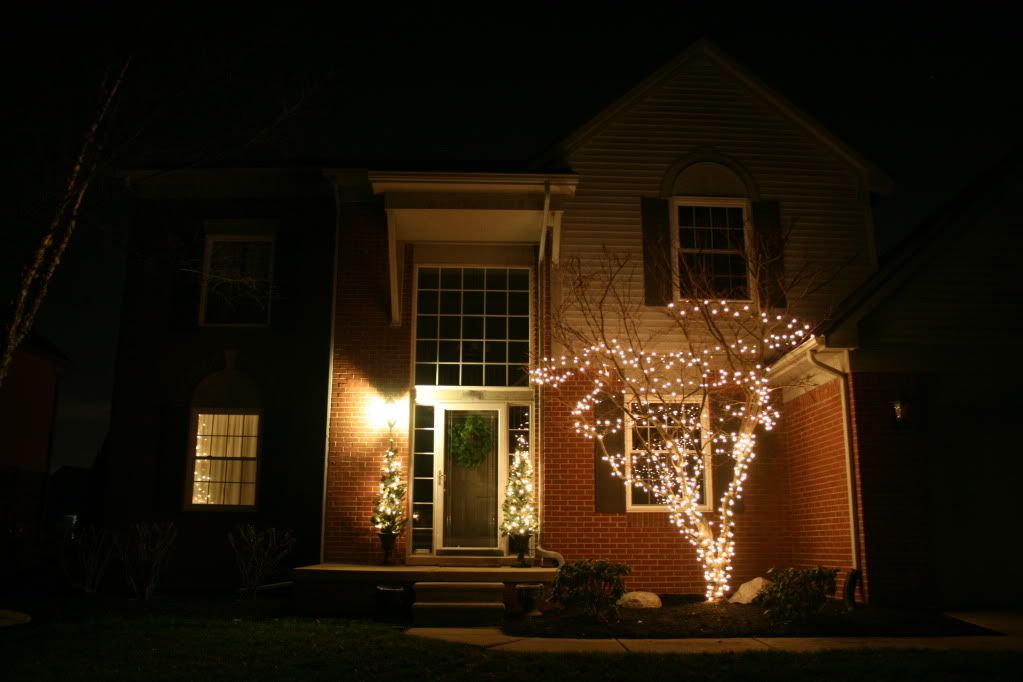
The Back of the Happy House:
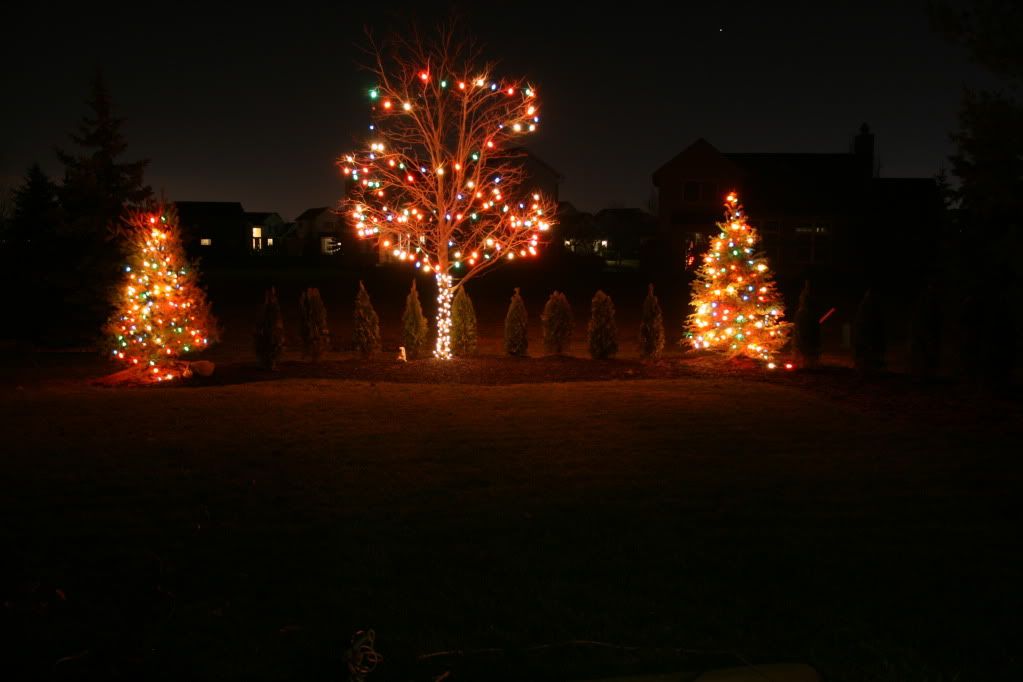
Doesn't it make your heart feel holidayish?? :) I still owe you one day, but I'll make up for it tomorrow! The weekend was a little crazy ;)

Thursday, December 15, 2011
On the 4th Day of Christmas....
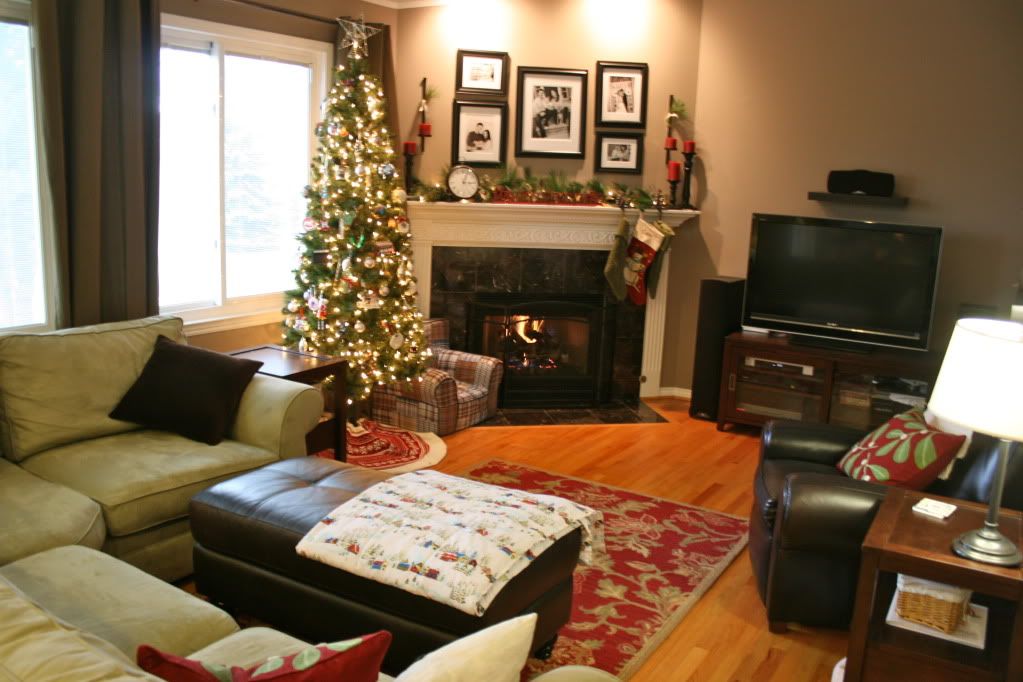
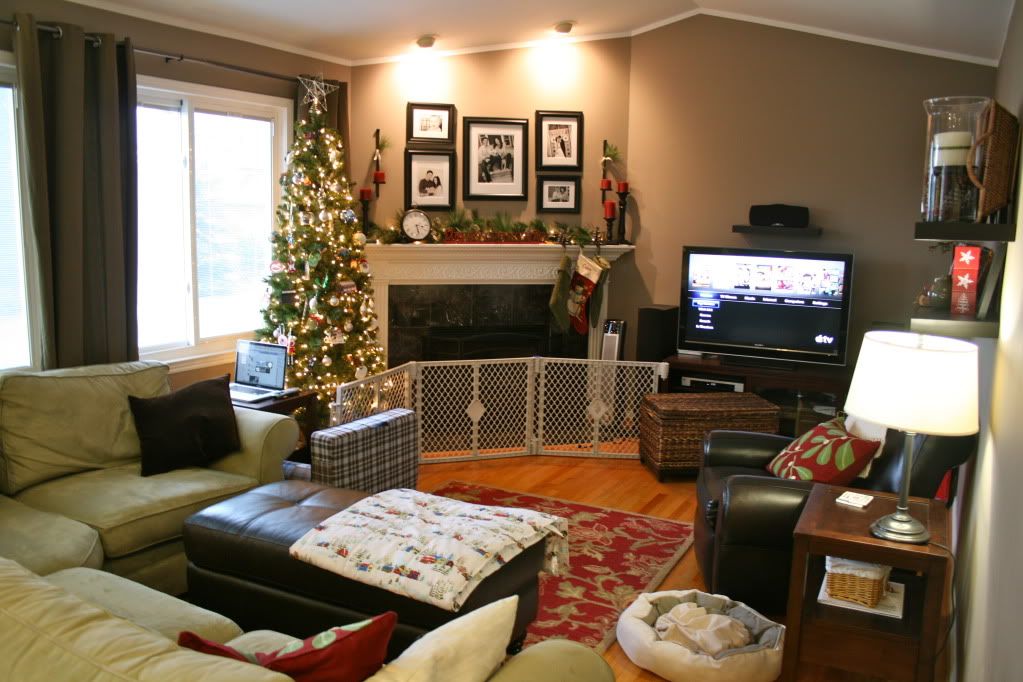
....the Happy House gives to you, the rest of the family room! Here is the overview from the kitchen. You've seen the fireplace and the tree (for the most part) but here is the wider view. I bought the pillows on clearance last year after Christmas. (The day after a holiday is a great time to buy holiday decor for next year!)

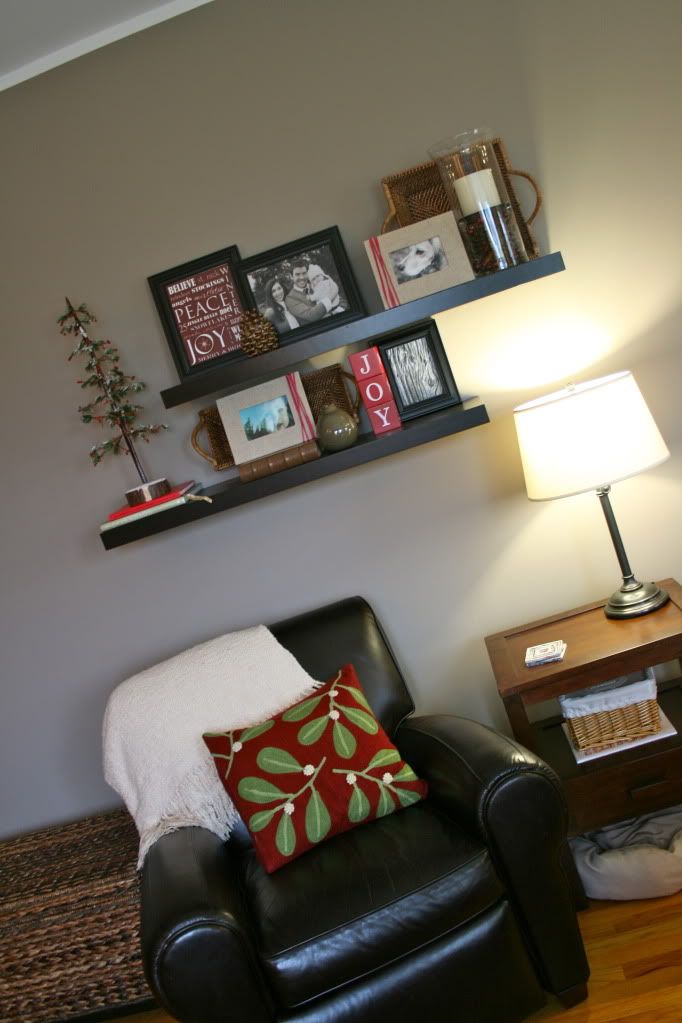
Then there are the floating shelves. I had so much I wanted to share, so I just went with all of it!
 I got the Christmas printable here. Otherwise, everything is ours, and other than photos, everything was from last year.

 You know you want to come join me by the fire, just admit it! I'll have some hot cocoa waiting for you!

And because you know I like to keep it real, this is how it looks during the day when Cam is hanging out with me :) Laptop on the side table, Christmas tunes on the TV, gate putting the tree in a time out, and Gibson's bed which is virtually useless because Cam won't let him sleep.

Then there are the floating shelves. I had so much I wanted to share, so I just went with all of it!
 I got the Christmas printable here. Otherwise, everything is ours, and other than photos, everything was from last year.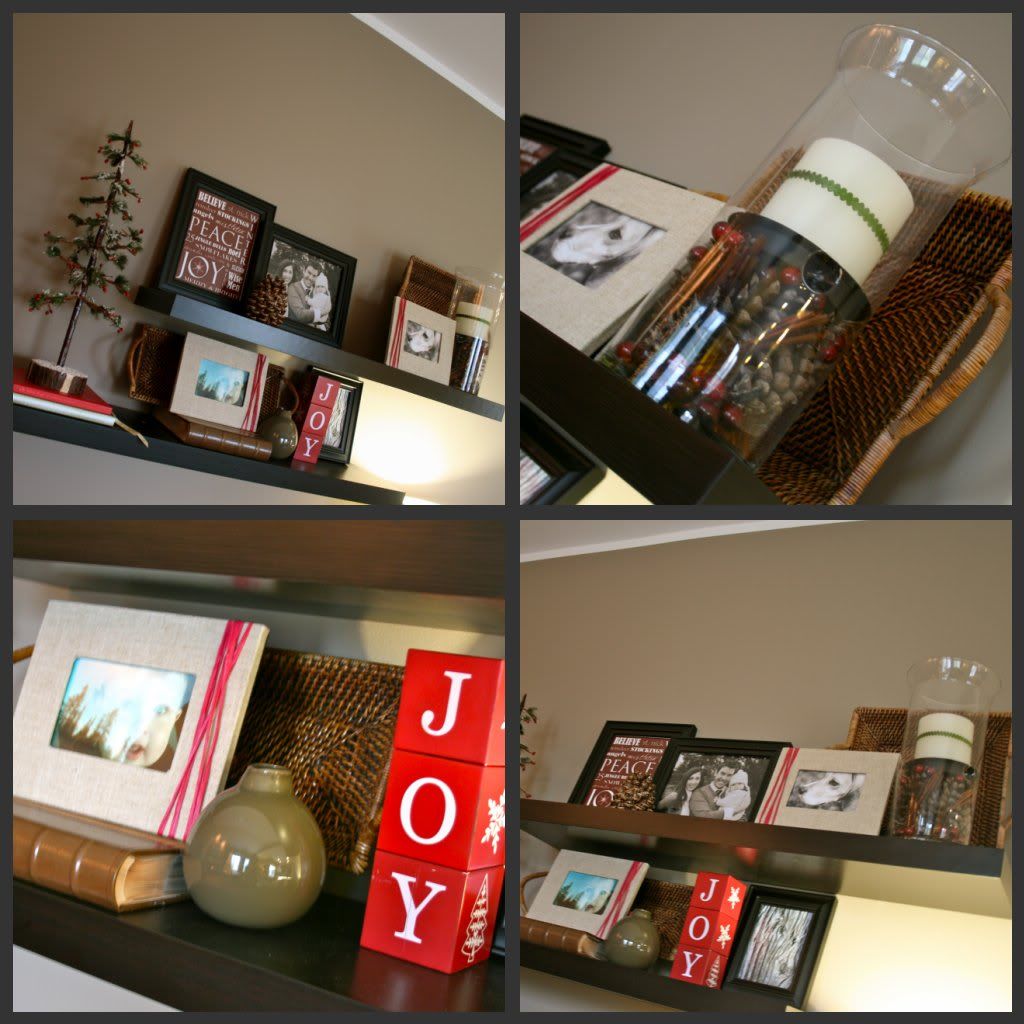
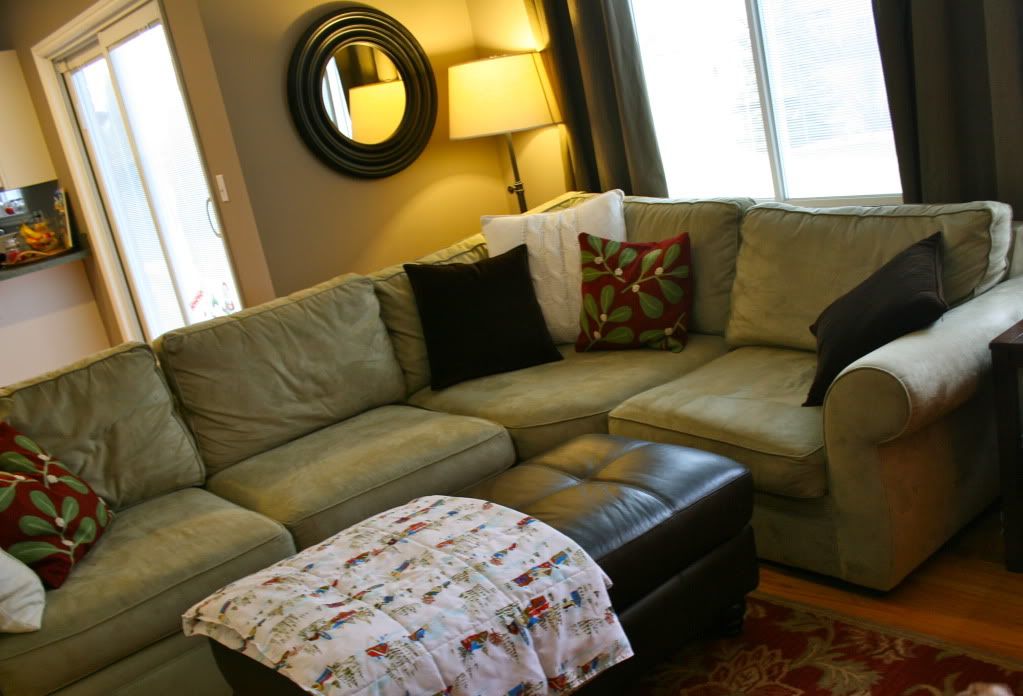 You know you want to come join me by the fire, just admit it! I'll have some hot cocoa waiting for you!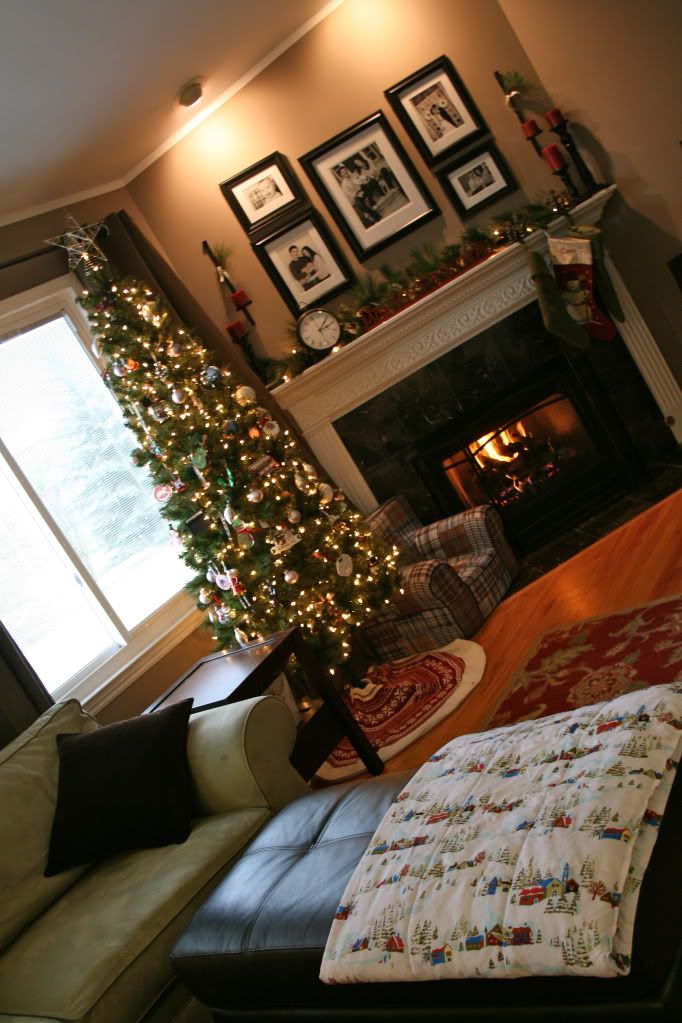
And because you know I like to keep it real, this is how it looks during the day when Cam is hanging out with me :) Laptop on the side table, Christmas tunes on the TV, gate putting the tree in a time out, and Gibson's bed which is virtually useless because Cam won't let him sleep.
Hope you're enjoying my very own little 12 Days of Christmas!
Wednesday, December 14, 2011
On the 3rd Day of Christmas....
I thought about this the other day when I posted the Christmas Tree. I was 12 days away from Christmas, but I didn't want to jinx myself. However, now I feel like I'm on a roll and it's more of a challenge! I'm going to try to give you a Christmas post (decor, entertaining, gift, etc.) up until Christmas. Let's see if I can fulfill my own challenge!
On the 3rd day of Christmas the Happy House gives to you...the annual DIY Fresh Greenery Wreath. I showed you how to make your own here, and then I also showed you last year's version here. They aren't all that different from one another, mostly because I like it to be really simple and unrefined.


This year, we bought a cute, little, leather reindeer with jingle bells. I can't wait to hear the holidays every time we open the door!

I haven't decided if I want to add a ribbon to hang it from as I've done in years passed. I might give it a try later today to see if I like it, but I'm kind of digging this extremely simple version this year! But of course I like your opinions...ribbon or no ribbon?
On the 3rd day of Christmas the Happy House gives to you...the annual DIY Fresh Greenery Wreath. I showed you how to make your own here, and then I also showed you last year's version here. They aren't all that different from one another, mostly because I like it to be really simple and unrefined.
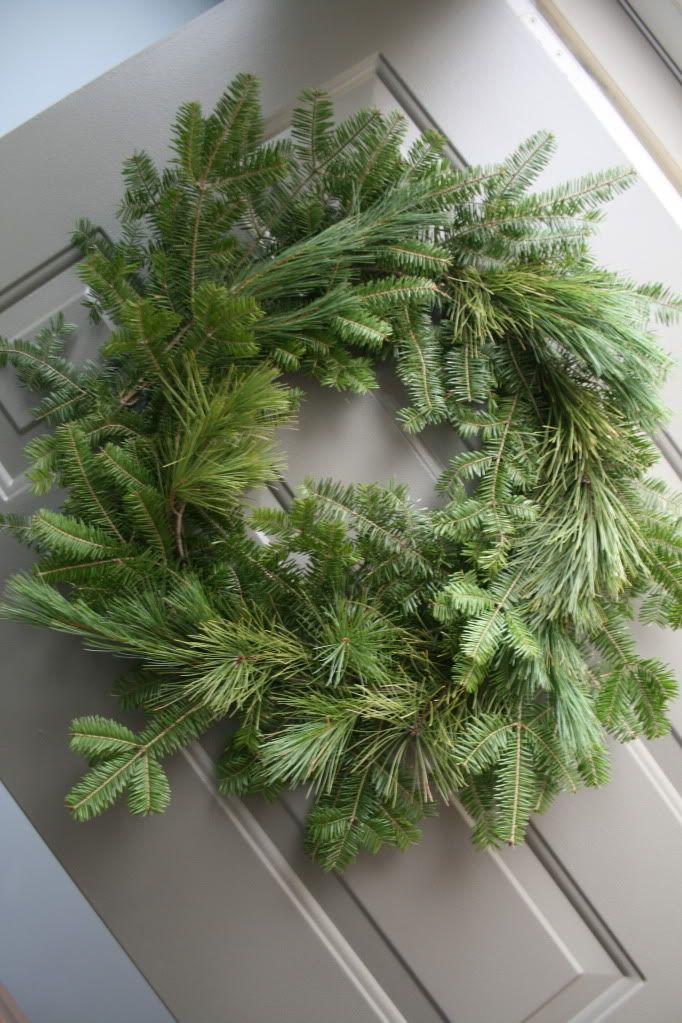
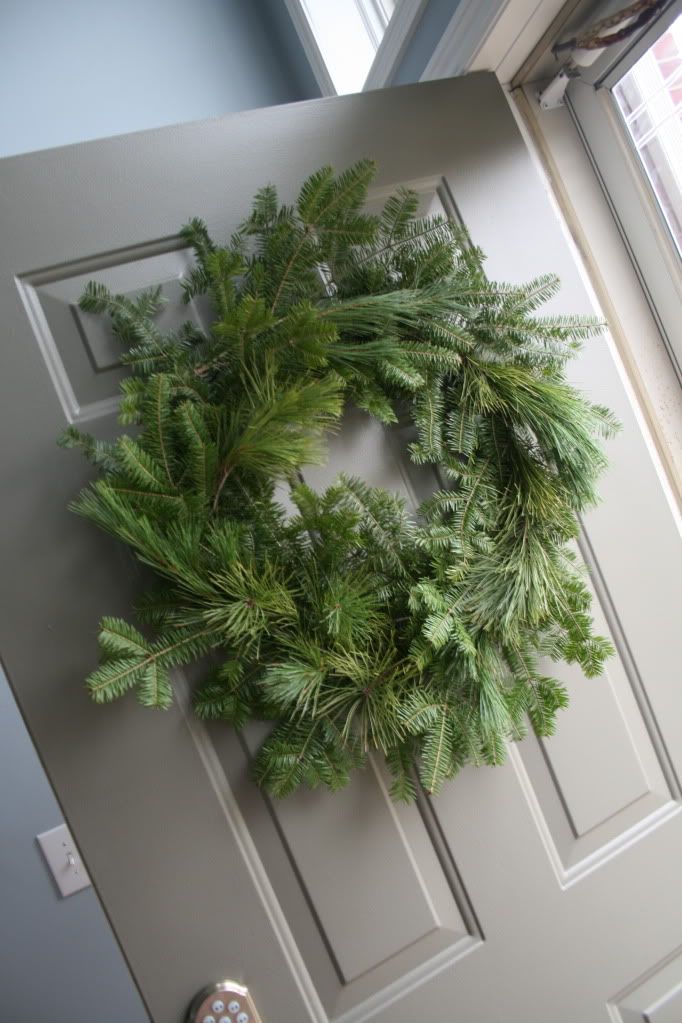
This year, we bought a cute, little, leather reindeer with jingle bells. I can't wait to hear the holidays every time we open the door!
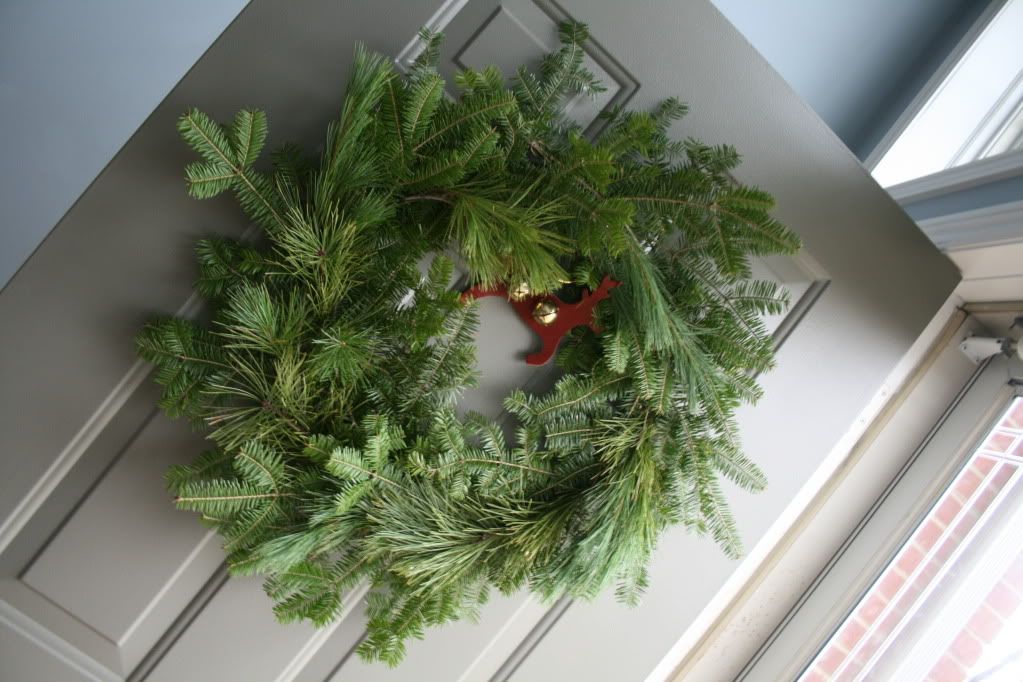
I haven't decided if I want to add a ribbon to hang it from as I've done in years passed. I might give it a try later today to see if I like it, but I'm kind of digging this extremely simple version this year! But of course I like your opinions...ribbon or no ribbon?
Tuesday, December 13, 2011
Cozy Festive Family Room
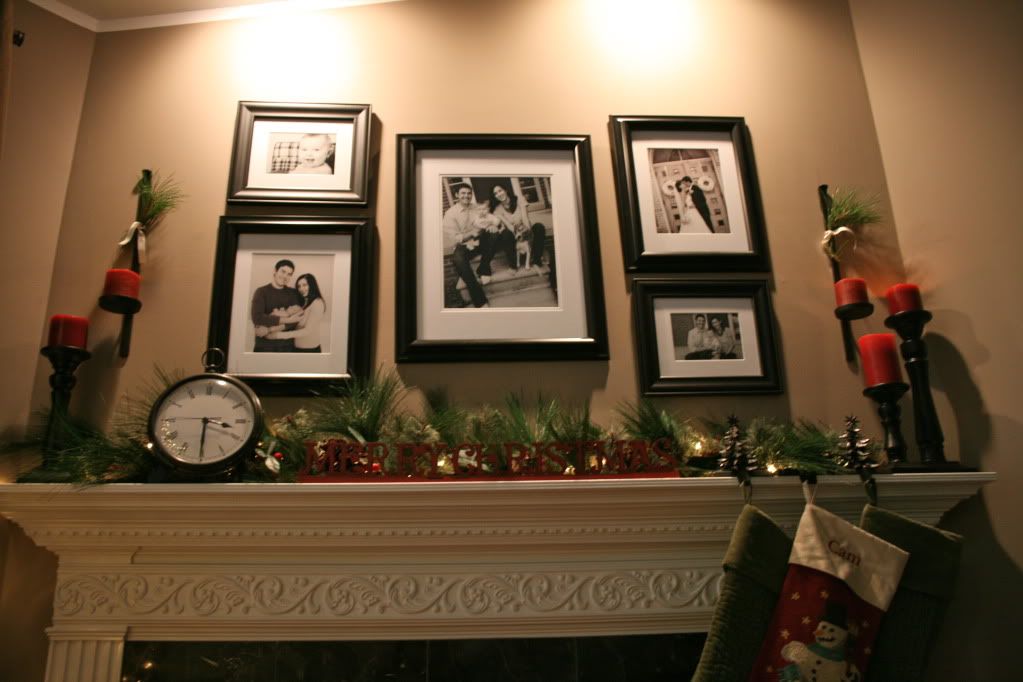
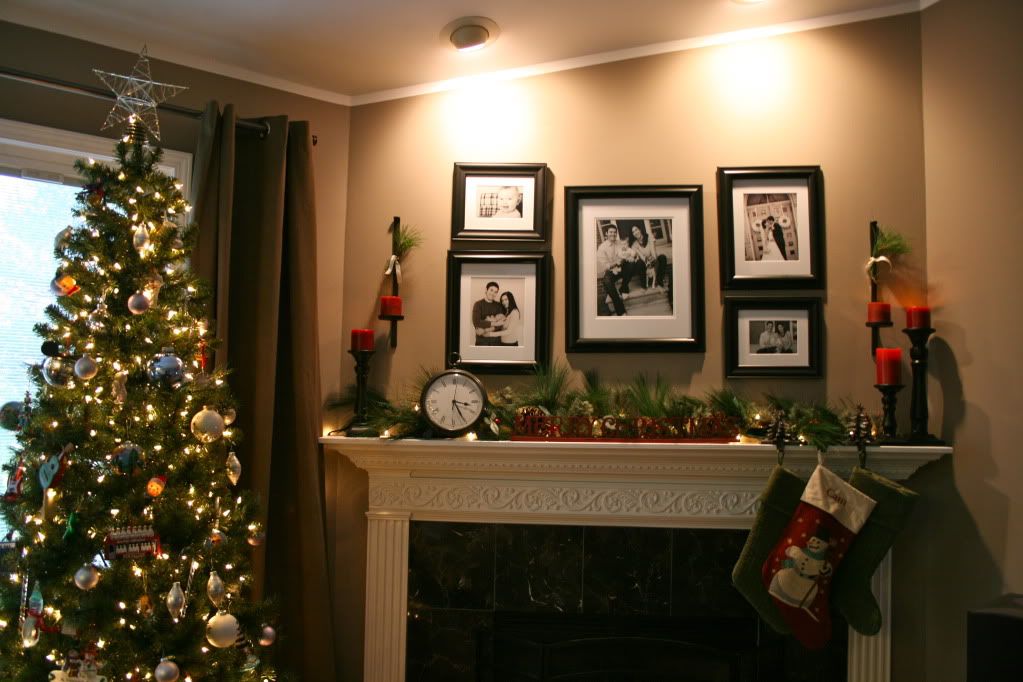
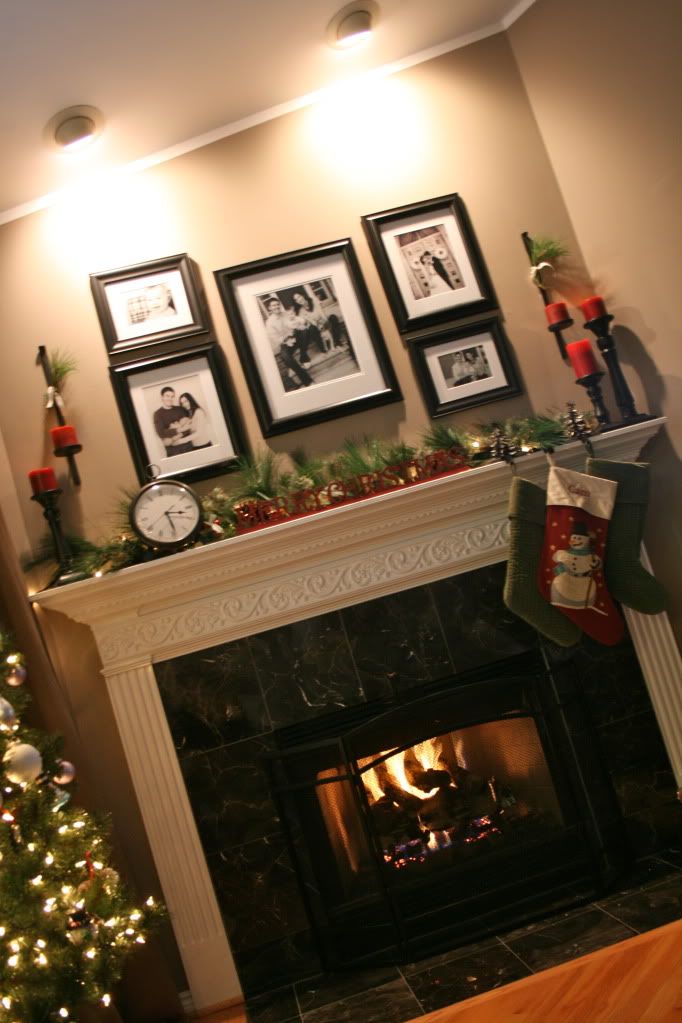
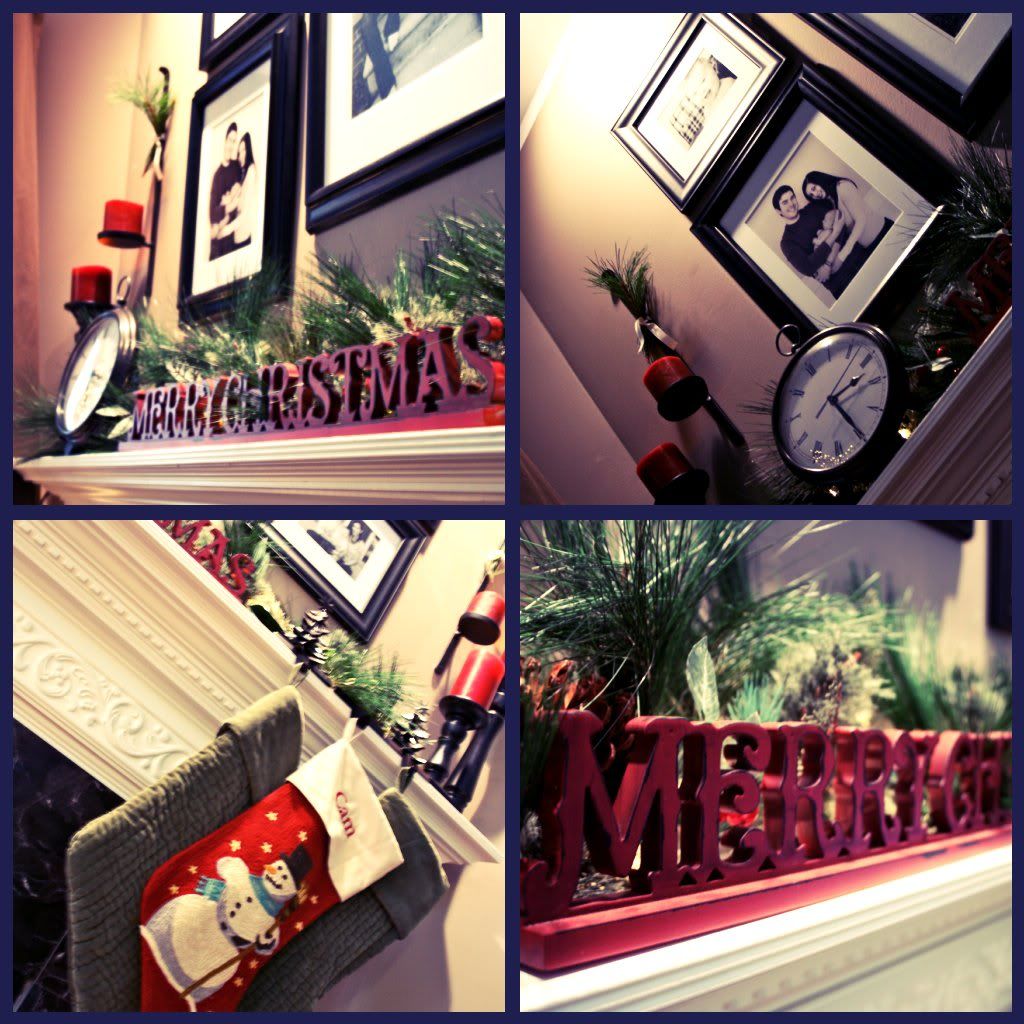
Our family room is typically my favorite room in the house. It certainly is my favorite when it comes time to enjoy a cozy holiday evening. I broke this room down into two posts, because...well, I'm just going to be straight up honest with you. I have like 3 loads of laundry on my couch and Cam's toys are all over the place and I just don't have the energy to clean it all up and show you the other side. There. How's that for honesty? But I will show you the fireplace, which is my favorite part anyway!


Monday, December 12, 2011
Silver and Red....Silver and Red....
That is the color of our living room tree :) For the last 3 years now, I've had "my" tree. We will always have our sentimental ornament tree in the family room, but I love the idea of a color coordinated tree too. It makes me smile every time I walk by it. We had a hand-me-down tree from my sister up until this year, but it's really just too big for the space. We took advantage of the day after Thanksgiving sales and picked ourselves up a 7ft pre-lit one.
I told you I would get you all caught up on my Advent Calendar, so we'll start here, with the tree!


I've got lots more to show you, so I need to hop to taking photos!
I told you I would get you all caught up on my Advent Calendar, so we'll start here, with the tree!
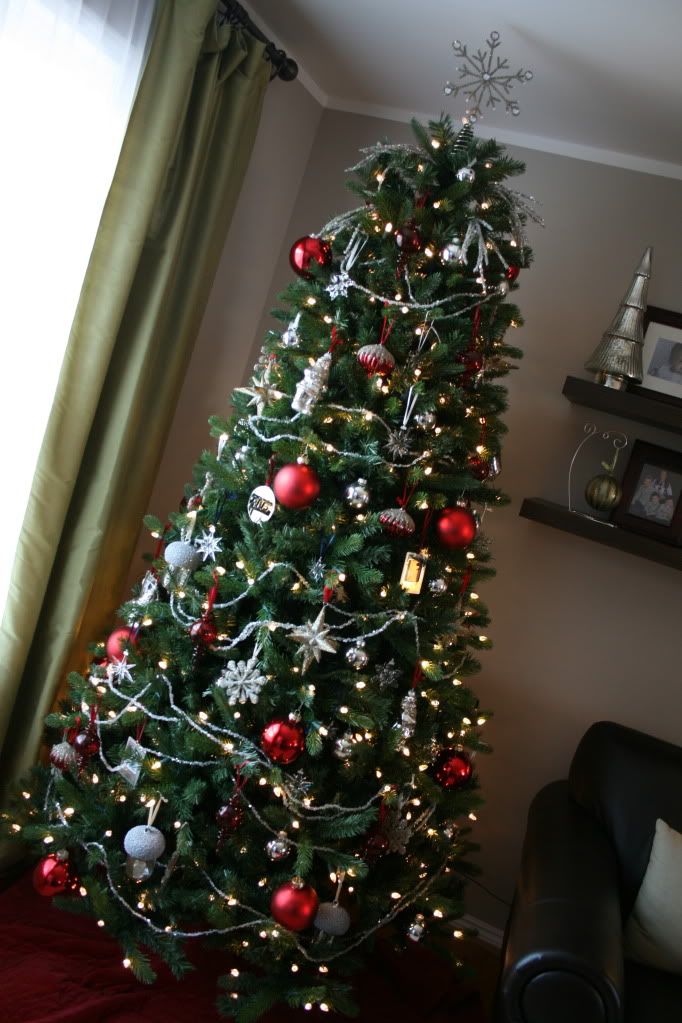
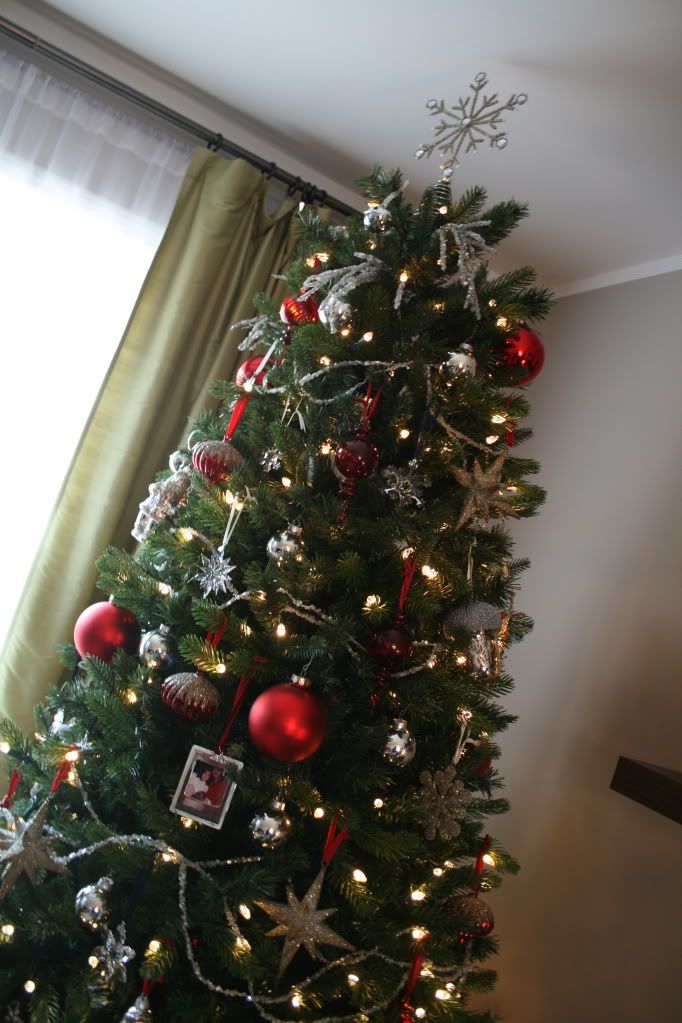
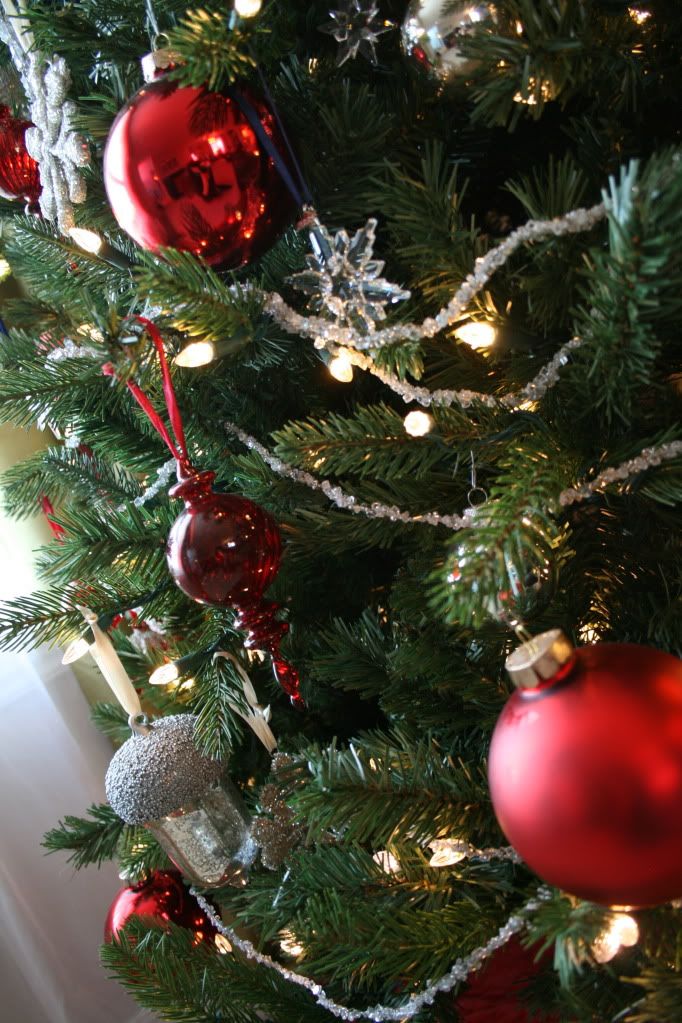
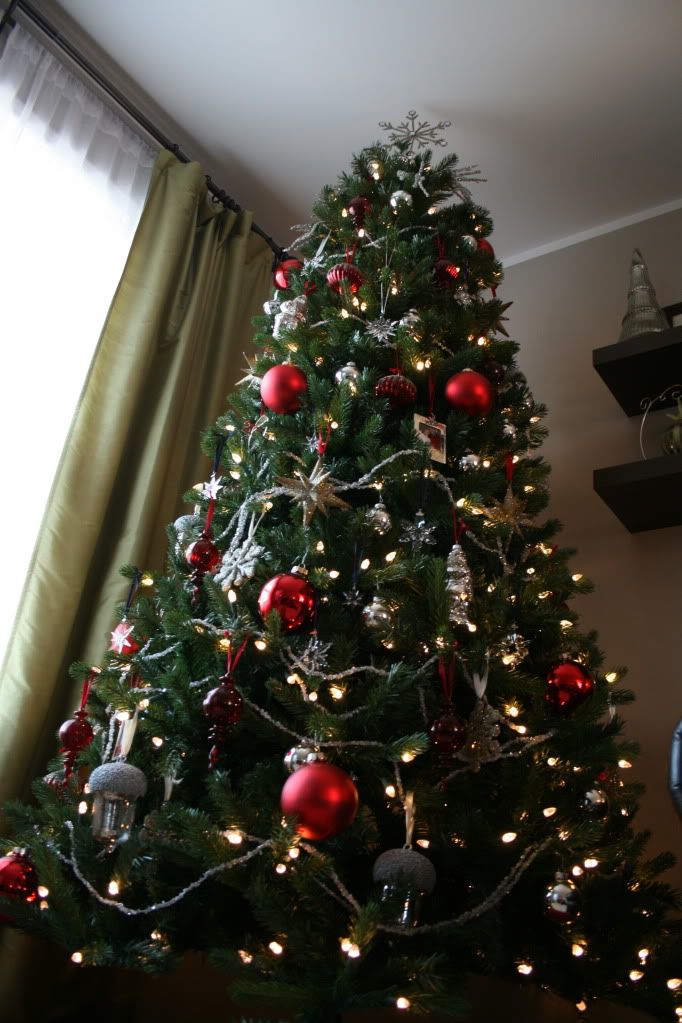
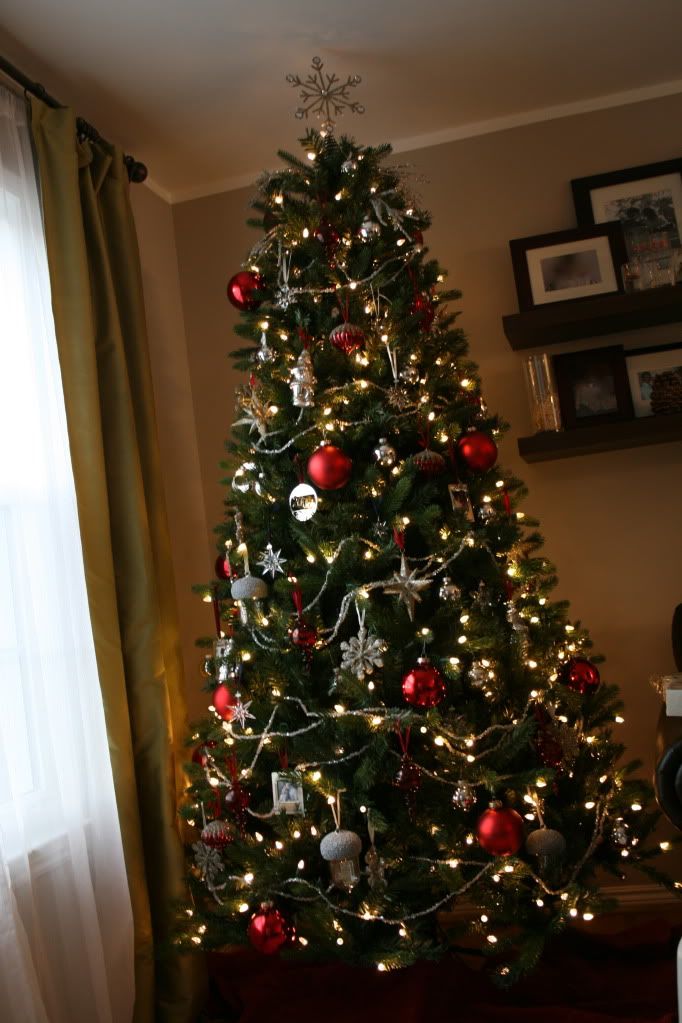
I've got lots more to show you, so I need to hop to taking photos!
Saturday, December 3, 2011
Friday Friendsgiving
As we were eating our 3rd, and what should have been our final, Thanksgiving dinner up at the cabin, I told Carl I needed more. Just one more turkey dinner, with all the fixings, and I'd be set. I decided to buy a turkey when we got home, invite a couple of friends over and enjoy Thanksgiving one more time!
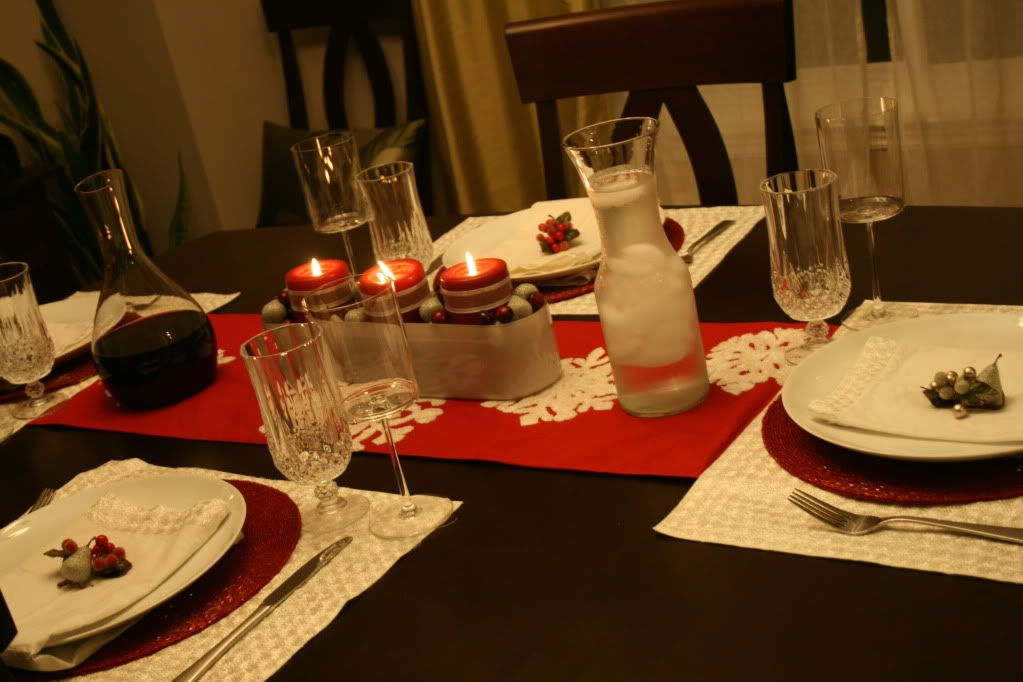
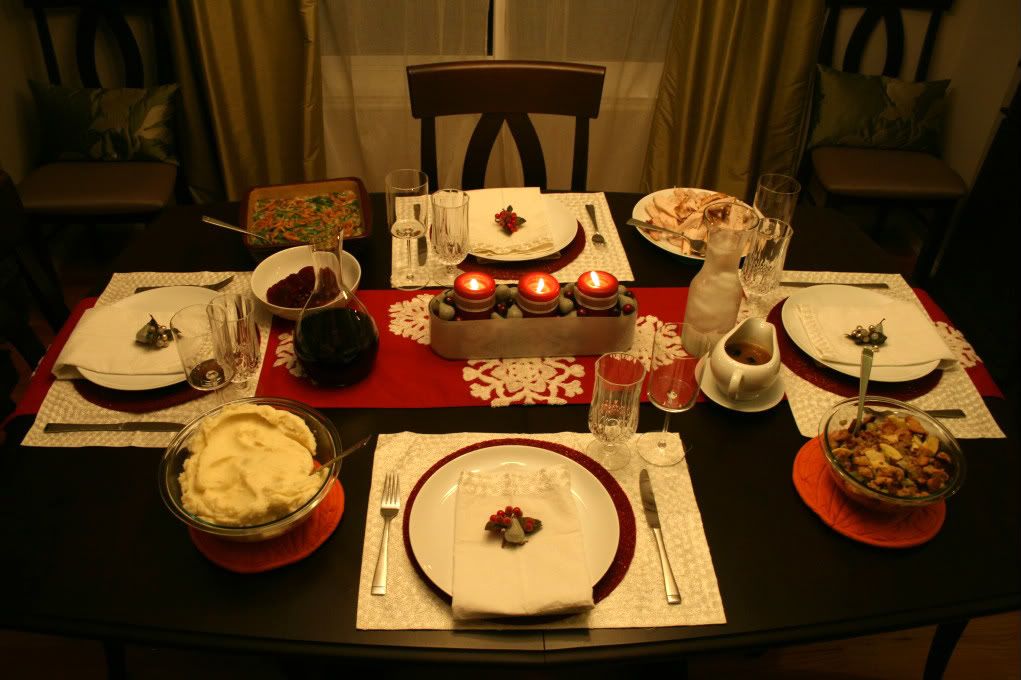
I wasn't going to do anything with the table, but at the last minute just dressed it up a bit to welcome in the Christmas season. I just used things I had from last year and regular season items as well. Just goes to show you can entertain any time for any reason. It was a mix of fancy and casual and completely delicious!
The menu was seriously traditional:
2:30p start the stuffing and prep the turkey
3p: Start the turkey (8.5lb turkey to be done about 6:30p in time to rest and carve)
5p: peel and cut potatoes, put in water to keep from browning
5:30p put together green bean casserole
6p: set the table, wine in the decanter, ice water in the carafe
6:30p boil and mash potatoes, take turkey out and cover with aluminum foil, put casserole and stuffing in the oven
7p: light candles, guests arrive, carve turkey, get everything on the table


If you are hosting this year, here is my quick guideline for entertaining.
1-2 weeks out: Choose the Menu
2-3 days before: Grocery Shop
1-2 days before: Prep your table to be sure you aren't missing anything
1 day before: Do as much cleaning as possible
Day of: Start cooking early, be sure to leave time to get ready and enjoy!

I wasn't going to do anything with the table, but at the last minute just dressed it up a bit to welcome in the Christmas season. I just used things I had from last year and regular season items as well. Just goes to show you can entertain any time for any reason. It was a mix of fancy and casual and completely delicious!
The menu was seriously traditional:
- Roast Turkey and Drippings Gravy
- Creamy Mashed Potatoes
- Homemade Sweet & Savory Stuffing
- Green Bean Casserole
- Cranberry Sauce
- Wine
- Ice Water
2:30p start the stuffing and prep the turkey
3p: Start the turkey (8.5lb turkey to be done about 6:30p in time to rest and carve)
5p: peel and cut potatoes, put in water to keep from browning
5:30p put together green bean casserole
6p: set the table, wine in the decanter, ice water in the carafe
6:30p boil and mash potatoes, take turkey out and cover with aluminum foil, put casserole and stuffing in the oven
7p: light candles, guests arrive, carve turkey, get everything on the table
If you are hosting this year, here is my quick guideline for entertaining.
1-2 weeks out: Choose the Menu
2-3 days before: Grocery Shop
1-2 days before: Prep your table to be sure you aren't missing anything
1 day before: Do as much cleaning as possible
Day of: Start cooking early, be sure to leave time to get ready and enjoy!
Sunday, November 20, 2011
Thanksgiving Tablescape
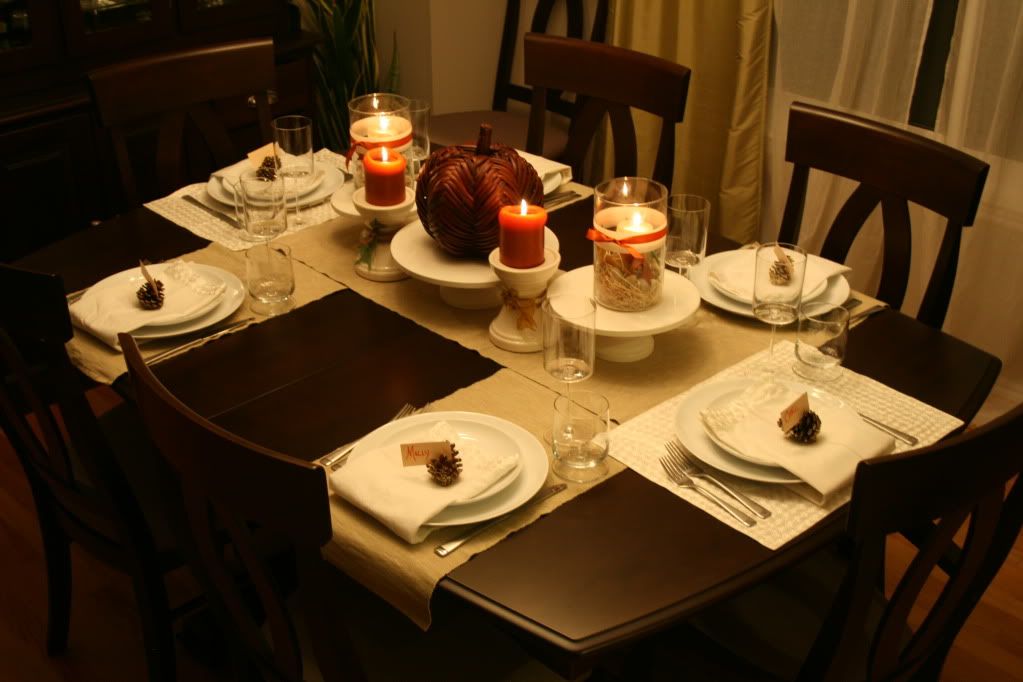
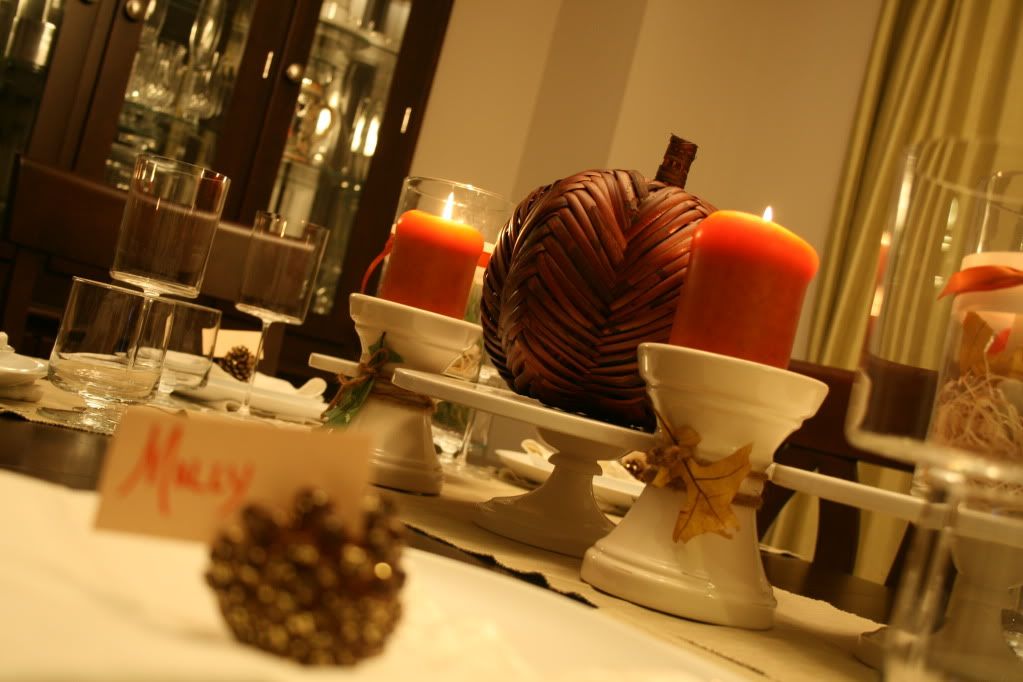
Since the only Thanksgiving I got to host this year was the Mock Thanksgiving, I didn't have a chance to do a formal table. I linked my previous post up with the Dare to DIY Party over at the NewlyWoodwards, but I wanted to take my challenge a step further and set out table. Had our group been smaller, it would have looked a little something like this...


Not that I'm complaining! I loved our big group, I just wanted in on the small group fun :) Did you set your table this week? Go share it at the Dare to DIY Party!

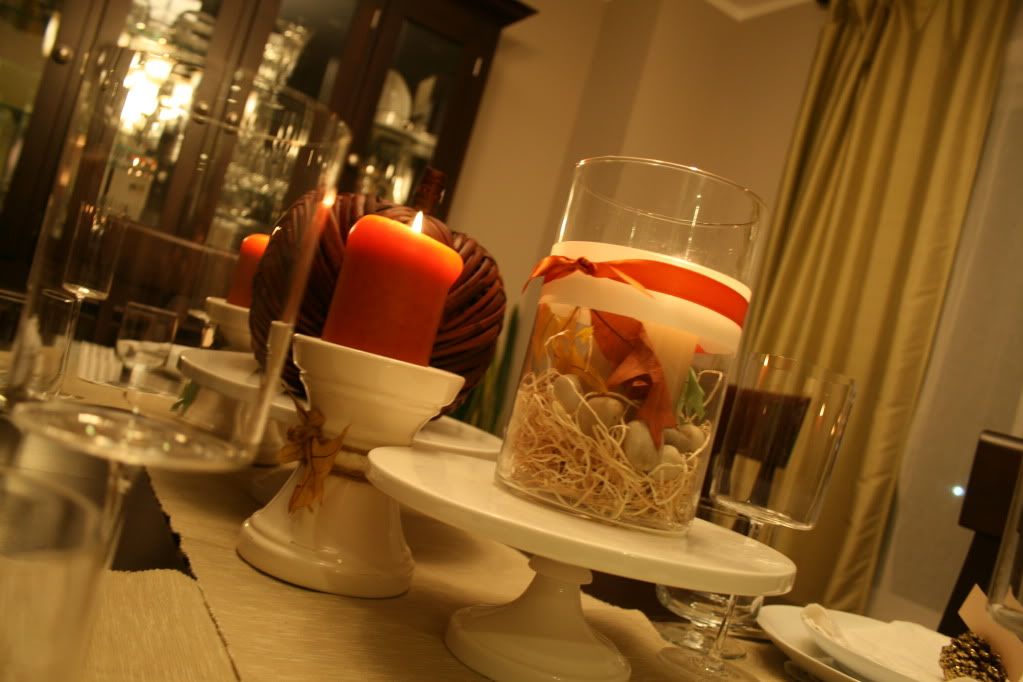
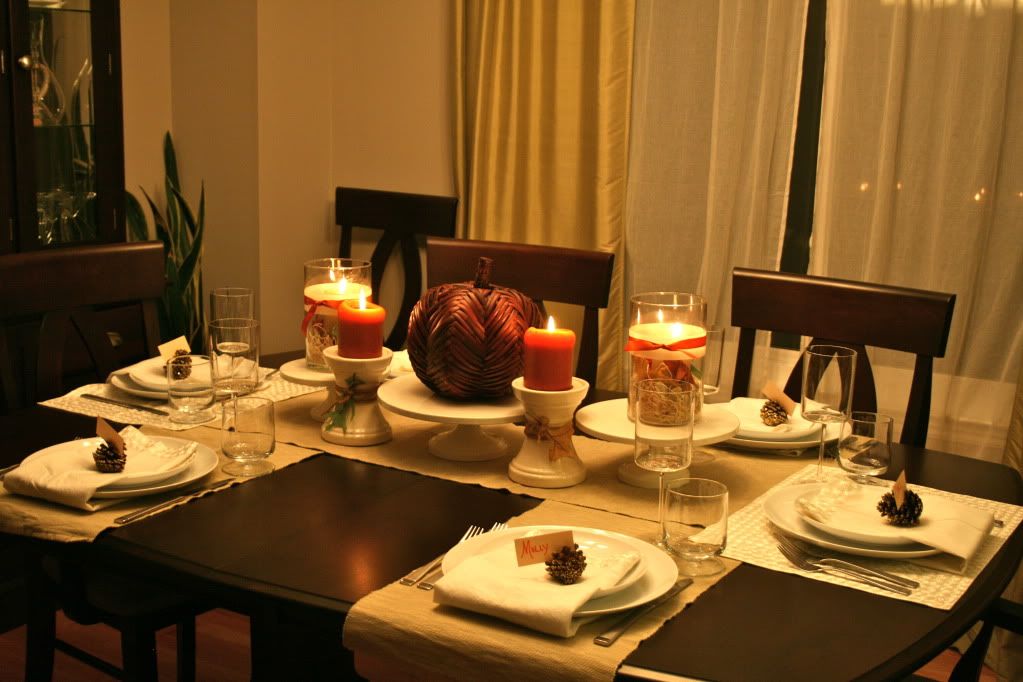
Not that I'm complaining! I loved our big group, I just wanted in on the small group fun :) Did you set your table this week? Go share it at the Dare to DIY Party!
Mock Thanksgiving: Tips, Tricks & Photos Galore!
What do you do when you normally don't host more than 12 people for dinner at a time and you realize you are about to host 18? You improvise!
I hosted a Mock Thanksgiving in 2009, then took a year off because I couldn't see my feet last Thanksgiving. This year, I wanted to bring it back in style! I invited 17 of my favorite ladies to join in a holiday dinner without the family politics :) Oh and all the mommas left the babies with the husbands. Including me. Carl took Cam AND Gibson to his parents' house.
But I'm getting ahead of myself.
Scene: Friday Night. Carl and I are in the living/dining room trying to figure out how to seat 18 people.
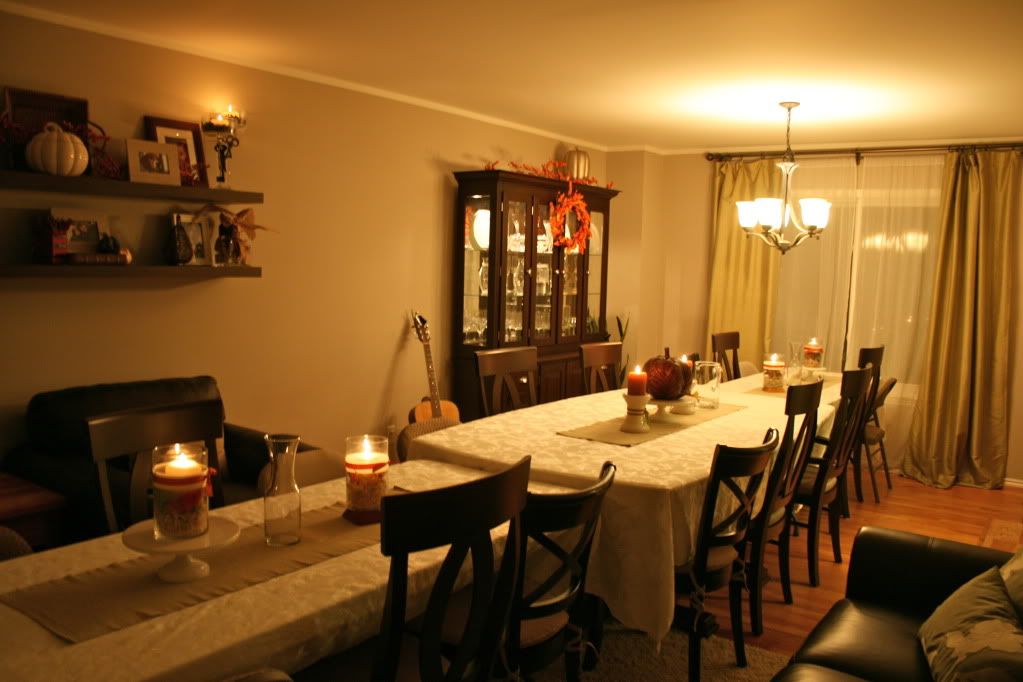
Our dining table and two 6ft folding tables later, we came up with a solution. In my head, I needed it to be symmetrical, so we created one long table. It was hard to photograph the whole thing, but I think we succeeded in 1. it being symmetrical and 2. it not looking like a soup kitchen (right Tricia?). I didn't buy anything new for decor, I just used what I had- a mix of decorative basket filler, stones, faux leaves, candles and ribbon seems to do the trick. The glass candleholders were bought for our wedding and I've used them countless times now!


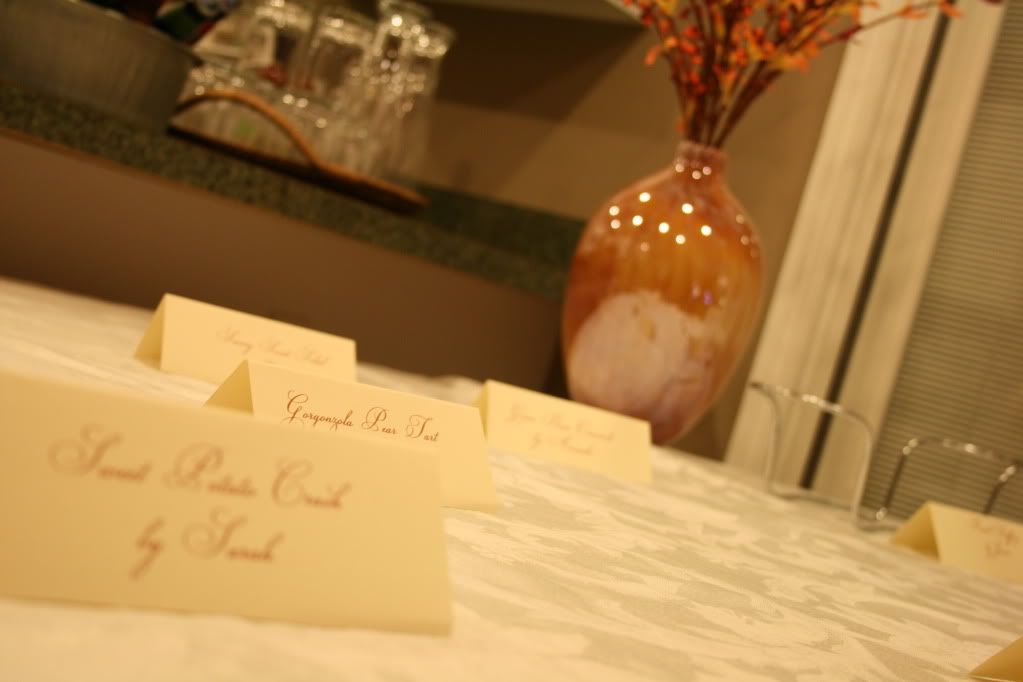
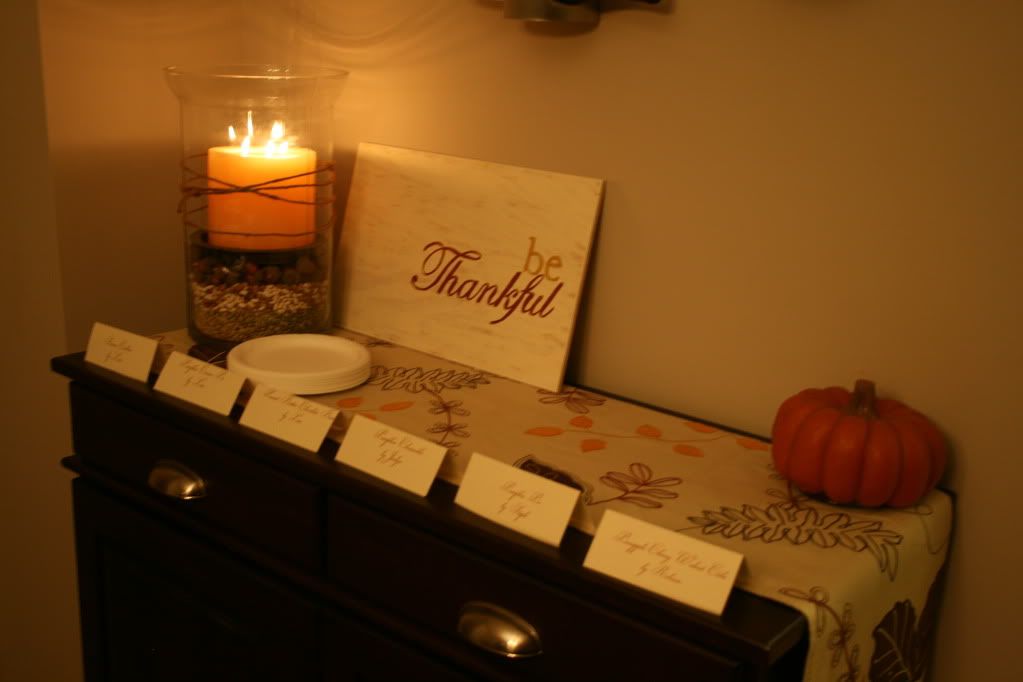
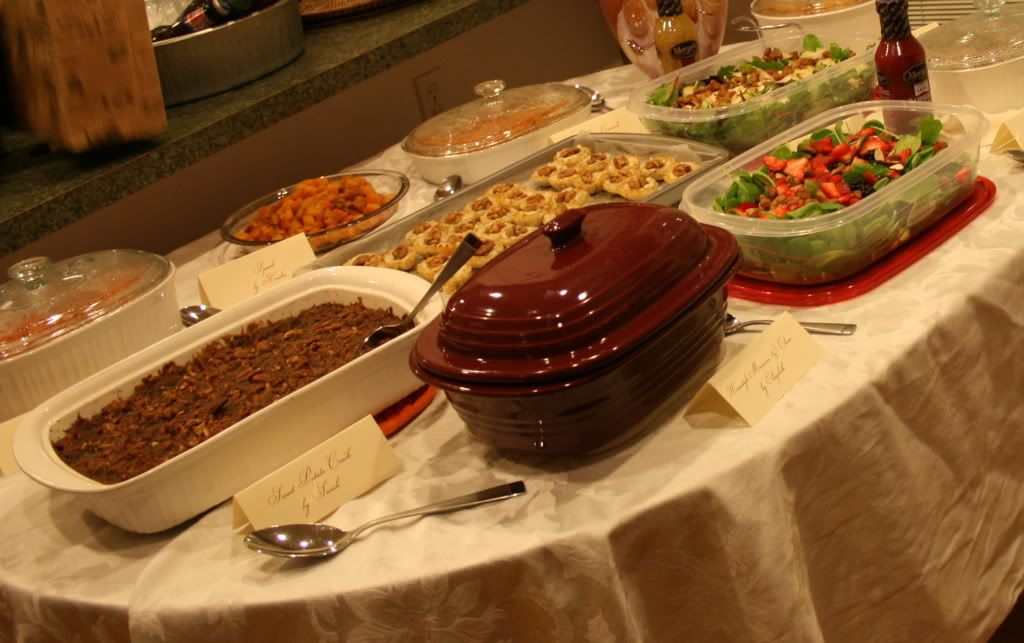
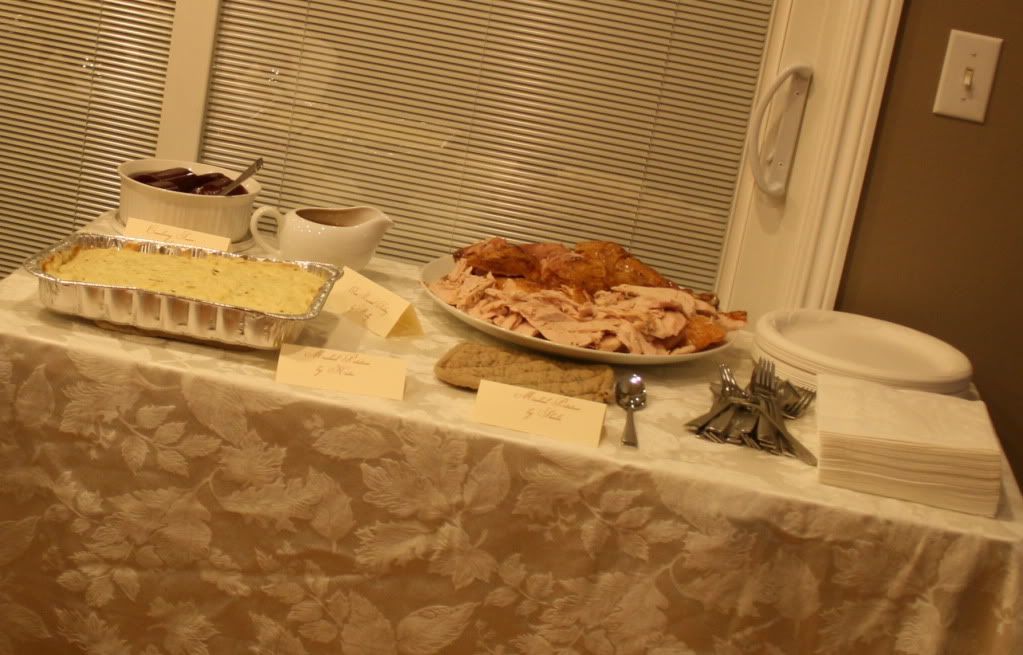
I created little name cards for all the dishes being brought. This way, people knew who made what.

Drink Station + Tricia:
 Hot cider (like we did for the game night party), seasonal beer, wine, liquor and soda.
The sideboard was prepped and awaiting the desserts:


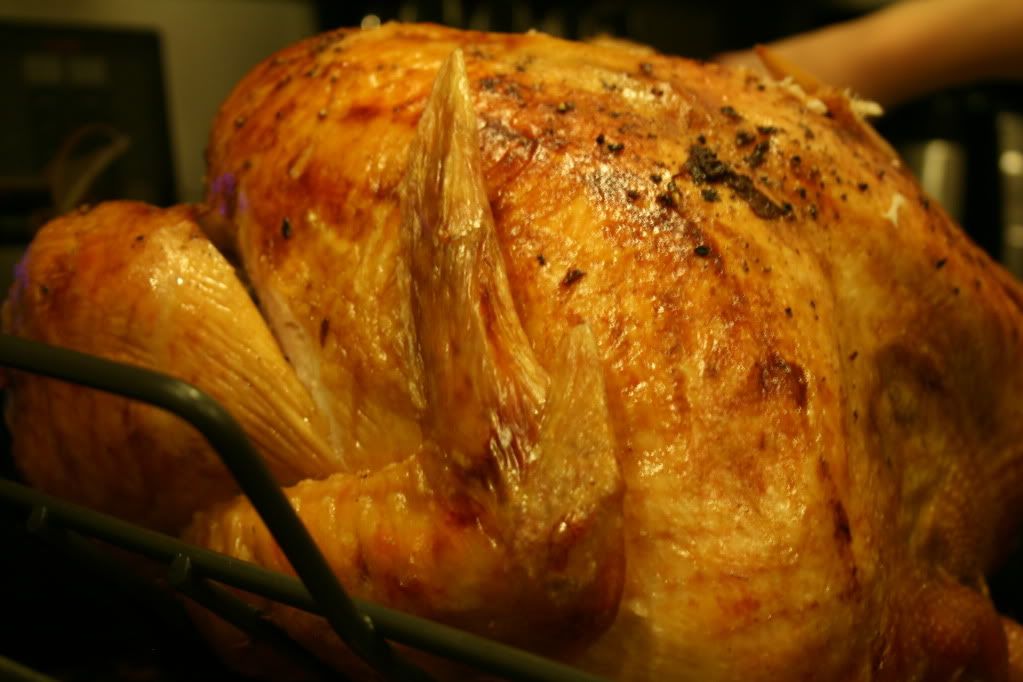
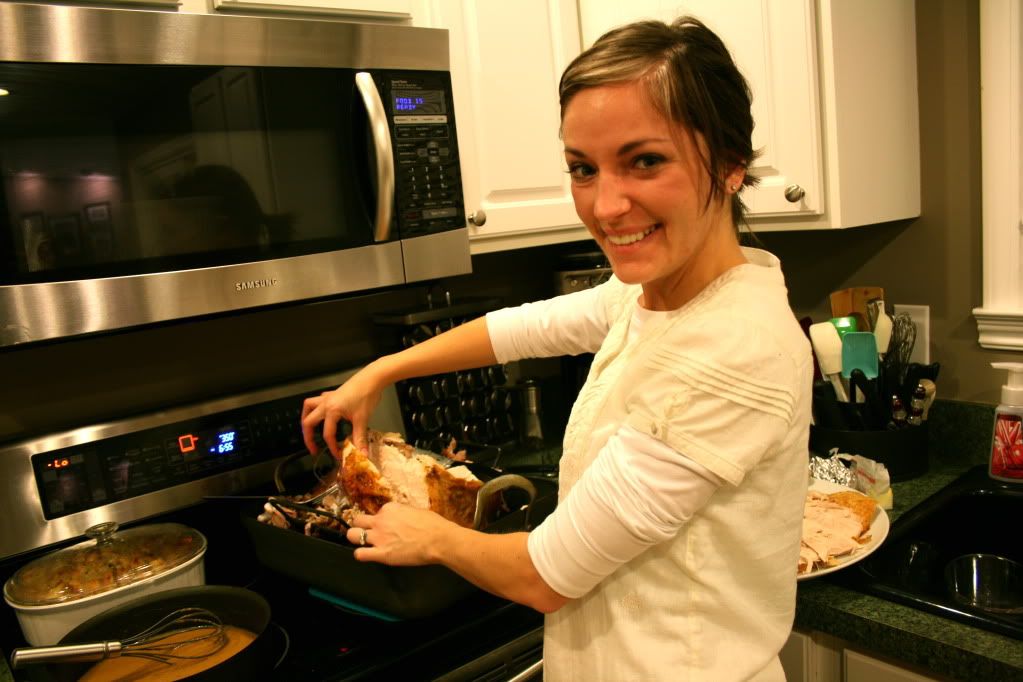
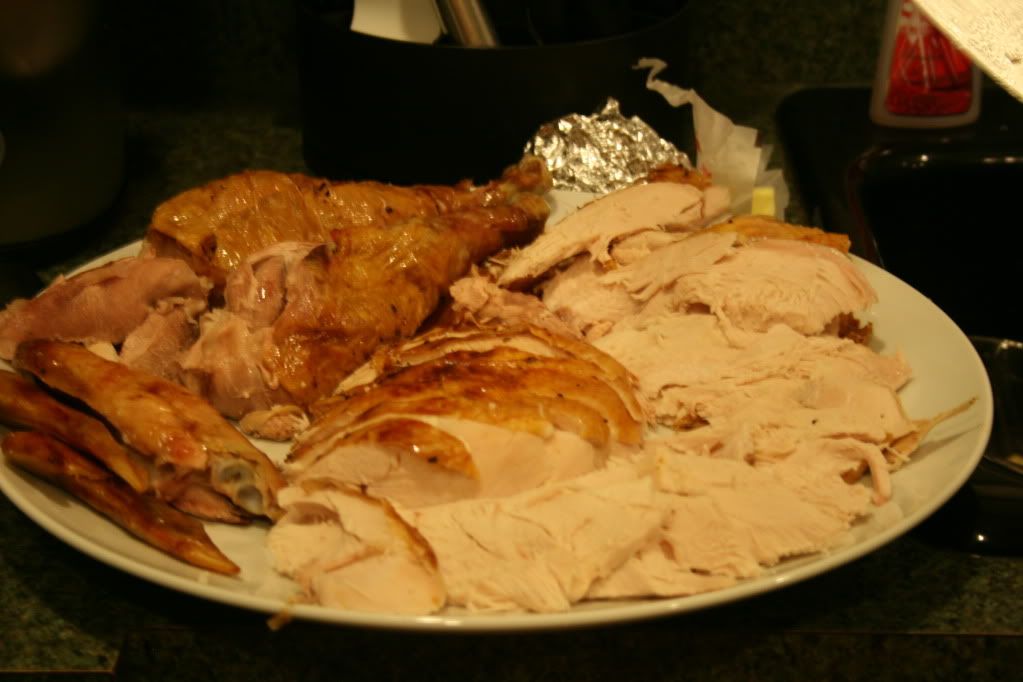
I love cooking a turkey. I really, really do. But when it comes time to carve, I move myself as far away as possible and wait for a hero to step in. Today's hero: Tricia.


As the guests arrived, they just placed their dish by their name tag. Food!!!


I had to keep my pictures quick, because Jess was not pleased I was making her wait to get to all that amazing food!

So that's the Mock Thanksgiving. How about some tips and tricks?
I hosted a Mock Thanksgiving in 2009, then took a year off because I couldn't see my feet last Thanksgiving. This year, I wanted to bring it back in style! I invited 17 of my favorite ladies to join in a holiday dinner without the family politics :) Oh and all the mommas left the babies with the husbands. Including me. Carl took Cam AND Gibson to his parents' house.
But I'm getting ahead of myself.
Scene: Friday Night. Carl and I are in the living/dining room trying to figure out how to seat 18 people.
Our dining table and two 6ft folding tables later, we came up with a solution. In my head, I needed it to be symmetrical, so we created one long table. It was hard to photograph the whole thing, but I think we succeeded in 1. it being symmetrical and 2. it not looking like a soup kitchen (right Tricia?). I didn't buy anything new for decor, I just used what I had- a mix of decorative basket filler, stones, faux leaves, candles and ribbon seems to do the trick. The glass candleholders were bought for our wedding and I've used them countless times now!
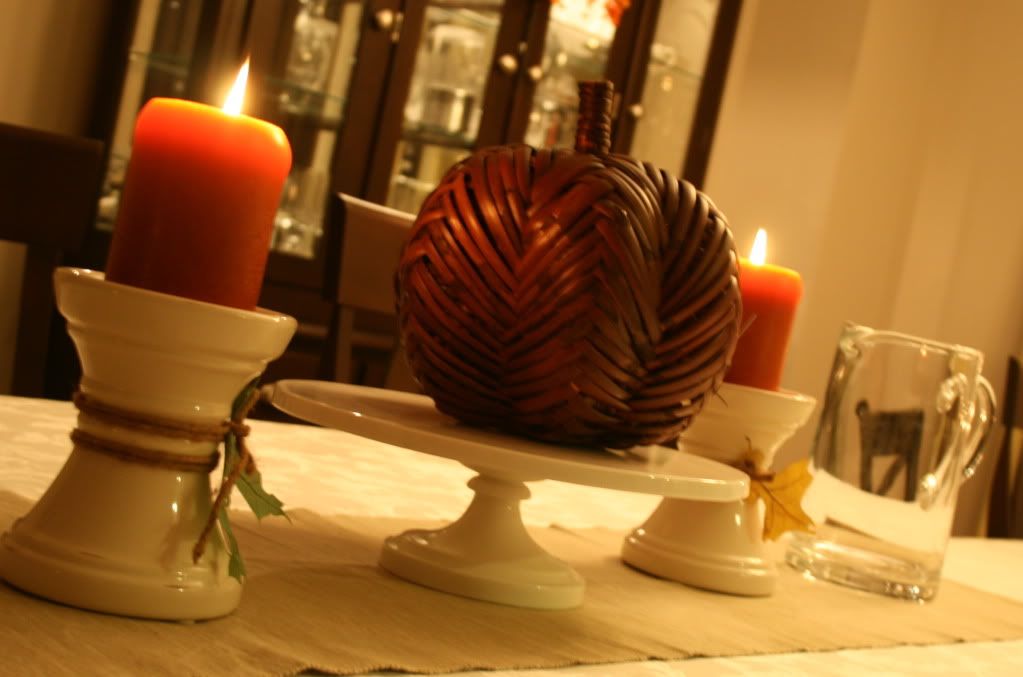
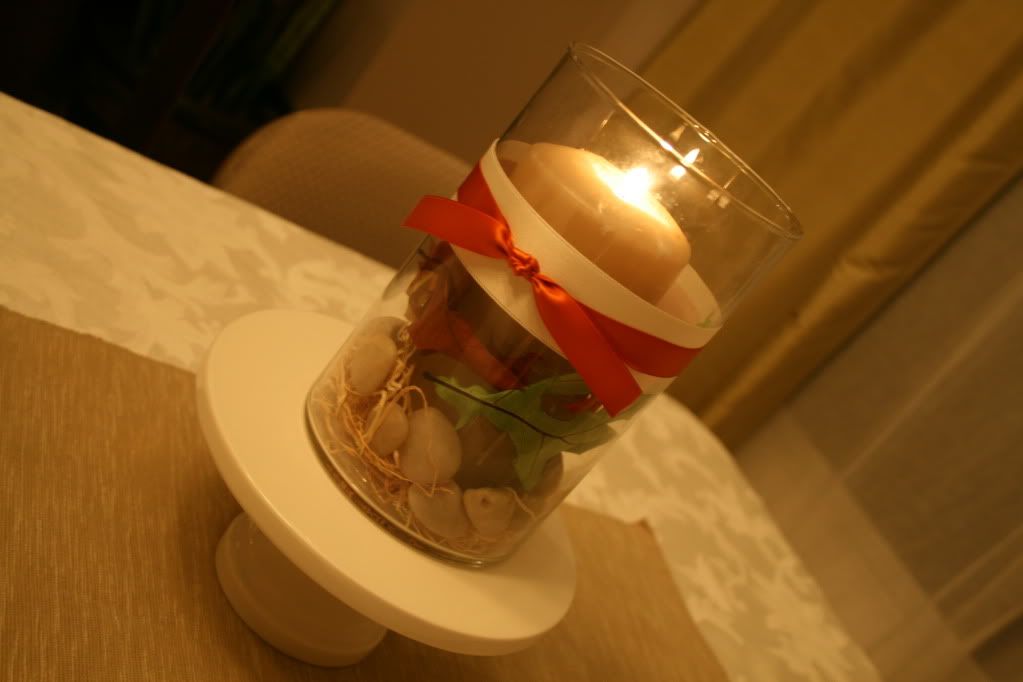
I created little name cards for all the dishes being brought. This way, people knew who made what.
Drink Station + Tricia:
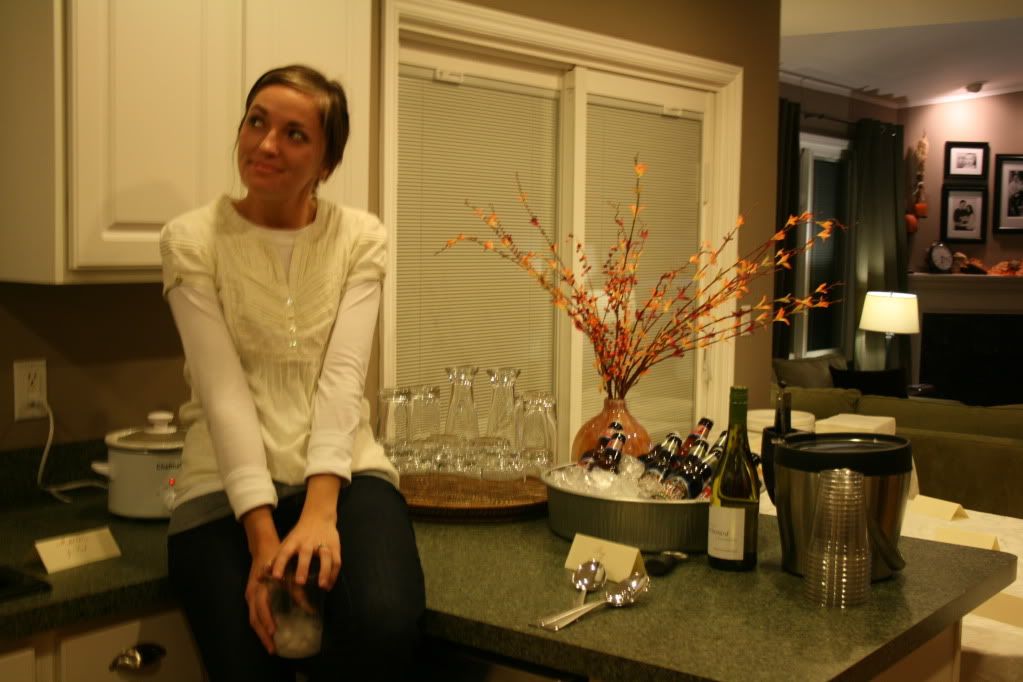 Hot cider (like we did for the game night party), seasonal beer, wine, liquor and soda.
The sideboard was prepped and awaiting the desserts:
I love cooking a turkey. I really, really do. But when it comes time to carve, I move myself as far away as possible and wait for a hero to step in. Today's hero: Tricia.
As the guests arrived, they just placed their dish by their name tag. Food!!!
I had to keep my pictures quick, because Jess was not pleased I was making her wait to get to all that amazing food!
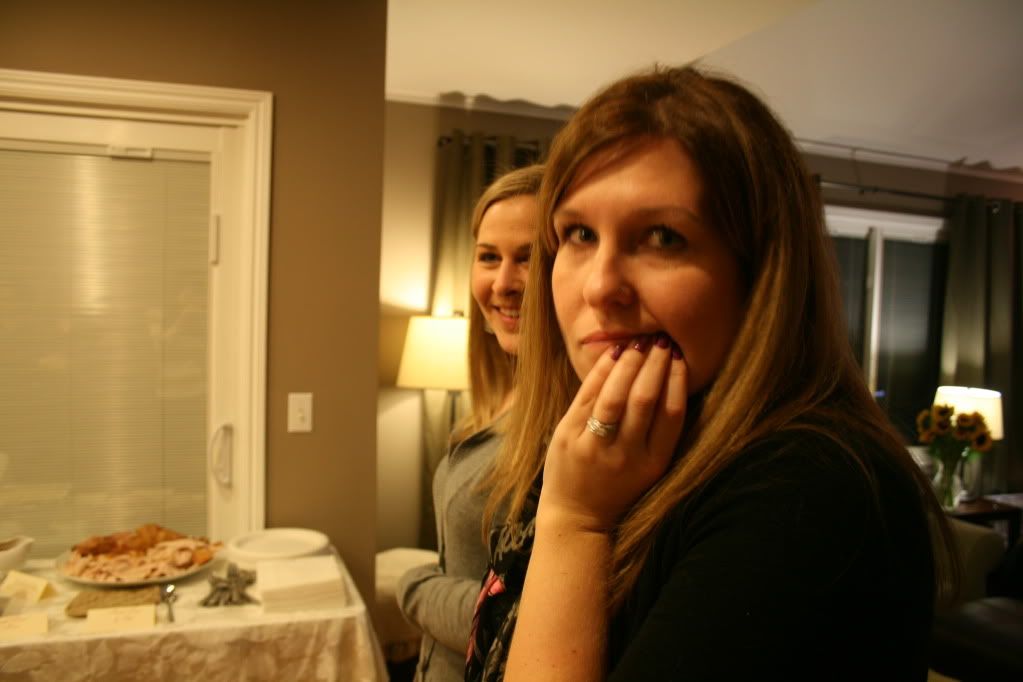
So that's the Mock Thanksgiving. How about some tips and tricks?
- Send out your invites at least 3 weeks in advance. I think we settled on a date about 5 weeks out.
- Keep track of who is bringing what. I basically asked everyone to request their two favorite dishes, and then figured out who should bring what. We purposely had a couple duplicates, but otherwise, you can see the assortment was fantastic!
- The only item I cooked was the turkey + the gravy. My efforts were better spent on prepping the house. I do enjoy the occasional event where my guests don't lift a finger, but this is not that kind of event. The best part about Mock Thanksgiving is seeing what everyone wants to bring, tasting different versions of stuffing and sweet potatoes. Everyone has a favorite recipe, let them share it! Just make sure you have a variety.
- I highly recommend printing up food name cards. Not only does it allow people to see who brought what, but it gives you a good idea of how much space you'll need for food.
- As always, do as much the night before as possible. I had everything set up as much as I could so Saturday was easy going. Just some light cleaning and set up, plus cooking the prized bird.
- Don't be afraid to go big. Was this a formal get together? Nope. Not even close. But was it comfortable, relaxing and great to just eat some good food with a bunch of gal pals? YUP!
- A pot luck, buffet style party can be just as fancy looking as a formal event. OK...maybe not quite as fancy, but light some candles and put extra touches where you can. I've said it before; little details matter.
- Kick back and enjoy! What's the fun in hosting if you are hustling around trying to make sure everything is going smoothly? Tricia was my right hand girl the entire night. Designate someone to help out with answering the door and making sure people have drinks. Just because you want to be the hostess with the mostest doesn't mean you have to be a solo worker bee!
Enough tips for you? Are you ready to host a big event? Not so much you say. OK, start small! With the holidays fast approaching (seriously...Thanksgiving is 4 days away!), set aside a weekend night and invite some friends over. I promise you'll enjoy it :)
Subscribe to:
Posts (Atom)


