
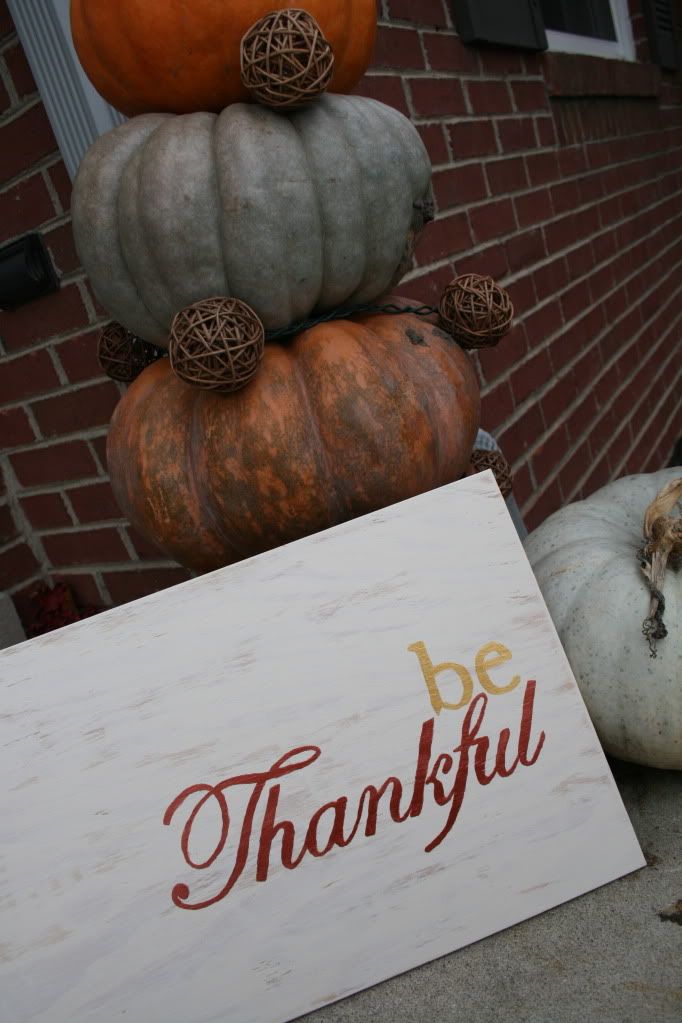
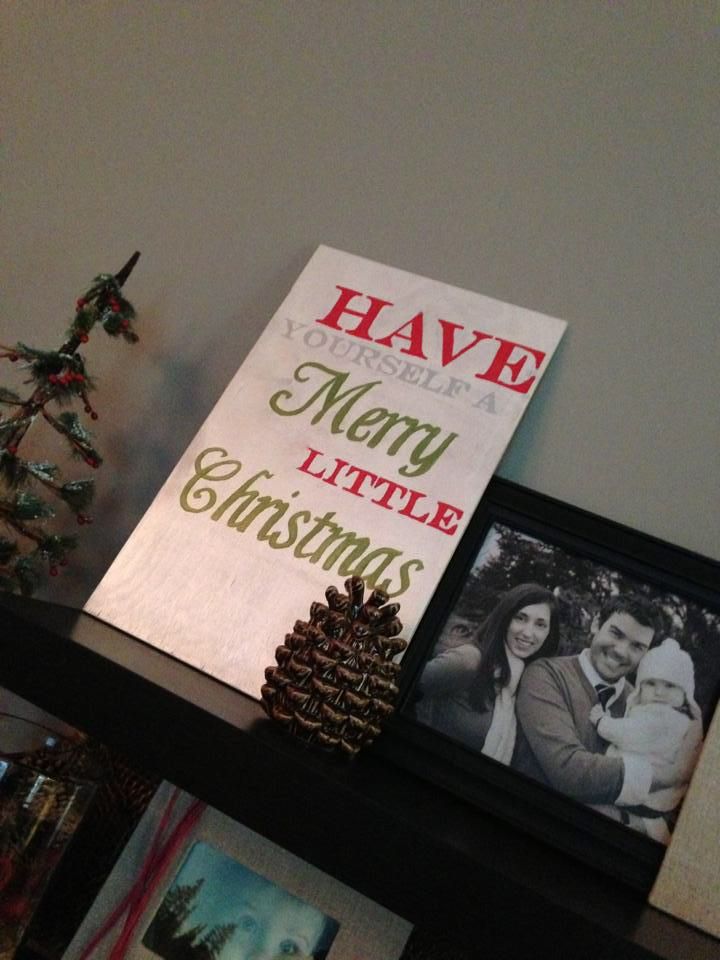
For about $17, I made what others are selling for upwards of $70. For no additional money, I flipped the sign and made a Christmas version this year.
What you need:
- A piece of plywood, cut to 18in x 11 1/4in
- White Metallic Paint
- Colored paints of your choice (For this I used a metallic green, red and silver)
- A foam brush
- Small paint brushes
- Carbon Paper
1. Give the plywood a light sanding, wipe off dust
2. Using the foam brush, paint the wood with the Metallic White paint. Use long strokes and if you want the rustic look, don't worry about complete coverage. Allow that to dry for one hour.
3. Decide on a saying, font, size and placement of your saying. You can easily download different fonts at websites like www.dafont.com.
4. Print the saying out, and cut it down to the word. It doesn't have to be perfect, just cut off the major excess.
5. Tape the saying on your board as you want it, (I just did one word at a time) and place the carbon paper, carbon facing down, under your piece of paper. Trace the outline of your word.
6. Remove the carbon paper, and paint your traced word.
7. Repeat steps 4-6 until your words are complete.
8. Give your words at least 2 coats of paint to really have full coverage. Allowing the paint to dry completely between coats helps to cover the carbon outline faster.


Cute!
ReplyDelete