Showing posts with label Christmas. Show all posts

Sunday, November 25, 2012

DIY Christmas Sign

Last year, I made this adorable "be thankful" sign to add to my fall decor.

For about $17, I made what others are selling for upwards of $70.  For no additional money, I flipped the sign and made a Christmas version this year.


What you need:
  • A piece of plywood, cut to 18in x 11 1/4in
  • White Metallic Paint
  • Colored paints of your choice (For this I used a metallic green, red and silver)
  • A foam brush
  • Small paint brushes
  • Carbon Paper

1. Give the plywood a light sanding, wipe off dust

2. Using the foam brush, paint the wood with the Metallic White paint. Use long strokes and if you want the rustic look, don't worry about complete coverage. Allow that to dry for one hour.

3. Decide on a saying, font, size and placement of your saying. You can easily download different fonts at websites like www.dafont.com.

4. Print the saying out, and cut it down to the word. It doesn't have to be perfect, just cut off the major excess.

5. Tape the saying on your board as you want it, (I just did one word at a time) and place the carbon paper, carbon facing down, under your piece of paper. Trace the outline of your word.

6. Remove the carbon paper, and paint your traced word.

7. Repeat steps 4-6 until your words are complete.

8. Give your words at least 2 coats of paint to really have full coverage.  Allowing the paint to dry completely between coats helps to cover the carbon outline faster.

Tuesday, December 27, 2011

And Just Like That....

Christmas is over. It might take me a moment to get in the blogging spirit again. I never feel quiet right the week after Christmas. It might be partially due to the fact that I will read other blogs, flip through Pinterest, etc. and think "Oh man!! I meant to do that this year!" So here I will share with you a few things I totally intended on completing, but forgot or ran out of time and I hope to do them next year!

Single Serving Pies in a Jar
(I even bought the stupid jars, just never got around to it!)


via

Make a Cute Holiday Breakfast
(Maybe this will be better next year anyway when Cam can appreciate it.)


Take More Photos on Christmas Day
(We had the morning covered, but nothing the rest of the day :( )

Stay on Track with the Advent Calendar
(I only missed a few things, but next year, my goal is to make sure we do it all!)


Now, this isn't to depress you, but I want to know what you wish you could have gotten done this year. Bonus points if it's a fun craft, recipe, or event that I can add to my list! Share the link in the InLinks below. I want to bulk up my 2012 list with your help! If you did it all, share your favorite blog post from the season instead! Make sure to check out the other links, you just might find a new activity for yourself :)


Saturday, December 24, 2011

On the 12th Day of Christmas....

...the Happy House gives to YOOOOOOOUUUUUU!!!! A Christmas Eve table :)


I used cake stands to indicate where dishes would go. Elevating them off the table gave a little more space as well.


All ready for dinner:


And Cam says Prime Rib is nicely followed up by YoBaby.

Merry Christmas Eve Everyone! We can't wait to tear into these bad boys tomorrow!

Friday, December 23, 2011

On the 11th Day Again of Christmas...

.....the Happy House gives to you....finished oodles of treats!

I want to share my Christmas Eve table with you, but I didn't get my pictures yet. So, instead, we're revisiting Day 11. Here are yesterday's treats all done up! (Recipes Below)


Roasted Cinnamon Almonds

Almonds: 8 Cups
Cinnamon: 1 tsp
Sugar: 1 cup
Salt: 1/2 tsp
Water: 2 tsp
2 Egg Whites

So what do you do? It's easy! And you'll never pay $8 for the almonds at the mall again, promise!

Preheat the oven to 250 degrees and lightly coat a large jelly roll pan with nonstick spray. Whisk the egg white and water just until frothy. Dump in the almonds and coat them in the egg. Mix together the sugar, cinnamon and salt. Sprinkle the mixture over the almonds and toss to coat. Place them in the oven for an hour, flipping the almonds every 15 minutes. Allow them to cool and store them in an airtight container. (I like to use our vacuum saver for this!)


Hot Cocoa Mix

11 Cups Dry Non-fat Milk
1 Cup Dry Creamer
3 Cups Powdered Sugar
2 Cups Chocolate Drink Mix (Like Nesquik)
1/4 Cup of Cocoa

Mix all the dry ingredients together. The ratio is 1/3c mix to 2/3c hot water.


Santa Handprint Ornaments
I followed these instructions for the ornaments and painted with acrylic paints.

Thursday, December 22, 2011

On the 11th Day of Christmas....

....the Happy House gives to yooooooooou....a plethora of Christmas goodies!

I was busy in the kitchen tonight. I started with Gooey Lemon Cookies, followed up with salt dough ornaments and Homemade Hot Cocoa Mix and ended the night with Roasted Cinnamon Almonds.

My kitchen is no where near clean, but the dishwasher is running and everything is rinsed. I need to gear up for a busy day of cleaning and prepping for Christmas Eve dinner tomorrow so I'm d-o-n-e for the night!

Wednesday, December 21, 2011

On the 10th Day of Christmas...

the Happy House gives to yooooooou....presents under the tree!

I'm not 100% done. I need to finish up tomorrow, but this is a sight that makes me smile for sure! I love love love giving gifts!!


And don't hate on my phone pics. You know you love them :)

Tuesday, December 20, 2011

On the 9th Day of Christmas....

the Happy House gives to you...A Christmas Eve Dinner Menu :)

We are hosting Christmas Eve for the first time for Carl's side of the family. It will be a quaint, festive evening and I can't wait!

Getting Started:
Bake Brie & Crackers
Wine
Ice Water

Main Event:
Roasted Prime Rib
Smashed Creamy Red Skin Potatoes
Swiss Vegetable Medley
Yeast Rolls & Butter

Sweet Treats:
Holiday Pies
Chewy Lemon Cookies
Coffee
Hot Tea
Eggnog

I'm thinking I want one more appetizer that's cold so it can be ready right away. We are going to Christmas Eve Mass, so timing will be crucial! Now that the menu is set, I can breathe a little easier. But next big step is setting the table! So far the only elements I know I want are some fresh florals, an ornament feature on the chandelier like I did last year, and definitely candles! I'll be working on that tomorrow, but here is some eye candy I'll be using for inspiration :)


Have you created a Pinterest board with some stunning Christmas decor? Please do share it with me!!

Monday, December 19, 2011

On the 7th & 8th Days of Christmas

...the Happy House gives to yoooooou...Cookie Party Details!

The 3rd Annual Cookie Party Plan
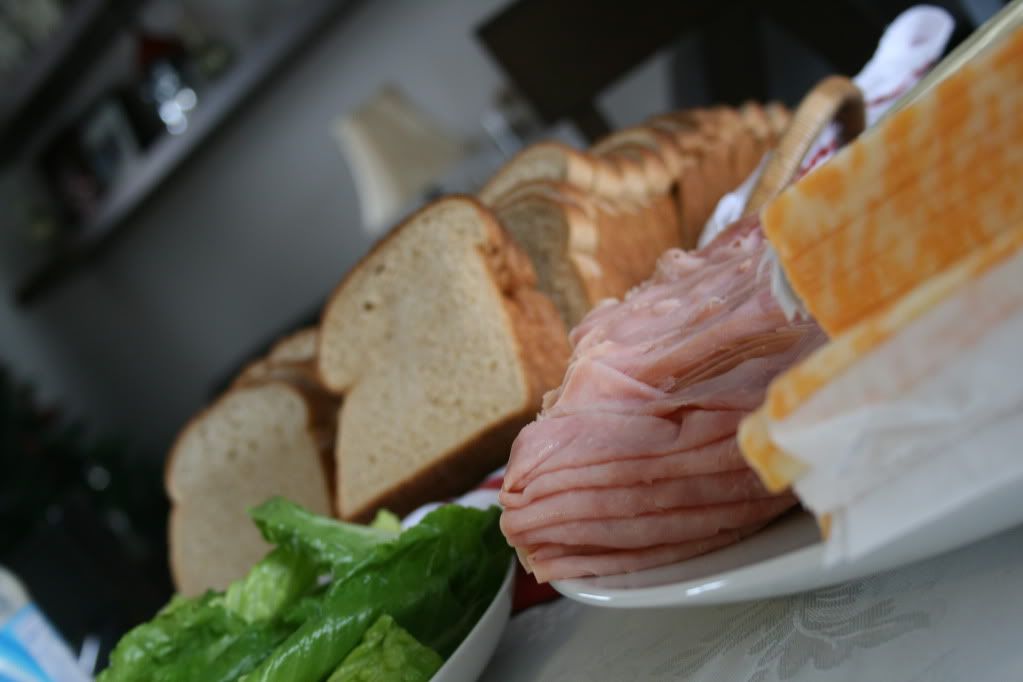
Lunch Menu:
Deli Honey Ham, Roast Turkey & Hard Salami
Whole Wheat and Honey White Sliced Bread
Mustard & Mayo
Cut Romaine Lettuce
Cut Vegetables and Dip (brought by my sister)
Baked Macaroni & Cheese (brought by my mom)
Assorted Soda
Ice Water
Homemade Hot Chocolate

Cookie Assortment:
Sugar Cutout Cookies
Swedish Spritz Cookies
Chocolate Peppermint Cookies

Tips for Planning:
  1. Make Cookie Dough the night prior- can be kept in the fridge
  2. Do all cleaning the night before- I always wait to do the half bath the day of
  3. Have boxes available for guests to take cookies home
  4. Don't bother cleaning the floors ;) A good sweep is good prior, the floor is a sprinkle magnet!
  5. Use plastic/paper tablecloths. Frosting will get everywhere.
  6. This is the perfect occasion to buy some cute paper plates and napkins. The kitchen sink and dishwasher will be busy with baking dishes. Keep the lunch dishes simple!
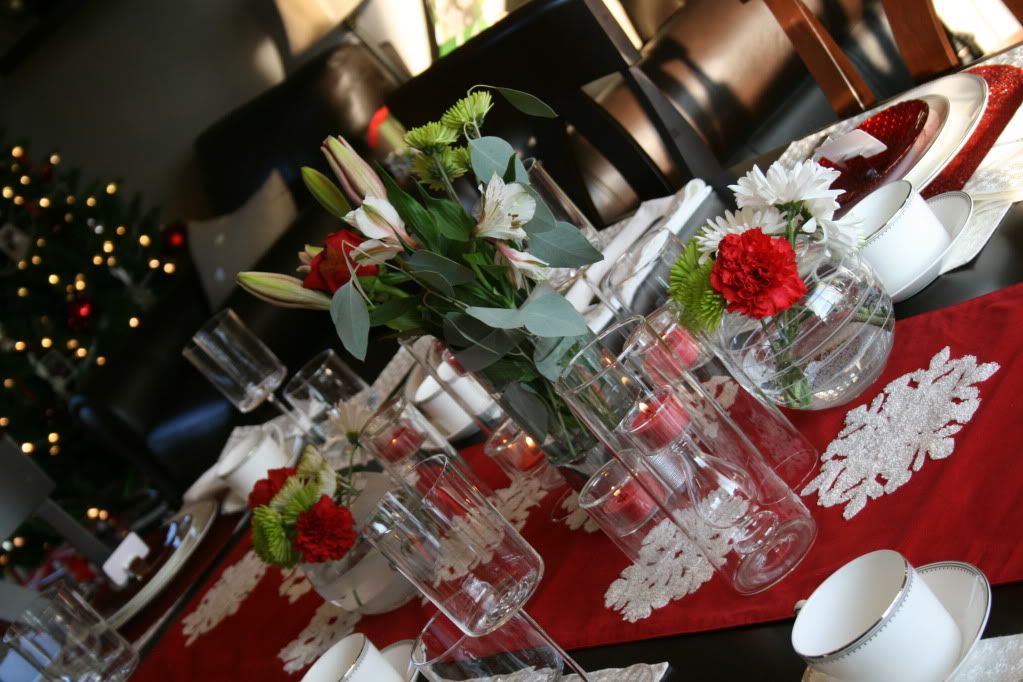
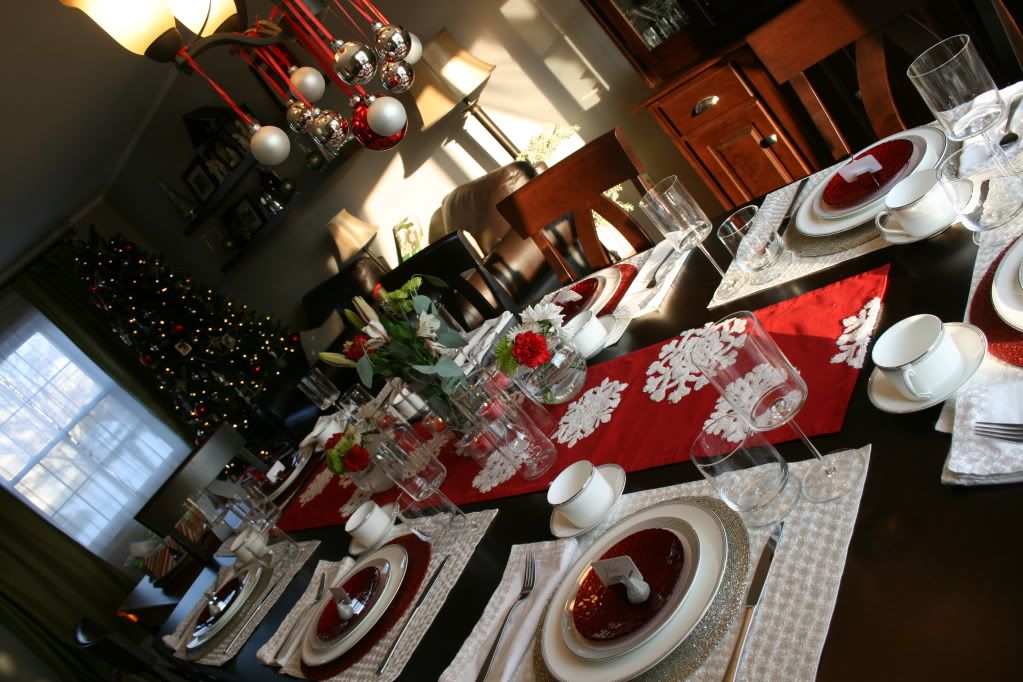
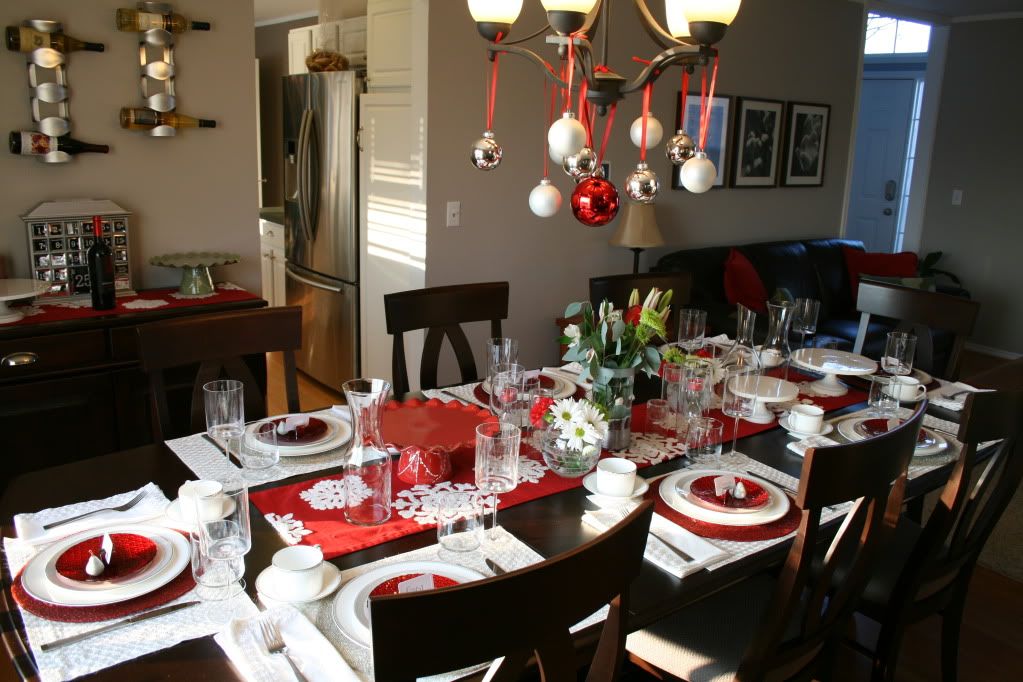
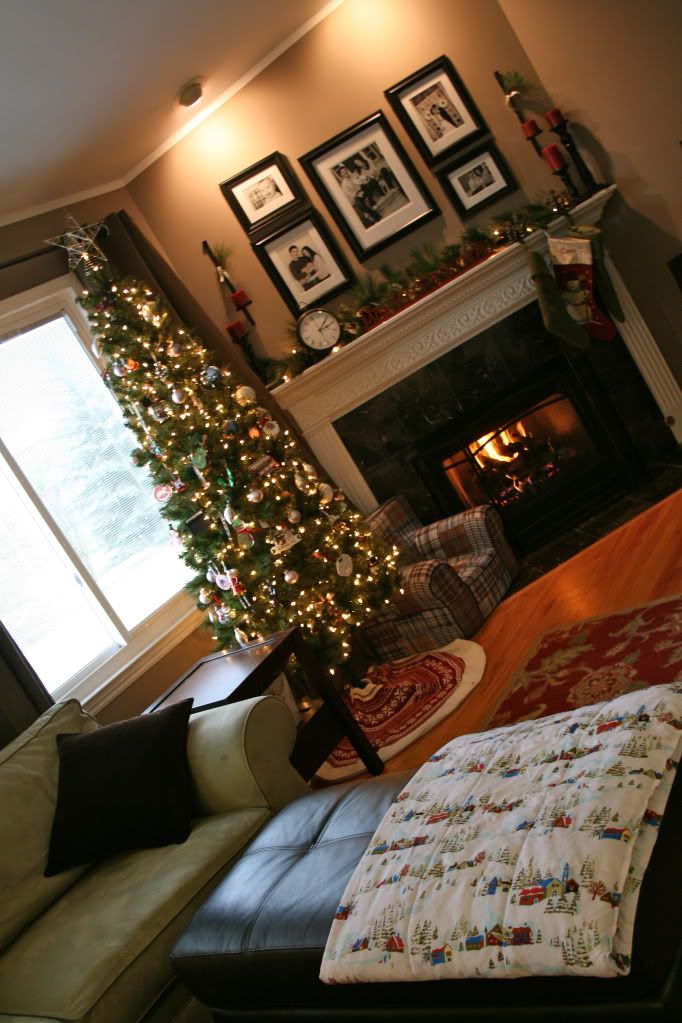
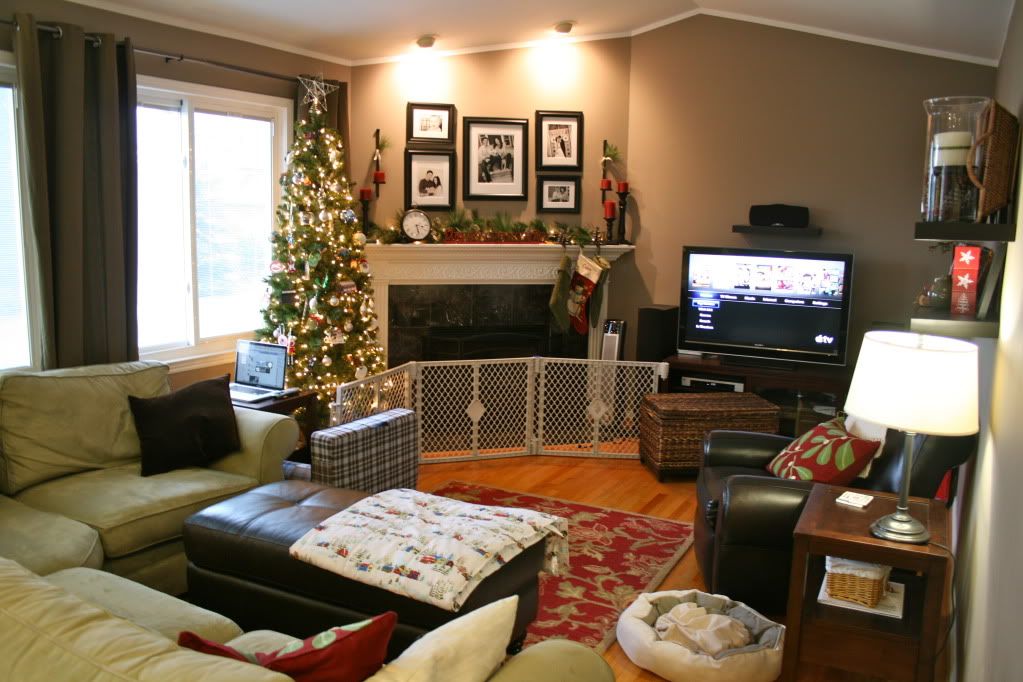
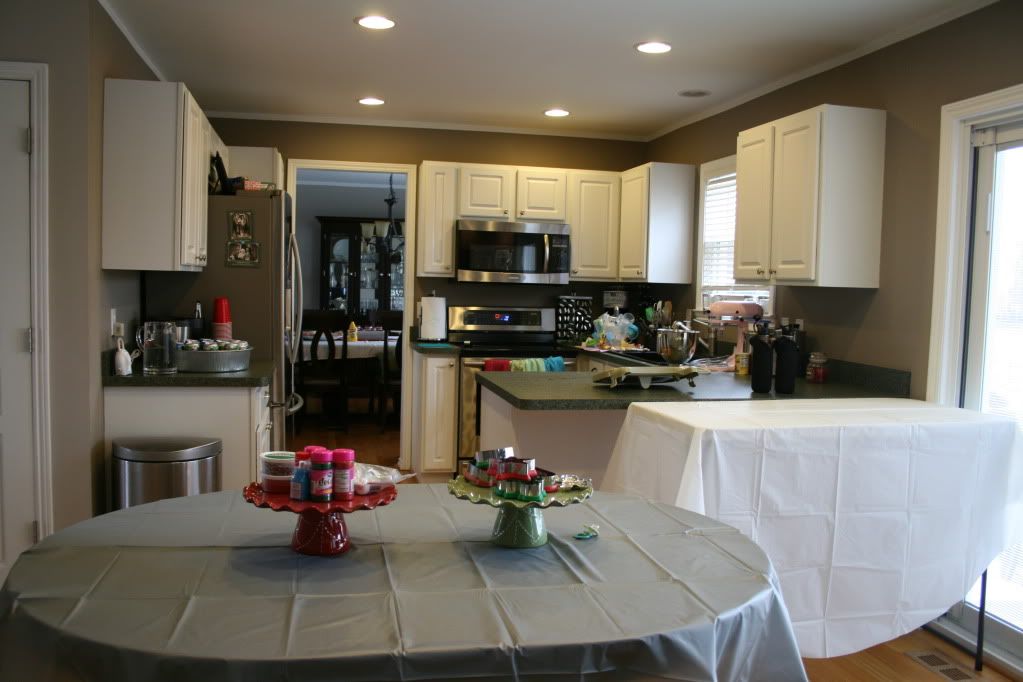


A Cookie Party Recap :)

I set things up just a touch differently this year. Something I've realized is we don't all actually sit down at the same time to eat lunch. We mostly focus on the kids so they can get to decorating. So my key was not to worry about having 20+ seats. I simply opened up the dining table, and we set up some tables in the basement for some extra seating. The kids like to play down there while they are waiting for the cookies to cool anyway!

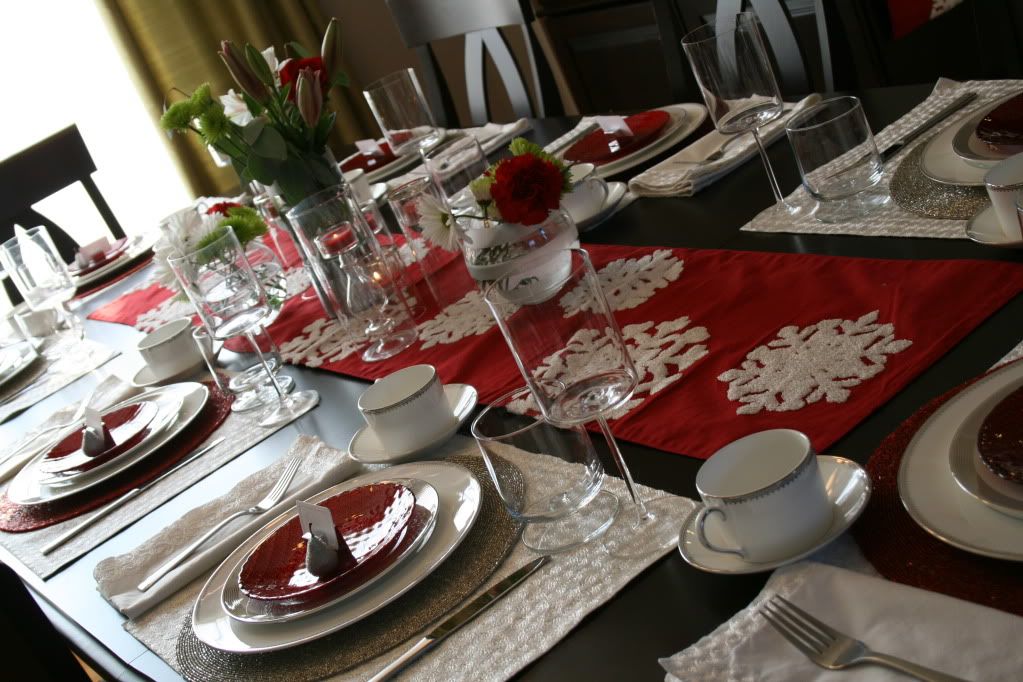
I set up all the food on the dining table as well, it worked just fine! I only have a picture with the sandwich goods, I was too busy once everything else was there.
Simple. Not fussy. Not even a tiny bit!

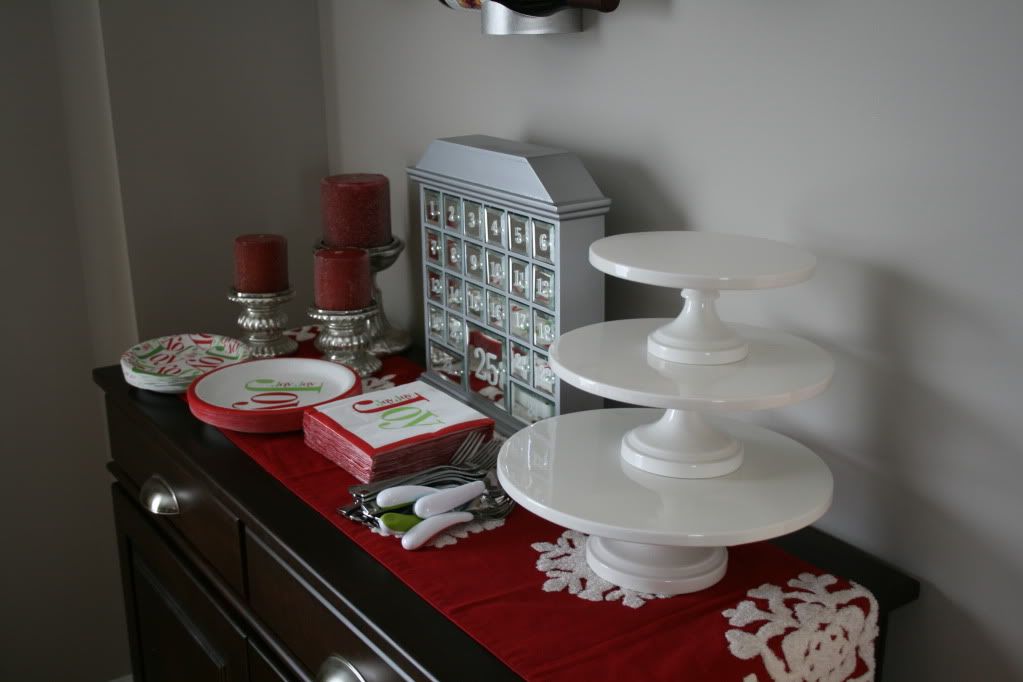
The plates, napkins and silverware were on the sideboard. And I had cake stands all over the place awaiting the cookies.

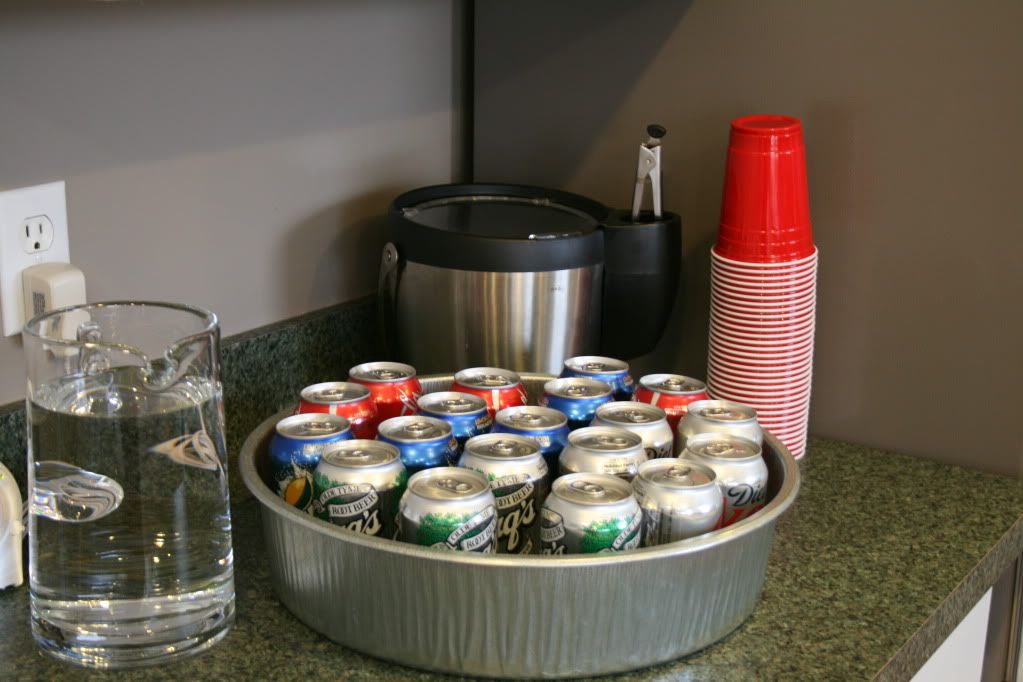
The beverages were in their normal spot. I did cans this year, and it worked great! This was before the ice, but I just poured it over the cans. Don't forget to set a Sharpie out by the cups. 10+ kids will never remember which one is theirs!


And then the overview of cookie central.


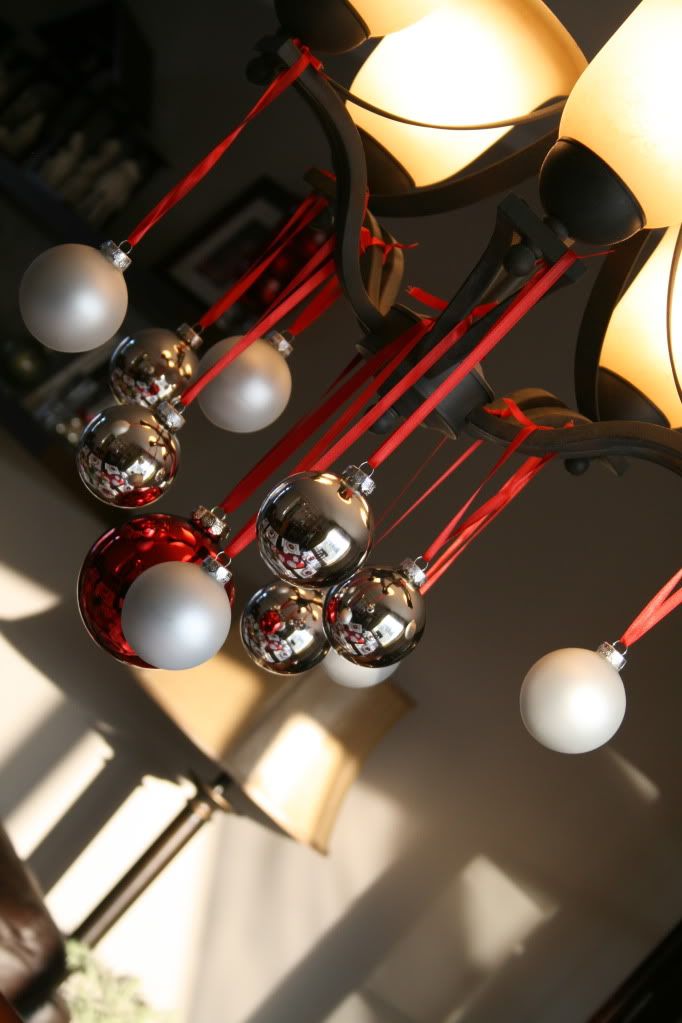
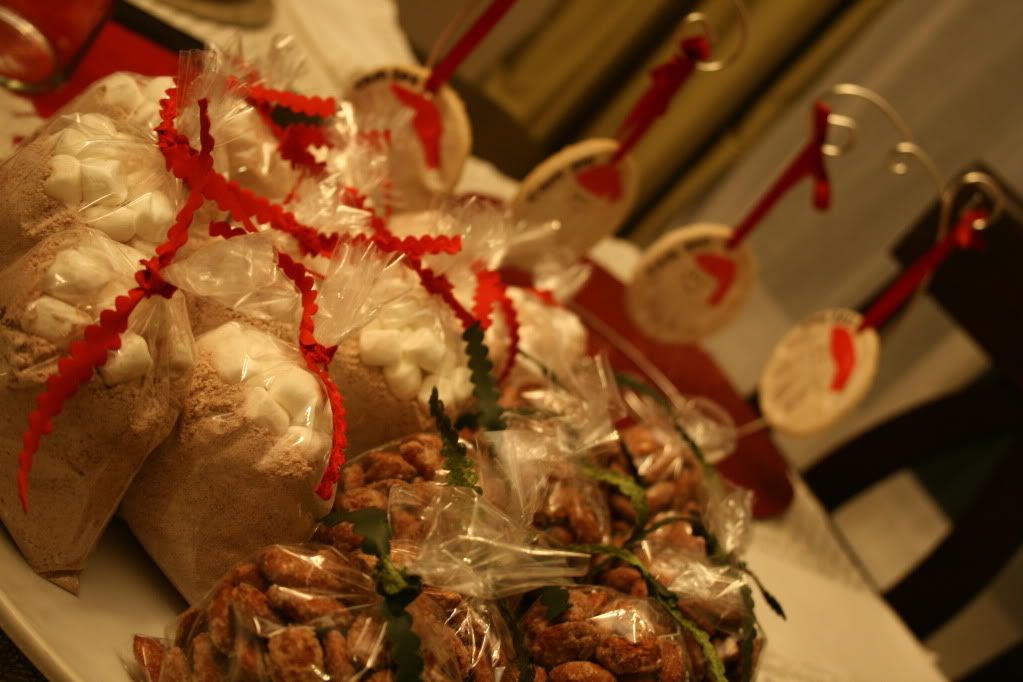
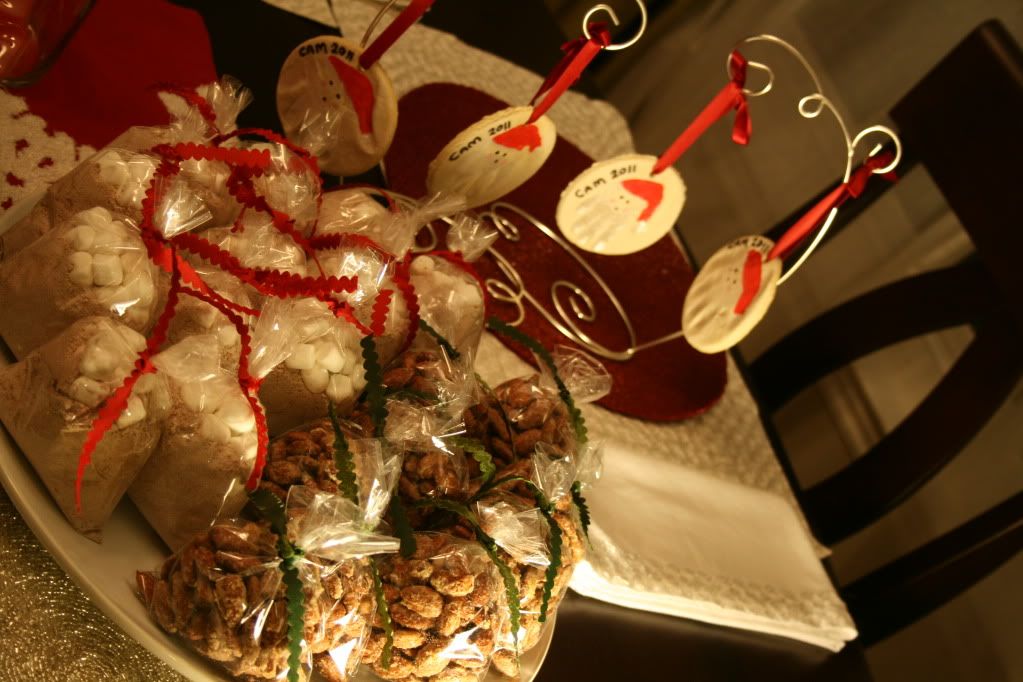
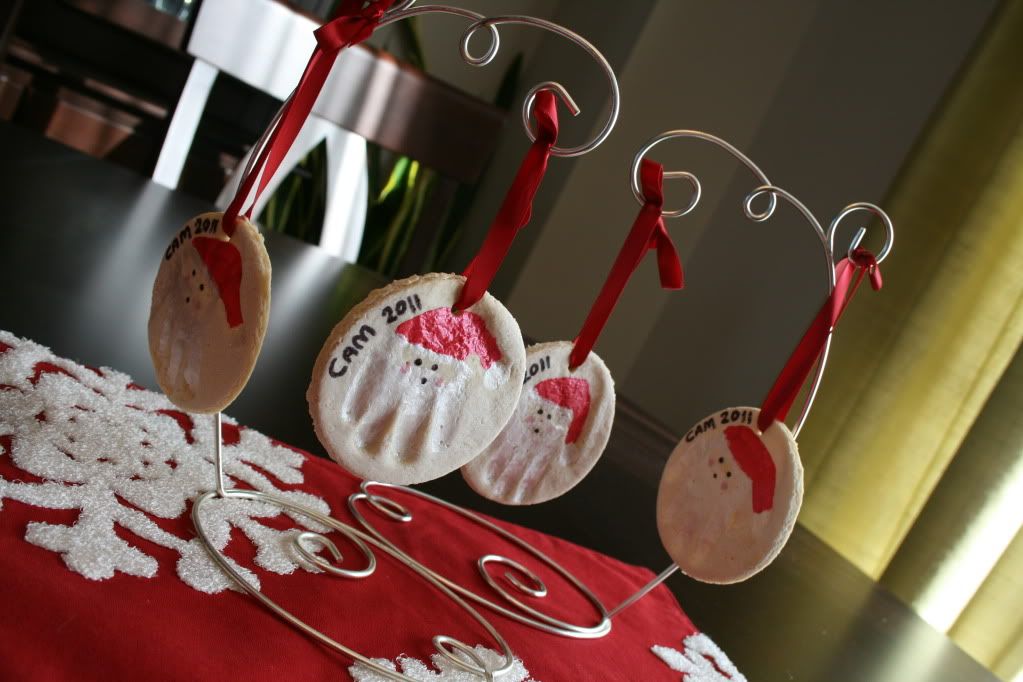
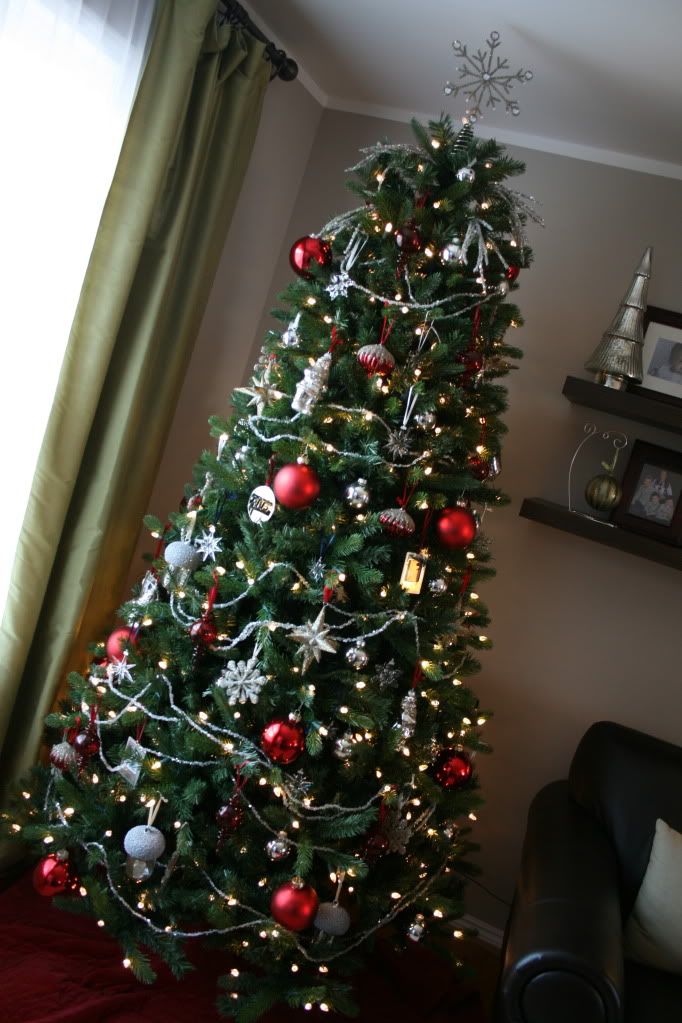
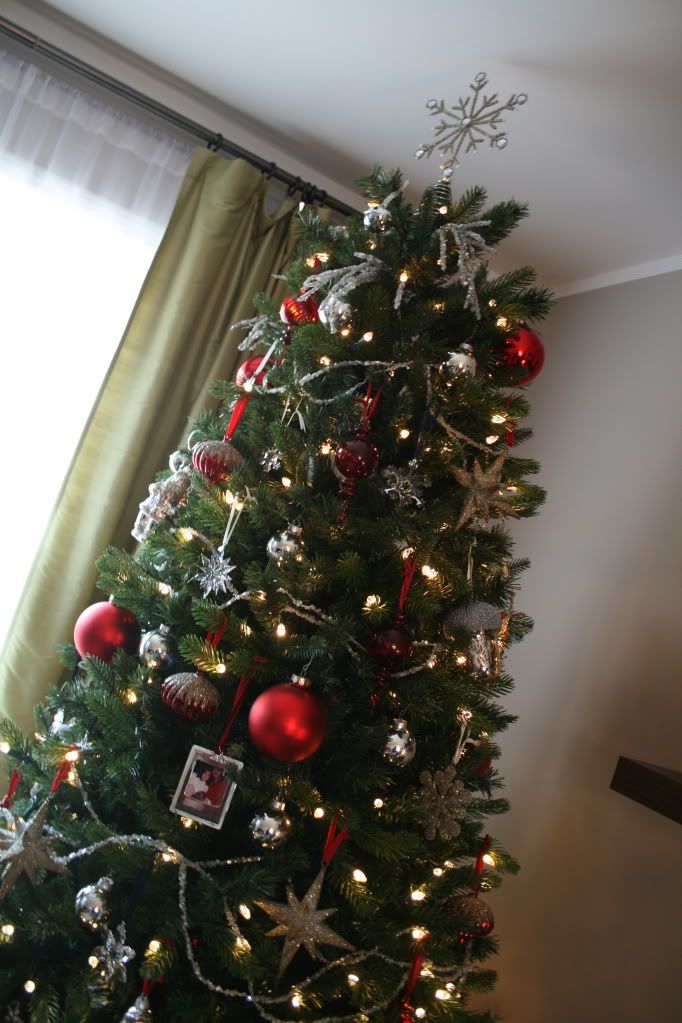
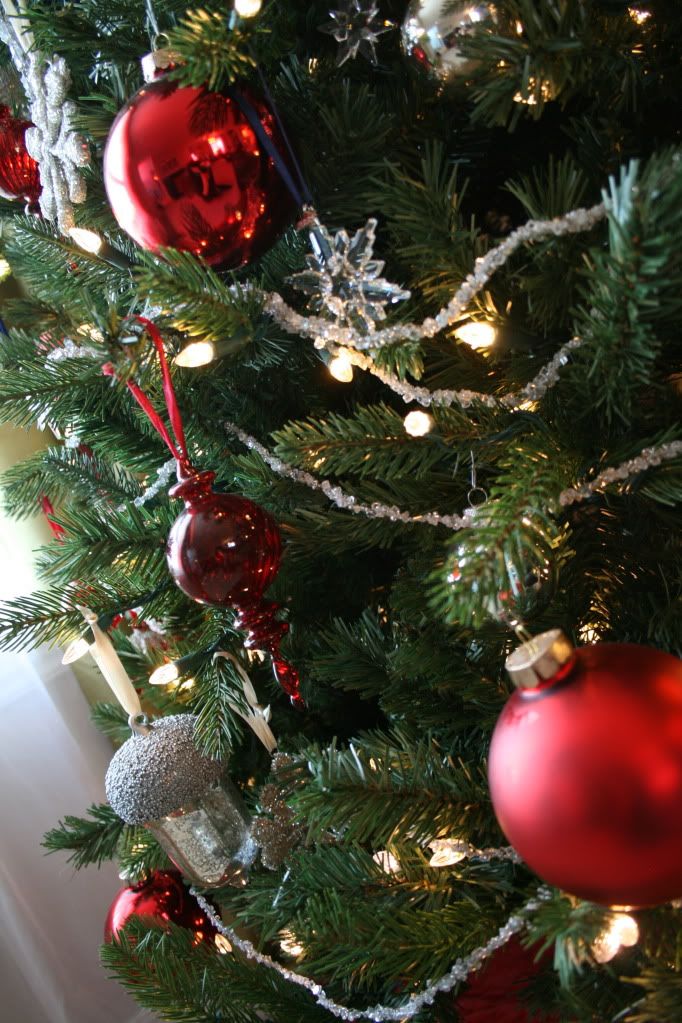
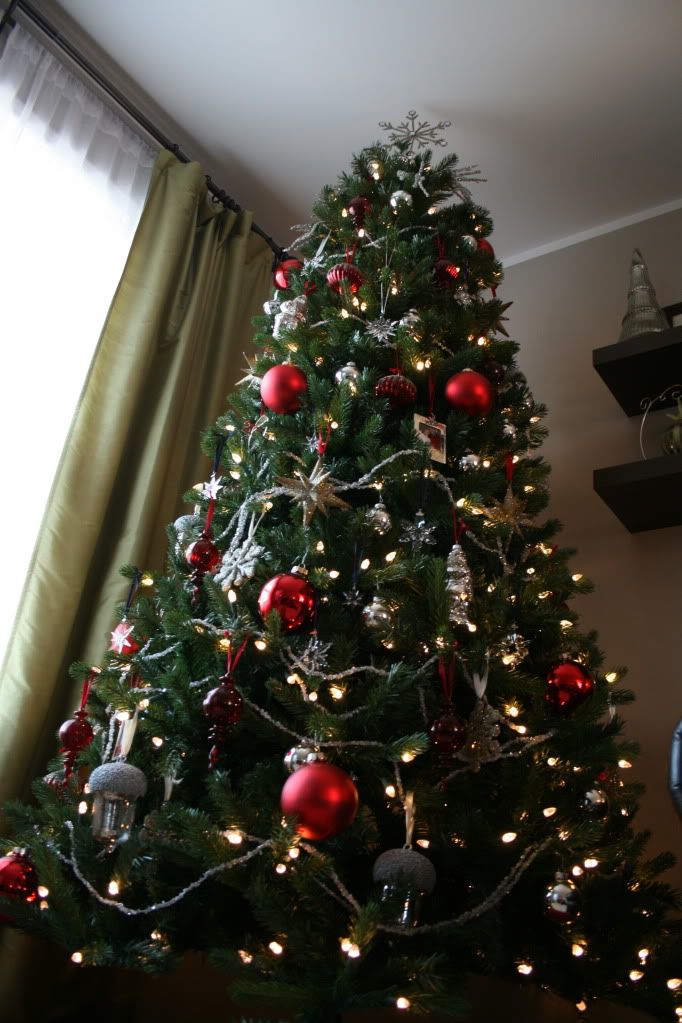
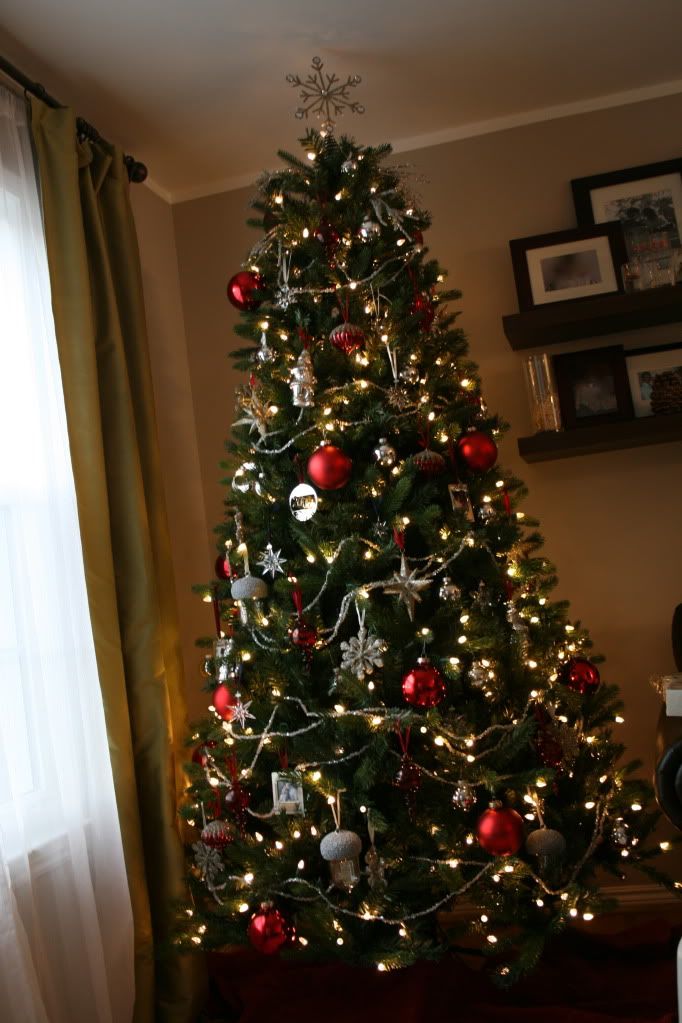
Lastly, here is our newest ornament for the tree. My sister gets me an ornament each year to remember the cookie party. This one is perfect!

(and because I always like to take away a lesson or two at the end of any party)

Things Learned for Next Year:
  1. Make 5 batches of cookie dough (instead of 4) and start baking the cutouts the night prior- will allow for more time to bake other types of cookies and no wait time for cooling cookies
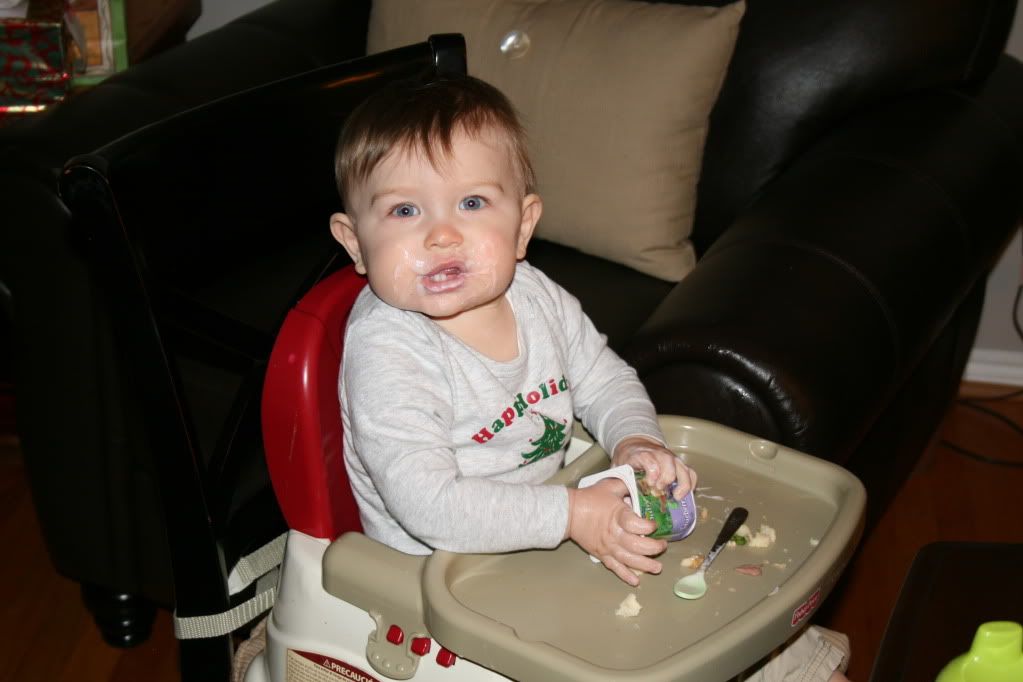
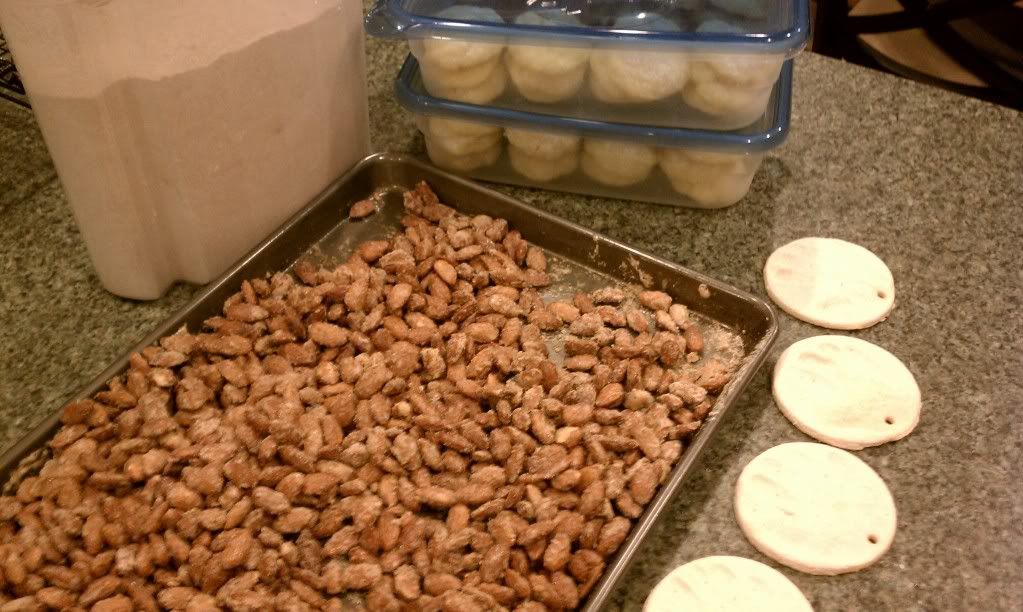
  2. Designate someone to take photos during the actual festivities. I really wish I had done this this year. I was way too busy in the kitchen, and as you can see, I only have the prep photos :(


Overall, it was a HUGE success. I got phone calls and emails from my sisters the next day saying how much they love cookie day. Can't wait for next year!

Sunday, December 18, 2011

On the 5th and 6th Days of Christmas...

...the Happy House gives to you... (I'm playing a touch of catch up!)

The Front of the Happy House:


The Back of the Happy House:

Doesn't it make your heart feel holidayish?? :) I still owe you one day, but I'll make up for it tomorrow! The weekend was a little crazy ;)

Thursday, December 15, 2011

On the 4th Day of Christmas....

....the Happy House gives to you, the rest of the family room! Here is the overview from the kitchen. You've seen the fireplace and the tree (for the most part) but here is the wider view. I bought the pillows on clearance last year after Christmas. (The day after a holiday is a great time to buy holiday decor for next year!)


Then there are the floating shelves. I had so much I wanted to share, so I just went with all of it!
I got the Christmas printable here. Otherwise, everything is ours, and other than photos, everything was from last year.


You know you want to come join me by the fire, just admit it! I'll have some hot cocoa waiting for you!


And because you know I like to keep it real, this is how it looks during the day when Cam is hanging out with me :) Laptop on the side table, Christmas tunes on the TV, gate putting the tree in a time out, and Gibson's bed which is virtually useless because Cam won't let him sleep.


Hope you're enjoying my very own little 12 Days of Christmas!

Wednesday, December 14, 2011

On the 3rd Day of Christmas....

I thought about this the other day when I posted the Christmas Tree. I was 12 days away from Christmas, but I didn't want to jinx myself. However, now I feel like I'm on a roll and it's more of a challenge! I'm going to try to give you a Christmas post (decor, entertaining, gift, etc.) up until Christmas. Let's see if I can fulfill my own challenge!

On the 3rd day of Christmas the Happy House gives to you...the annual DIY Fresh Greenery Wreath. I showed you how to make your own here, and then I also showed you last year's version here. They aren't all that different from one another, mostly because I like it to be really simple and unrefined.


This year, we bought a cute, little, leather reindeer with jingle bells. I can't wait to hear the holidays every time we open the door!

I haven't decided if I want to add a ribbon to hang it from as I've done in years passed. I might give it a try later today to see if I like it, but I'm kind of digging this extremely simple version this year! But of course I like your opinions...ribbon or no ribbon?

Tuesday, December 13, 2011

Cozy Festive Family Room

Our family room is typically my favorite room in the house. It certainly is my favorite when it comes time to enjoy a cozy holiday evening. I broke this room down into two posts, because...well, I'm just going to be straight up honest with you. I have like 3 loads of laundry on my couch and Cam's toys are all over the place and I just don't have the energy to clean it all up and show you the other side. There. How's that for honesty? But I will show you the fireplace, which is my favorite part anyway!


Monday, December 12, 2011

Silver and Red....Silver and Red....

That is the color of our living room tree :) For the last 3 years now, I've had "my" tree. We will always have our sentimental ornament tree in the family room, but I love the idea of a color coordinated tree too. It makes me smile every time I walk by it. We had a hand-me-down tree from my sister up until this year, but it's really just too big for the space. We took advantage of the day after Thanksgiving sales and picked ourselves up a 7ft pre-lit one.

I told you I would get you all caught up on my Advent Calendar, so we'll start here, with the tree!


I've got lots more to show you, so I need to hop to taking photos!
Blog Widget by LinkWithin