Showing posts with label Nursery. Show all posts

Tuesday, November 15, 2011

Small Clothes: Big Organization- A Peek Into Cam's Room

I've received one question multiple times:

How do I organize Cam's clothing?

I've wanted to answer it for awhile, and finally got the kick in the butt I needed when my dear friend Elizabeth asked me to guest post over at her blog, Our Life. Go check it out and give her some love! If you've already been there this week, the following might be a repeat for you. If not, read on to see just how I organize all Cam's clothing!

Tiny clothes are adorable, but for some reason, at first, I was thrown for a loop when it came to organizing them. I finally got in a good groove, but I'll be honest, something about making the clothes smaller made them more daunting for me. What I've found that works for me is using his closet for the most part, but a good closet organizer is a must in my opinion! We bought the Rubbermaid System that is sold at Lowe's, and it was easy, or I suppose it looked easy to install. Carl does all the hard labor around here, other than the cleaning, and having babies I suppose.

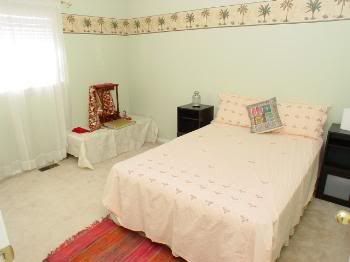
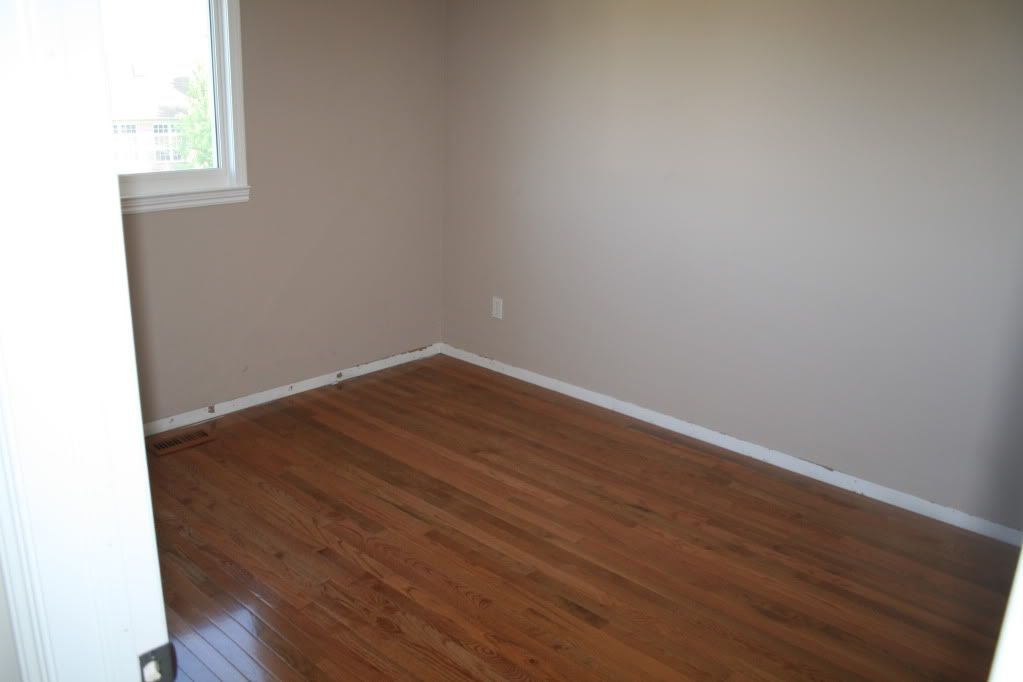
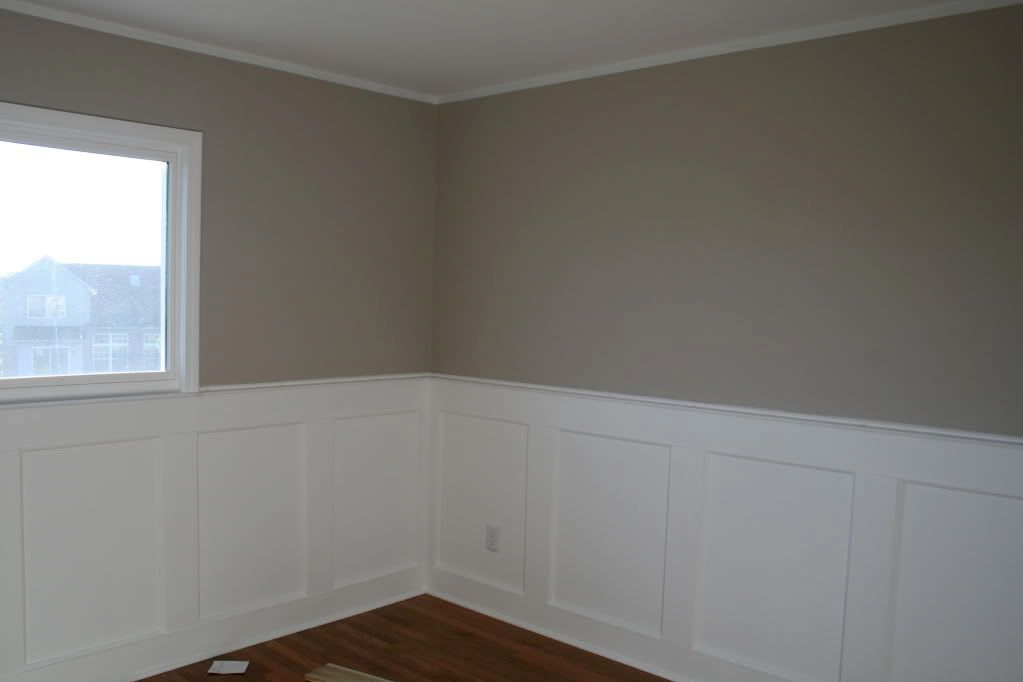
First, let's get a reminder of Cam's room.


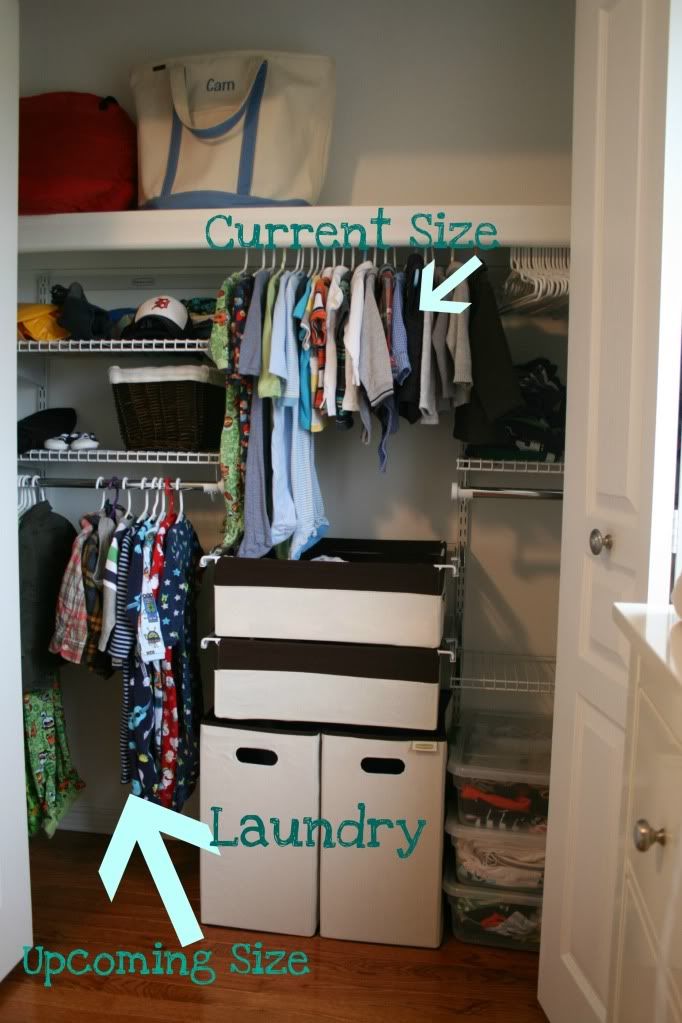
Now, onto the task at hand. I keep Cam's current size in the top middle section, and then the upcoming size to the bottom left. I like to do it this way because more often than not, it seems like he is bridging two sizes, especially depending on the brand of clothing. I also use two bins for his laundry. I wait until I have a full load, take the bin downstairs, and use it to carry all the folded laundry back upstairs. Sometimes I don't get the whole process done in one day, so I like having two :)

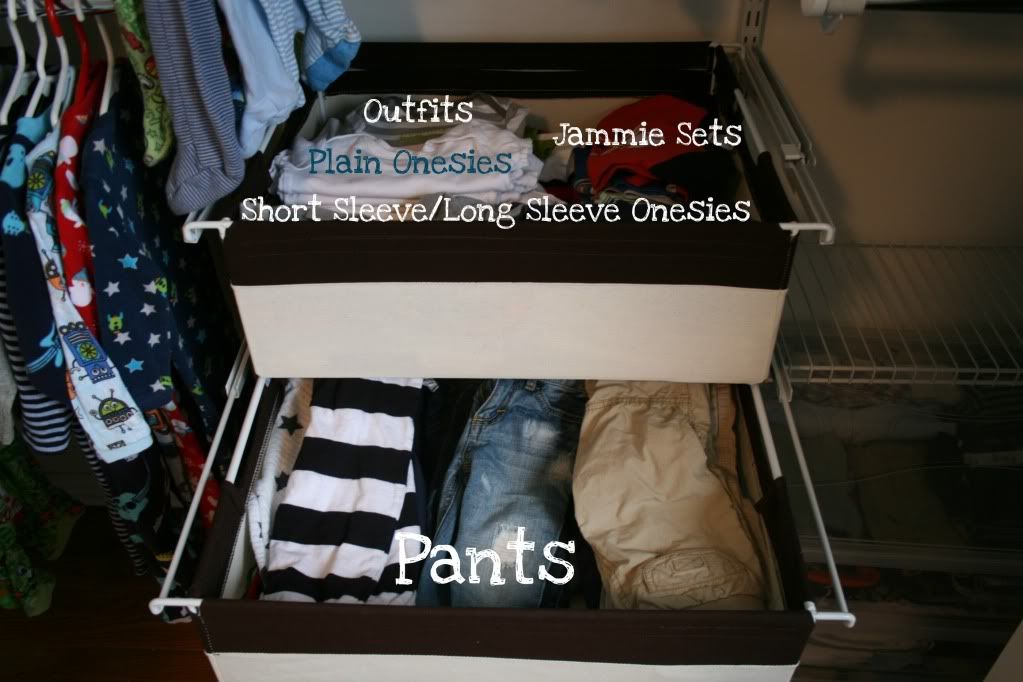
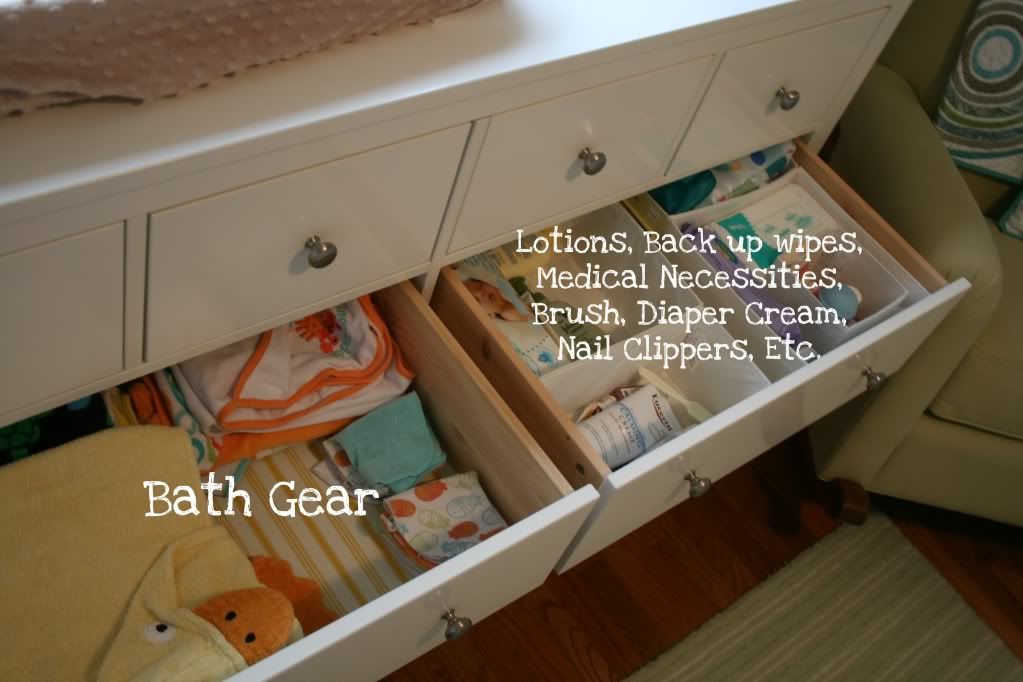
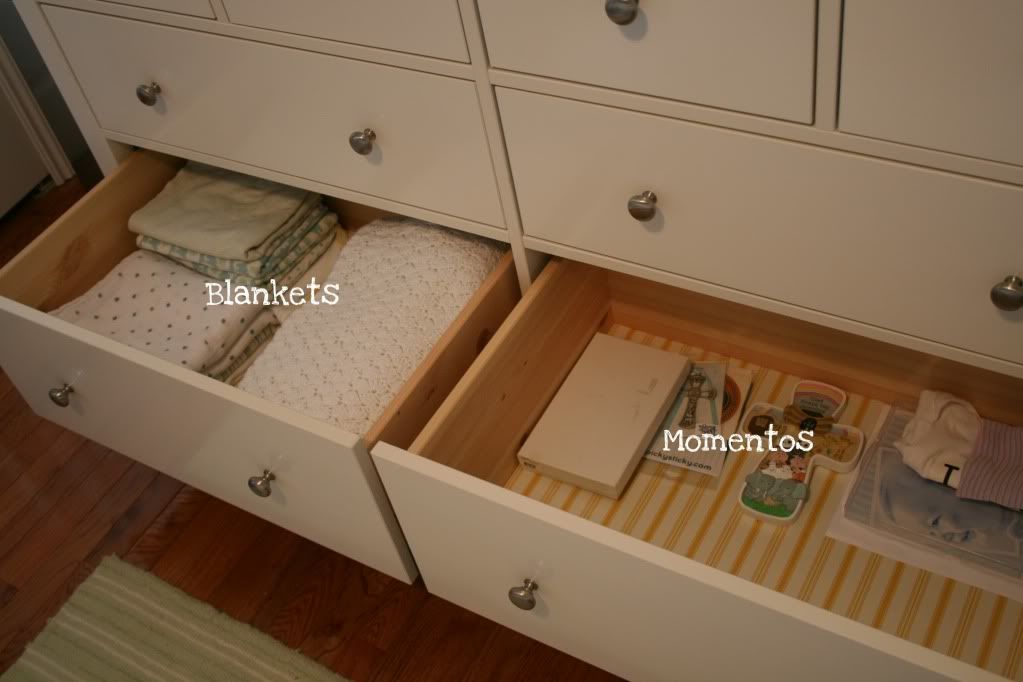
These two drawers are really useful for items that don't hang well. I've labeled it pretty thoroughly so no further explanation here.

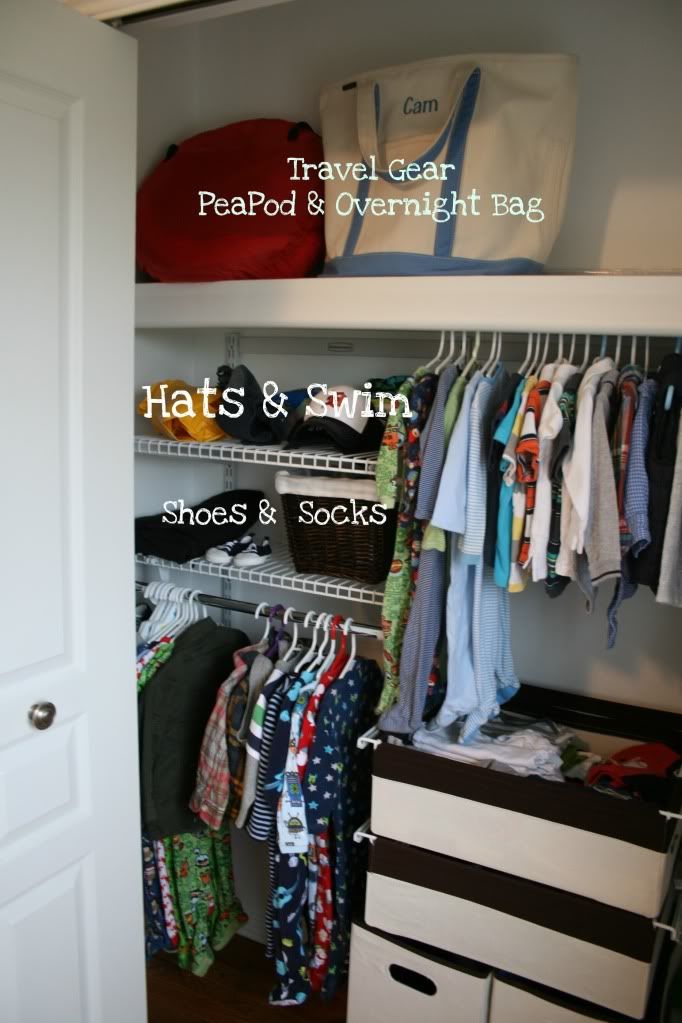
Right now, Cam is able to fit in 6-12mo and 12-18mo, so I'm already having him rock the sleepers on the bottom left. One is a winter snowman one which is making me ridiculously excited for the holidays! Up top is one of my favorite gifts we've received. My sister buys each niece, nephew and her own kids one of these bags. My Godson/nephew chose the blue color. We use this bag all the time! It's perfect for 1-3 night stays.


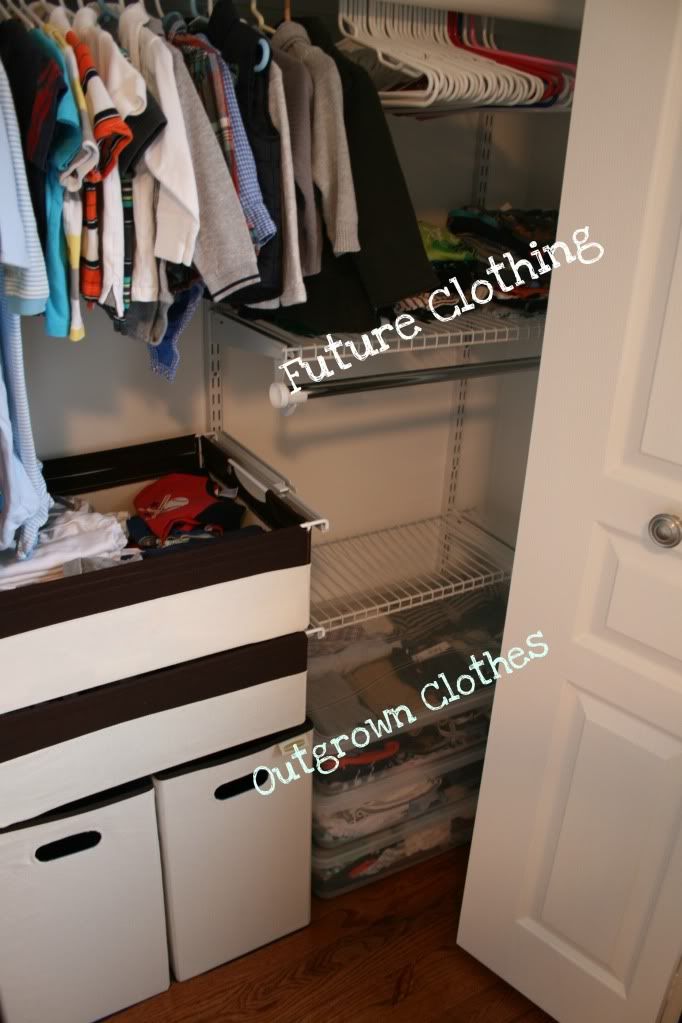
Bottom right are storage bins. The bins of tears, because I cry when I have to put away itty bitty clothes when my chunka chunk moves up a size. We have a spot in the basement for these, but things are a bit of a disaster down there right now, so I'm storing them in his closet since we have the space. The shelf is where I store clothes that are further out, like a year+ down the road. I have issues with clearance racks. Really, really, big issues.


The only other clothing type storage we have is the Hemnes dresser from Ikea. It also doubles as our changing table. If you are looking for an all purpose piece that will grow with your little one, look no further! I love this dresser! And wait until you see how much it stores.


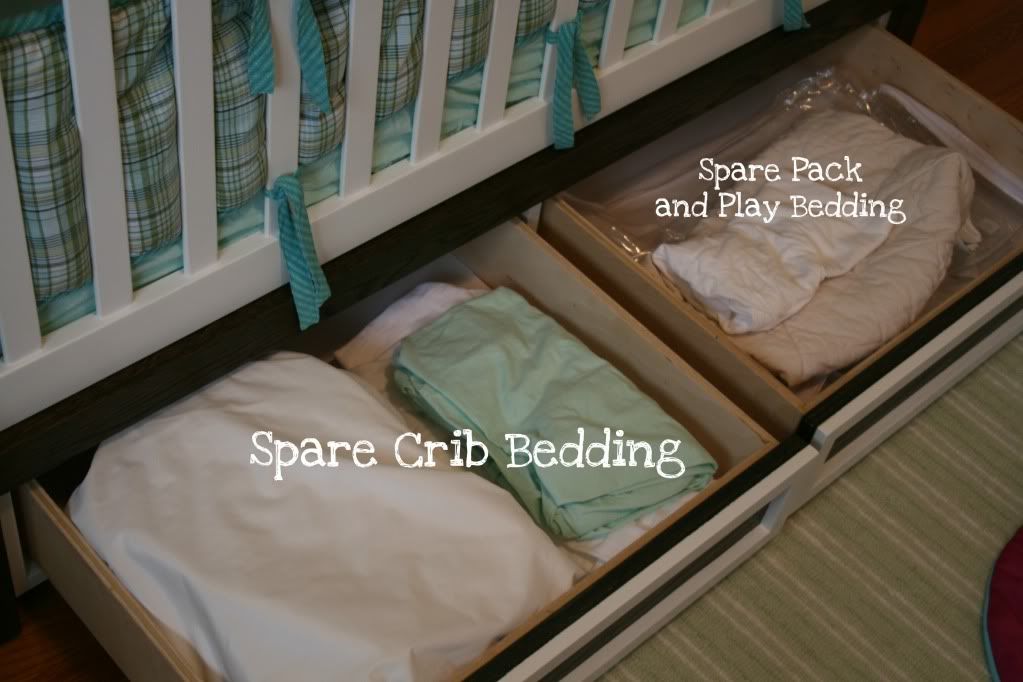
Oh, I lied. There is one other piece of storage. Carl and his Dad made Cam's crib. Yeah. I'm kind of lucky in the "the men in my life know how to build stuff and stuff" way. I requested a specific crib design because it had more storage. The crib sits on a base with two drawers.

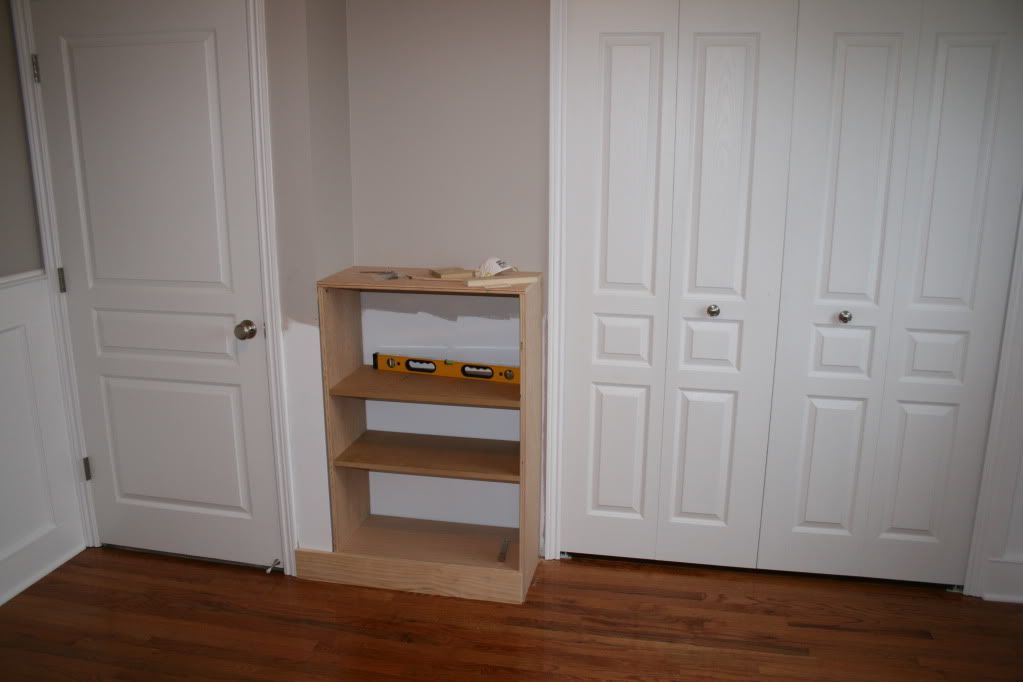
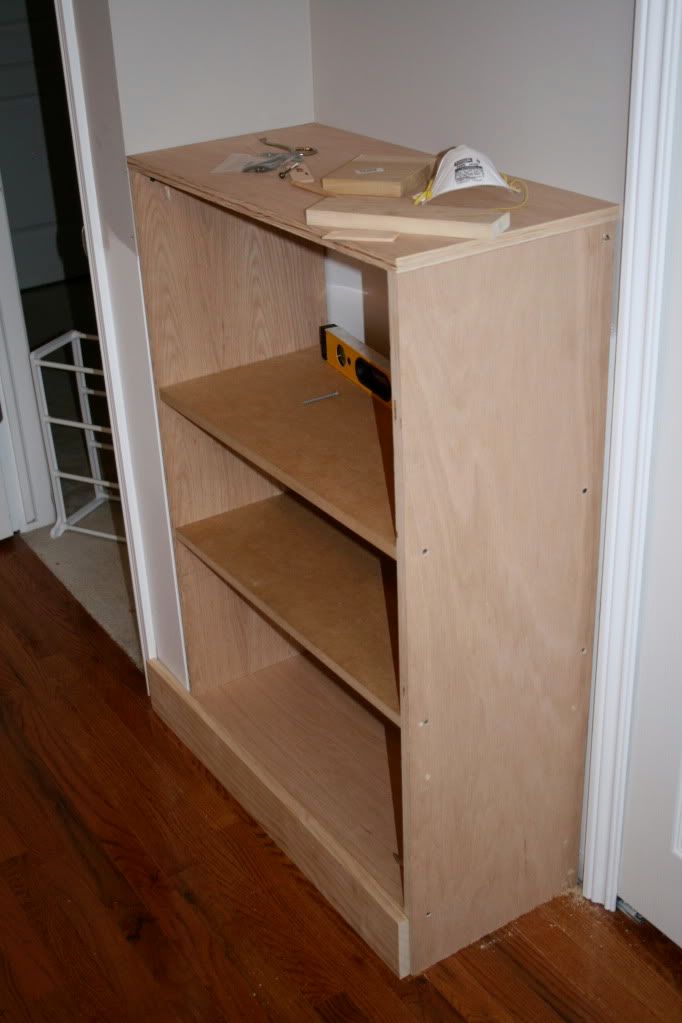
We don't keep a lot of toys in Cam's room, but what few ones we do, we keep on his custom made built-in bookcase made, again, lovingly by Carl and his Dad.


Are you inspired? Is your closet, or maybe your little one's closet about to get organized? I hope this is the answer some of you were looking for, and if you need further explanation on anything, you know you can just ask!

Tuesday, April 19, 2011

Cam's Room- Final Touches

The last time I showed you Cam's room, we were missing two key components. 1. The rocking chair and 2. The middle photo for the wall frames. This post will be short and sweet, but here is the view from the door of the completed nursery. He isn't sleeping in here yet, but I'm certain he will like it once he is.


Also, for those of you asking for Mr. Cam updates, you can see them here on the My Happy Line blog.

Sunday, January 9, 2011

The Nursery: Stage 2


Well, I was hoping we would get our rocker in sooner than the estimated time they gave us, but alas, no luck. So, I am going to share Stage 2 of the nursery and then once it's reeeeeeally done, I'll share the absolute final photos.

If you want to see Stage 1, go here first, but this was what it looked like before we bought the house.
Picking up where we left off, Carl finished the built in bookcase that he and his dad had started. It turned out even better than I could have hoped.

Then, all the manly time and attention went to the crib. I think there were times where they were really regretting taking on the project, but in the end, it was 100% worth it. Since I'm really not up on the woodworking verbiage, I'll let the photos tell the story.


Once the crib was done, we debated for quite some time about the dresser. My due date was fast approaching, Carl was getting swamped at work and the holidays were staring us in the face. We made the decision to just purchase a dresser rather than build one. We went with the popular Ikea Hemnes dresser which was especially good for us, because our guest room furniture is already part of that line. It'll make it easier to move furniture around in the future as necessary.

Then it was just a matter of final details. Carl installed a Rubbermaid Closet Organizer and a white room darkening cordless, wandless window shade. I wanted to keep things clean and simple, so no frills went into that area.

Once that was done, it was time for my vision to come into play. I had pictured greens and blues, but not really pastel. I was thinking more along the lines of aquas and teals. We centered the room around bedding from Land of Nod. The colors were exactly what I had in mind. From there everything just sort of fell into place. I spotted a lamp at Home Goods, chose the light green rug from Pottery Barn and had some prints created from an Etsy Seller. The only missing piece is a newborn photo which will be placed in the center frame above the crib. Well that and the rocker that we ordered when I was 28 Weeks pregnant...and the build time is 12 weeks, oops. Once that arrives, we'll be in really good shape, it's just a race to see which gets here first, baby or rocker :).

But enough chitter chatter, it's time for the good stuff.

First, the two pieces that took the most of Carl's blood sweat and tears. The finished bookcase, which is just begging for more books. I promise, we're working on our collection:


And the second time consumer, the finished crib, and a close up of the bedding. The two bottom drawers pull out to store extra bedding.

Now for the overviews. View of the room from the door:

View of the room from the corner by the crib:

View of the room in the corner by the closet:

View from the corner where the rocker will sit. That mirror used to be black and hang in our foyer, but was really too small for the space. It was repurposed by spray painting it white and fits nicely in the nursery.


And lastly, for now, the closet. This baby has more storage than his parents, and really more than we know what to do with right now, but I'm certain it will be filled in no time!
Up close:
We had so much fun putting together this room. Each step was carefully thought out, and this was probably the most work we've put into any room in the house. I told Carl we are going to have to stay here until we have all our babies, because I'm fairly certain I won't get this nice of a nursery if we move to a new house :) I'm so impressed with his work, he continues to amaze me day after day! Hope you enjoyed the big reveal.

Tuesday, October 19, 2010

Zombie Baby's Nursery: Stage 1


WARNING:
Longest post in My Happy House History. :)
*As always, photos can be clicked on to see larger- detail shots are definitely worth the click

So I'm finally getting around to posting the first stage of the nursery. It's already been quite the process, but luckily the actual labor has been all Carl. I just get to do the research for the fun stuff. I can't reveal the mood board yet as it would be a pretty dead giveaway to the gender, but that has to wait a bit longer (T minus 25 days until the big announcement on that)!

Let's start at the very beginning.

The Room: We chose the smaller of the 2 extra bedrooms for the nursery. We had made that decision before we even moved in and decided the larger room would be the guest room. We plan on having multiple kids, so we wanted the larger room for the older child down the road. Plus, the guest room needed more space with a bigger bed and whatnot. This is what we were working with when we moved in, minus the actual previous owner's belongings. Doesn't the Middle Eastern Decor really blend with the tropical vibe border? ::::insert sarcasm here::::


Stage One
The first steps to this room were a new window, removing the lovely border, painting it a neutral color (mostly because we had our very own oops paint to use up anyway), painting the ceiling white and switching out all the door hardware (closet and actual entry door) to brushed nickel.
The window also received a custom casing job from Carl. Oh he's so handy, I love it! You can really see the difference if you click on the up close photo of the window up there to see it larger. It's unbelievable what a difference the casings made in the whole house.


That was how the room looked until we found out about Zombie Baby. I think I got the words "I'm Preg..." out and Carl was ripping up the carpet. As a baby, my dearest was riddled with allergies, and by the advice of his mother, we opted for hardwood in the nursery. I'm not a fan of carpet in living spaces, but I do enjoy the cushy feel under my feet when I get out of bed. But the toss up of comfort to potential health benefits was easily won to health. Plus, who doesn't love the look of hardwood floors? (If you raised your hand, put it back down. Let's pretend like you didn't and we'll never talk about this again. :) )


Then, my first request was wainscoting. This was something Carl had been wanting to try his hand at for quite some time anyway, so he was definitely up for the challenge. I was having a hard time pulling together all the details for the room, but this, I knew, was on my wants list. So it began. I think Carl might have shed a few pounds running up and down the stairs to make cuts seeing as the walls and floor aren't perfectly square, which means odd angles. Multiple times he expressed his disgust for this project, but it's only because 1. he doesn't know how to do things simply. This is one of the nicest wainscoting designs I've ever seen. And 2. he likes everything to be perfect. (Obviously, he married me.) Luckily, Carl's dad was there to get him started on the project. But I give credit to that boy, he really did the majority of the work himself.

The start:

The sort of finished product- this is before patching and painting the second coat and then cleaning up the paint line as well. But all the wainscoting is up, the new color is on the wall, and the light switch was moved up a couple inches to accommodate the height of the trim.


I need to get a better close up shot too:
Next up was determining furniture placement- at least a rough mock up which led me to the conclusion that I wanted a built in shelf for the awkward little cut out next to the closet. So again, Carl and his dad went at making all my wildest dreams come true. They himmed and hawed over the design, the measurements, the details, but came to a conclusion and got down to business.

Awkward:

Becoming Less Awkward:

Even a little less awkward with the trim up. The goal was to match the trim to the wainscoting. The up close detail shot really gives you a good look at all the little pieces that went into the big picture. Carl says it's strong enough for climbing on, which might be a good thing, because if all the kicking I get is any indication of the active lifestyle Zombie Baby will have, this shelf better be sturdy!


And that's that. I'll stop here, mostly because this gets you caught up to present day. I'll be back to show you the finished product once the bookshelf is patched, primed and painted. Next on the project docket is the crib which is being worked on as I type. Literally. Carl took the week (HA! more like 2 days) off to work on the furniture. They bought all the materials and are finally ready to start cutting and building.

Oh and for anyone that is interested, I will be doing a full cost breakdown at the end of this project. But I will definitely wait until the end on that one. Yikes...that will be a post in itself!

Oh oh, and for fun, here is a photo (since this post is all baby related anyway) from our trip to the pumpkin patch this weekend. Zombie Baby is making a lovely appearance in all my photos nowadays!

That's it for now! As always I love your comments and if you have any questions, I'm happy to answer them.
Blog Widget by LinkWithin