
WARNING:
Longest post in My Happy House History. :)
*As always, photos can be clicked on to see larger- detail shots are definitely worth the click
So I'm finally getting around to posting the first stage of the nursery. It's already been quite the process, but luckily the actual labor has been all Carl. I just get to do the research for the fun stuff. I can't reveal the mood board yet as it would be a pretty dead giveaway to the gender, but that has to wait a bit longer (T minus 25 days until the big announcement on that)!Longest post in My Happy House History. :)
*As always, photos can be clicked on to see larger- detail shots are definitely worth the click
Let's start at the very beginning.
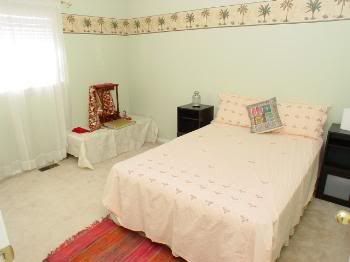
The Room: We chose the smaller of the 2 extra bedrooms for the nursery. We had made that decision before we even moved in and decided the larger room would be the guest room. We plan on having multiple kids, so we wanted the larger room for the older child down the road. Plus, the guest room needed more space with a bigger bed and whatnot. This is what we were working with when we moved in, minus the actual previous owner's belongings. Doesn't the Middle Eastern Decor really blend with the tropical vibe border? ::::insert sarcasm here::::
Stage One
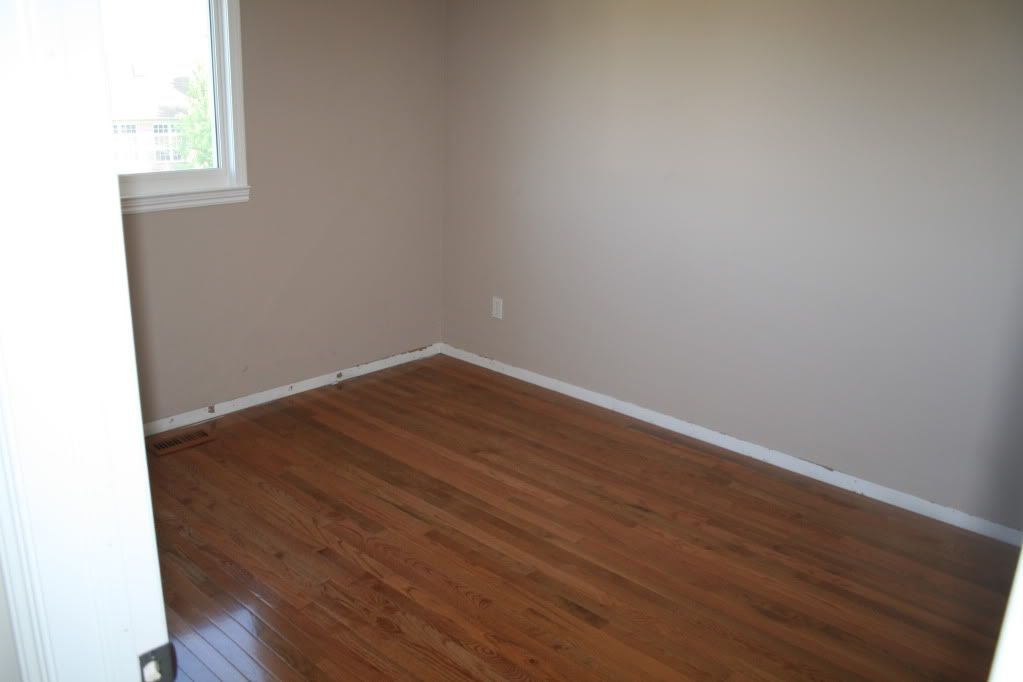
The first steps to this room were a new window, removing the lovely border, painting it a neutral color (mostly because we had our very own oops paint to use up anyway), painting the ceiling white and switching out all the door hardware (closet and actual entry door) to brushed nickel.

 The window also received a custom casing job from Carl. Oh he's so handy, I love it! You can really see the difference if you click on the up close photo of the window up there to see it larger. It's unbelievable what a difference the casings made in the whole house.
That was how the room looked until we found out about Zombie Baby. I think I got the words "I'm Preg..." out and Carl was ripping up the carpet. As a baby, my dearest was riddled with allergies, and by the advice of his mother, we opted for hardwood in the nursery. I'm not a fan of carpet in living spaces, but I do enjoy the cushy feel under my feet when I get out of bed. But the toss up of comfort to potential health benefits was easily won to health. Plus, who doesn't love the look of hardwood floors? (If you raised your hand, put it back down. Let's pretend like you didn't and we'll never talk about this again. :) )


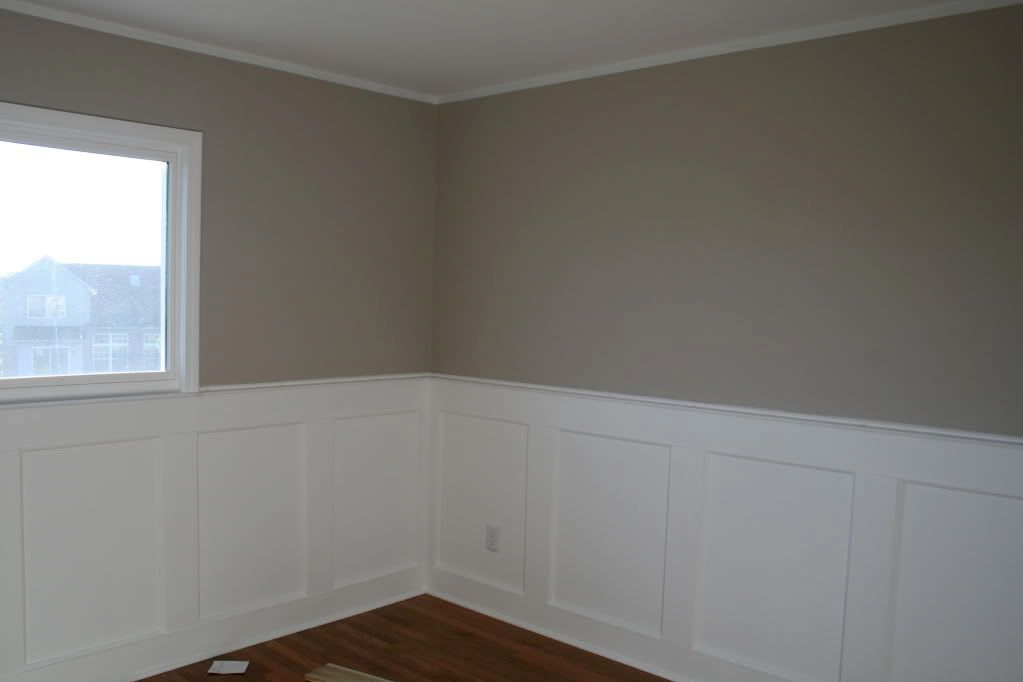
Then, my first request was wainscoting. This was something Carl had been wanting to try his hand at for quite some time anyway, so he was definitely up for the challenge. I was having a hard time pulling together all the details for the room, but this, I knew, was on my wants list. So it began. I think Carl might have shed a few pounds running up and down the stairs to make cuts seeing as the walls and floor aren't perfectly square, which means odd angles. Multiple times he expressed his disgust for this project, but it's only because 1. he doesn't know how to do things simply. This is one of the nicest wainscoting designs I've ever seen. And 2. he likes everything to be perfect. (Obviously, he married me.) Luckily, Carl's dad was there to get him started on the project. But I give credit to that boy, he really did the majority of the work himself.
The start:

The sort of finished product- this is before patching and painting the second coat and then cleaning up the paint line as well. But all the wainscoting is up, the new color is on the wall, and the light switch was moved up a couple inches to accommodate the height of the trim.

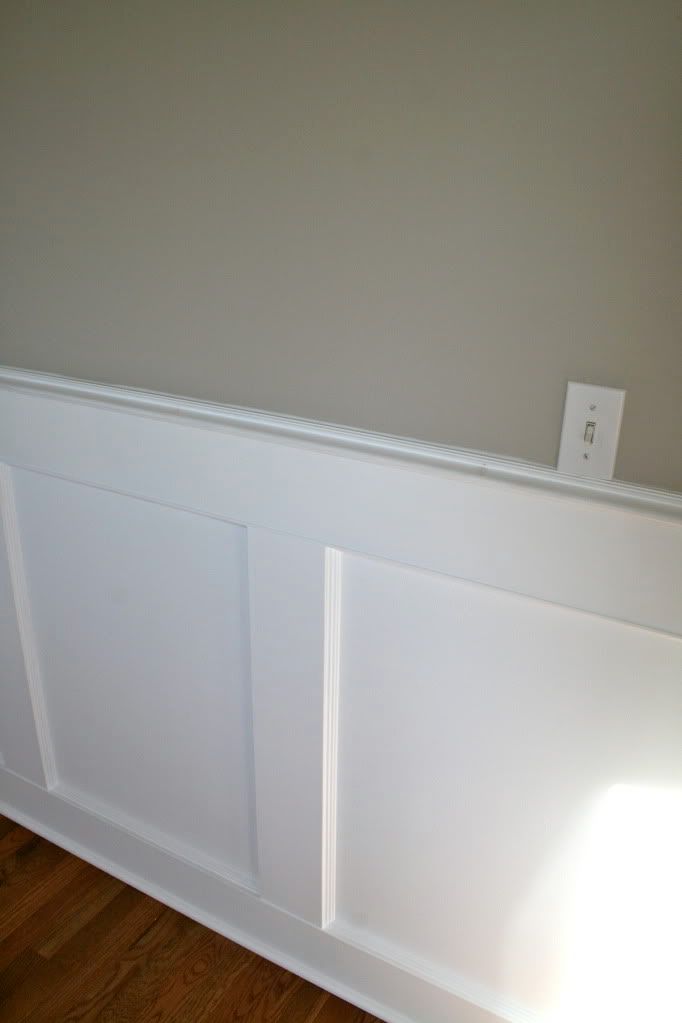
I need to get a better close up shot too:
 Next up was determining furniture placement- at least a rough mock up which led me to the conclusion that I wanted a built in shelf for the awkward little cut out next to the closet. So again, Carl and his dad went at making all my wildest dreams come true. They himmed and hawed over the design, the measurements, the details, but came to a conclusion and got down to business.
Awkward:
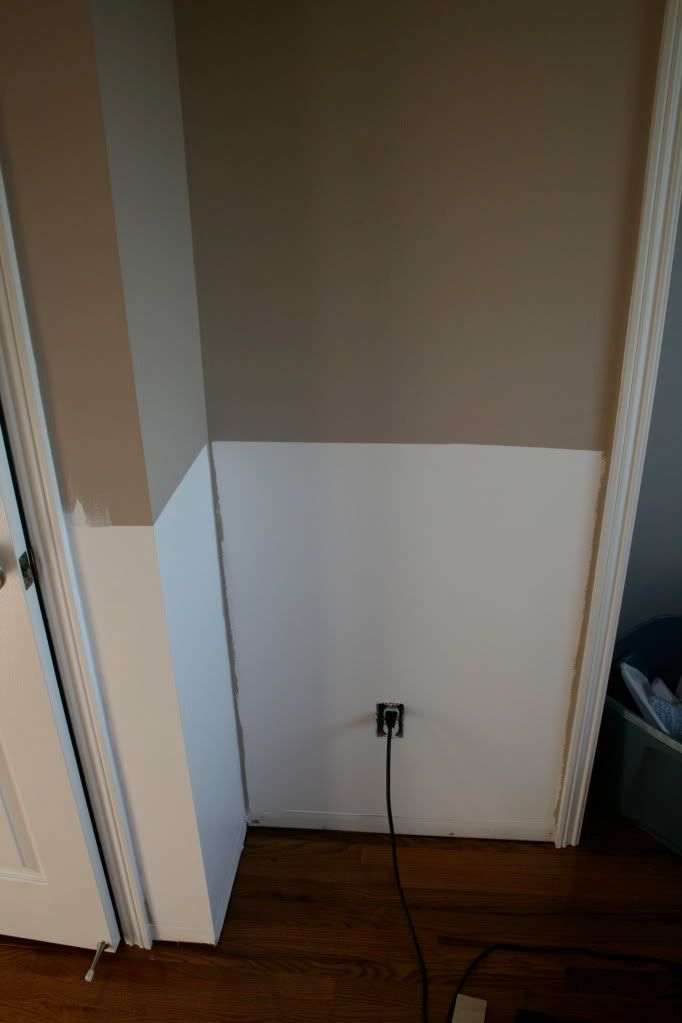
Becoming Less Awkward:
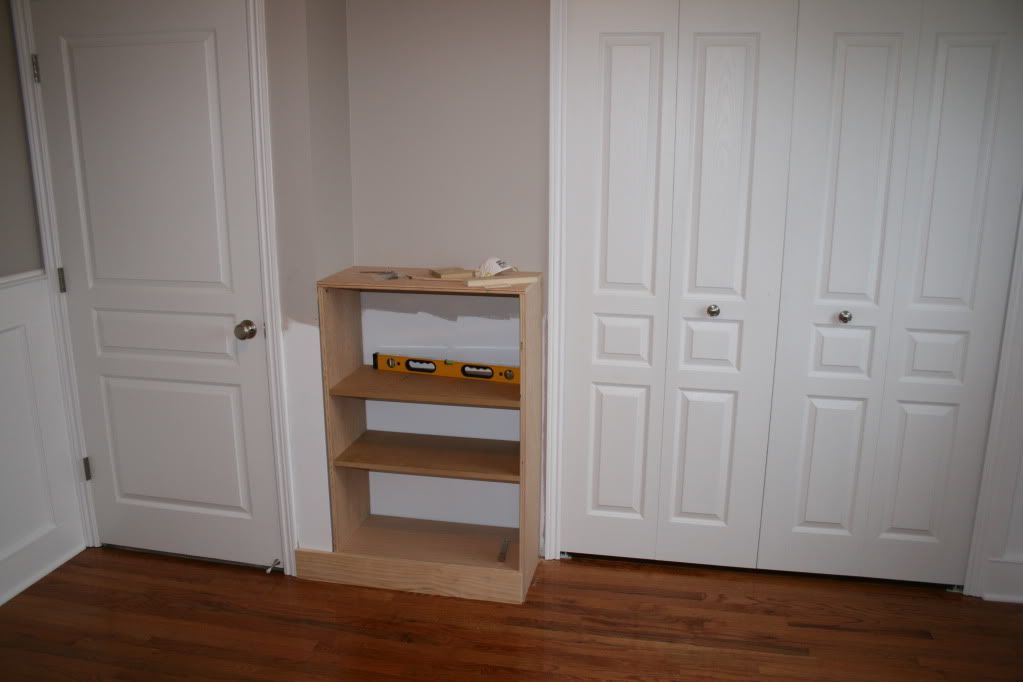
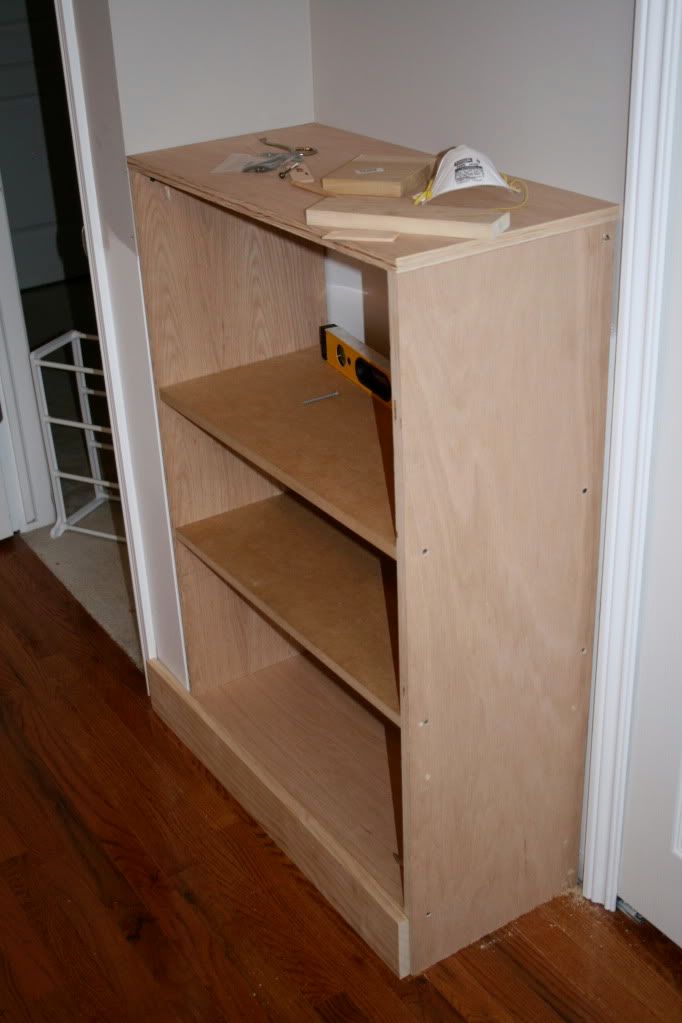
Even a little less awkward with the trim up. The goal was to match the trim to the wainscoting. The up close detail shot really gives you a good look at all the little pieces that went into the big picture. Carl says it's strong enough for climbing on, which might be a good thing, because if all the kicking I get is any indication of the active lifestyle Zombie Baby will have, this shelf better be sturdy!


And that's that. I'll stop here, mostly because this gets you caught up to present day. I'll be back to show you the finished product once the bookshelf is patched, primed and painted. Next on the project docket is the crib which is being worked on as I type. Literally. Carl took the week (HA! more like 2 days) off to work on the furniture. They bought all the materials and are finally ready to start cutting and building.
Oh and for anyone that is interested, I will be doing a full cost breakdown at the end of this project. But I will definitely wait until the end on that one. Yikes...that will be a post in itself!
Oh oh, and for fun, here is a photo (since this post is all baby related anyway) from our trip to the pumpkin patch this weekend. Zombie Baby is making a lovely appearance in all my photos nowadays!

That's it for now! As always I love your comments and if you have any questions, I'm happy to answer them.


I love the way it's coming along and I love the built in shelf! So pretty! Can't wait to see the next few steps unfold!!
ReplyDeleteYour husband did a great job. The wainscoting came out beautiful and I love the bookcase.
ReplyDeleteLooks great. My husband built our crib and changing table to fit my dreams. The project sounds like yours because of making it perfect. I LOVE it and am lucky to have a talented husband. Plus it saved us TONS.
ReplyDeleteEverything looks fantastic... even better in person and I cant wait to see how everything looks when its all done!
ReplyDeleteYou look great, and so does the nursery so far!
ReplyDeleteGreat job - I LOVE the shelf!
ReplyDeleteI love nurseries! I can't wait to see the whole finished look
ReplyDeleteThis looks fantastic! Everything is beautiful, and congrats to your husband for doing most of the work himself!
ReplyDeleteYou look very cute, too! :)
the wainscoting looks amazing! Great job!!!
ReplyDeleteLOVE IT! Cant wait to see the finished product :) BTW when do we get to find out the sex?! ;)
ReplyDeletelooks great! love the wainscoting!
ReplyDeleteI am in love with the floor and the wainscoting! Hopefully some wainscoting will eventually end up on Sawyer's walls :).
ReplyDeleteI am in love with the floor and the wainscoting. Hopefully someday some wainscoting will end up on Sawyer's walls.
ReplyDeleteI just love the wainscoting and the built-in bookcase. So classy. It makes such a different.
ReplyDelete